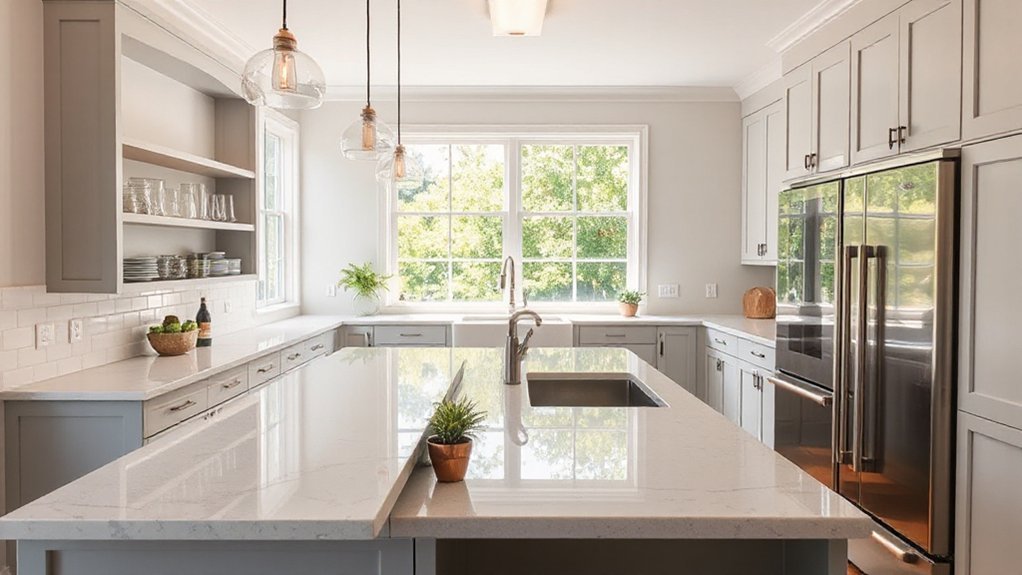
Like a well-tuned instrument, your kitchen should hum with measured rhythm. You’ll map the space, define zones for prep, cooking, and cleaning, and sketch the work triangle so every move feels natural. Measure every doorway and window, weigh cabinet sizes, and plan for durable finishes. As you refine appliance placement, lighting, and storage, you’ll uncover tradeoffs you didn’t expect—and you’ll sense there’s more to optimize just ahead. Let’s start shaping a layout that makes daily tasks effortless.
Define Your Ideal Kitchen Layout: Work Triangle and Zones
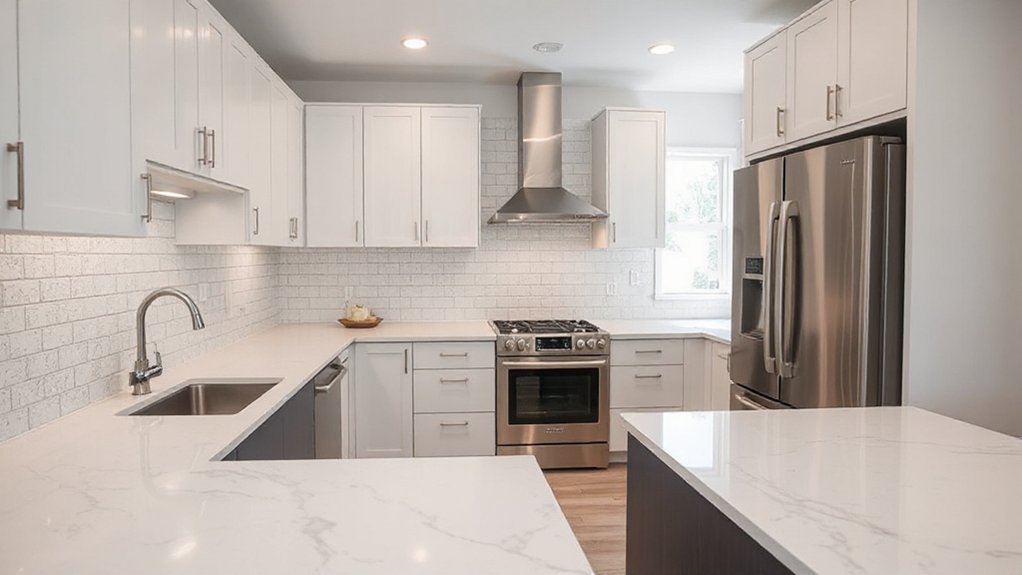
To define your ideal kitchen layout, start with the work triangle and distinct zones. You’ll balance the sink, stove, and refrigerator to minimize steps and maximize flow, mapping traffic paths before you place appliances.
Identify zones for prep, cooking, cleanup, and display, then align them with natural work rhythms. Prioritize a clear workspace between the prep zone and the stove, and guarantee the island or peninsula supports both storage and surface area without crowding traffic.
Consider sightlines and accessibility to major storage, especially for frequently used items. This approach supports Kitchen aesthetics and accommodates Vintage styles without sacrificing efficiency.
Document dimensions, then iterate, testing reach, clearance, and maintenance access to sustain a timeless, practical layout.
Measure Your Space: Key Dimensions, Doors, Windows, and Traffic
Before you sketch any layout, measure with precision: capture the overall footprint, door swings, window openings, and the path traffic will follow through the space. You’ll record length and width, ceiling height, and column or soffit locations that affect furniture placement.
Mark swing arcs for doors and drawers, plus reachable clearances around appliances. Note window widths for natural light and usable sill heights for work surfaces or seating.
Identify traffic corridors, ensuring at least 36 inches of clearance in work zones and 42 inches where people pass. Translate measurements into a grid or scaled sketch, labeling fixed elements, utilities, and outlet positions.
Consider decorative accents and color schemes later, but keep dimensions exact. This foundation prevents misfits and awkward flows, guiding a precise, functional layout.
Establish Your Kitchen Zones: Cooking, Prep, Cleaning, and Storage
Organize your kitchen into clear zones for cooking, prep, cleaning, and storage, so each task has a dedicated workflow.
Sequence the Cooking Zone with fuel, knives, and heat near prep, while the Prep Area keeps counter space and cutting surfaces ready for assembly.
Coordinate Cleaning and Storage to keep waste, recycling, and frequently used tools within reach, minimizing back-and-forth.
Cooking Zone Layout
Where should you locate the cooking zone for efficiency and safety? Place the range or cooktop at the heart of workflows, with ample prep space nearby and uncluttered access to ventilation.
Align the sink and refrigerator in a triangle to minimize movement, but keep the cooking zone away from high-traffic paths to prevent collisions.
Design counters with at least 18–24 inches of landing space on each side of the cooktop, plus dedicated space for utensils, cutting boards, and hot pads.
Choose durable surfaces that tolerate heat, stains, and moisture, and make certain clear sightlines to the dining area.
Integrate thoughtful storage for cookware and seasonal tools, considering appliance maintenance and clean, cohesive Kitchen decor.
Prep Area Flow
To shape an efficient prep area, position surfaces, storage, and tools for smooth, uninterrupted workflow between cleaning, cooking, and storage zones. You’ll optimize the triangle by aligning a wide prep counter with nearby sink and stove, ensuring clear sightlines and minimal steps.
Choose durable work surfaces and organize tools by task—knife station, cutting boards, bowls—so you can move confidently from washing to chopping. Store frequently used items within arm’s reach, and tuck away less‑needed gear in upper cabinets or drawers to reduce clutter.
Plan color schemes to cue zones: subdued tones for prep, brighter accents near the cooking area to sharpen focus, and calm hues around cleaning stations.
Flooring options should resist moisture, support movement, and simplify maintenance for long‑term function.
Cleaning and Storage
Start with accessible, easy-to-clean surfaces; choose materials that tolerate moisture and frequent wiping. Design a dedicated cleaning station with a sink, trash, recycling, and essential supplies within arm’s reach, reducing cross-traffic.
For storage, group items by frequency and task: daily-use tools near the prep area, bulky utensils in wall cabinets, and specialty gear in drawers. Use labeled containers or clear bins for dry goods, with a moisture- and pest-resistant pantry.
Implement pull-out shelves and shallow drawers to minimize reaching. Cleaning tips and storage solutions become complements to a streamlined workflow.
Plan the Work Triangle for Efficient Motion
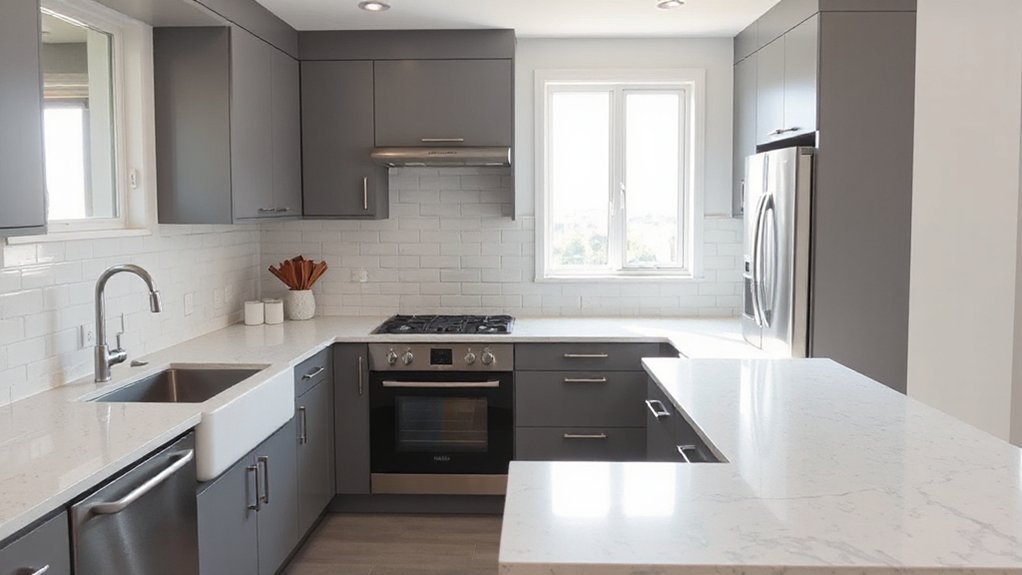
You plan the work triangle by aligning the sink, stove, and fridge for efficient motion and smooth workflow. Consider traffic flow tolerance and how pass-throughs affect clearance to keep movement uninterrupted.
Start with a clear appliance placement strategy that supports short distances, logical sequence, and minimal backtracking.
Work Triangle Principles
In designing a kitchen for efficient movement, the Work Triangle links the stove, sink, and refrigerator so you move smoothly between tasks. You should place each node within 4 to 9 feet of each other, forming a triangle that minimizes steps and reduces cross-traffic.
Avoid placing appliances behind doors or in corners that force detours; align clearances with standard cabinet depths to preserve counter space.
Prioritize a logical sequence: food prep near the sink, cooking near the prep zone, and cold storage close to prep for quick access.
Consider durable materials and color schemes that support quick visual recognition of stations.
Flooring options should offer slip resistance and easy maintenance; choose flat changes between zones to maintain a continuous workflow.
Traffic Flow Optimization
To optimize traffic flow, plan the Work Triangle so movement between the stove, sink, and refrigerator minimizes steps and detours. You’ll prioritize clear sightlines and uninterrupted paths, keeping counters free of clutter that slows you down.
Position each hub to balance distance and accessibility, avoiding awkward turns or bottlenecks near entry doors. Apply a practical layout: align the sink to the prep zone, place lower drawers for utensils, and keep the stove within a comfortable reach radius for cooking tasks.
Integrate lighting fixtures that illuminate work zones without glare, and choose Color schemes that reduce visual fatigue while highlighting key areas.
Test movement with furniture pads or tape, then refine clearance to guarantee smooth, efficient transitions throughout peak kitchen use.
Appliance Placement Strategy
Strategically place appliances to optimize the Work Triangle and reduce motion across the kitchen. You’ll position the stove, sink, and refrigerator to form an efficient loop, minimizing steps between frequent tasks.
Consider standard cabinet widths and door clearance so doors don’t collide or pinball into movement. Align outlets and hookups with planned appliance locations to avoid extensions and clutter.
Prioritize proximity to prep zones, keeping the most-used items within reach without interrupting traffic flow. Assess cabinet depths and toe-kick heights to ensure chair and stool clearance during quick tasks.
Factor in appliance color and brand compatibility so finishes blend cleanly and controls remain intuitive. Finalize clearances for ventilation, service access, and future upgrades to sustain a calm, functional kitchen rhythm.
Maximize Storage With Cabinets, Drawers, and Pantry Design
Design efficient storage by pairing cabinets, drawers, and a well-planned pantry to keep essentials reachable and organized. You’ll optimize layout with tall, shallow cabinets for daily items and deeper units for bulk goods, reducing search time.
Use a mix of drawer organizers, pull-out shelves, and labeled bins to maximize accessibility and visibility. Consider a pantry with adjustable shelves, door racks, and a dedicated zone for quick-grab ingredients.
Integrate vintage fixtures as accent pulls or cabinet knobs to add character without sacrificing function. Choose cohesive color schemes that reflect the room’s light levels and workflow, guaranteeing contrast between primary cabinetry and open storage.
Label surfaces clearly, maintain air gaps for easy cleaning, and assure lighting highlights all storage zones for effortless use.
Optimize Counter Surfaces: Height, Depth, and Durable Materials
To optimize counter surfaces, select a height that fits your prep rhythm and ergonomic stance, aiming for a comfortable range that minimizes bending and reaching.
Balance depth to support both prep work and appliance access, avoiding overly shallow or bulky layouts that constrain flow.
Choose durable materials like quartz or solid surface in colors and textures that resist staining and wear, and plan seams and edge profiles for long-term performance.
Ideal Counter Height
What’s the ideal counter height, and how does it shape your kitchen workflow? The standard range is around 34 to 36 inches, but the best choice depends on how you cook. Aim for ergonomic design that minimizes bending, reaching, and fatigue.
If you frequently prepare meals at waist level, consider 36 inches for a comfortable prep surface. Shorter statures benefit from 34 inches to reduce shoulder strain. Use a consistent height for main work zones to streamline motion, and guarantee the sink and cooktop align with your dominant hand for fluid transfers.
Choose durable materials that tolerate knives, heat, and moisture without frequent maintenance. Balance height with cabinet depth and seating options to sustain-efficient, safe, and enjoyable workflows.
Counter height matters, not just aesthetics.
Depth Dimensions Balanced
Depth dimensions set the foundation for efficient, safe work surfaces. You balance counter depth with task flow, clearance, and accessibility, ensuring you can prep, cook, and clean without crowding. Color schemes influence perceived depth, so choose mid-tones that hide wear while maximizing light. Budget planning guides material choice and sizing, preventing overhangs or gaps that waste space.
Consider standard 25-inch depth for prep zones and 18 inches for island overhangs, adjusting for clearance around appliances. Remember that consistent depth across primary counters reduces reach fatigue and simplifies habit formation.
- Measure all zones for cohesive depth alignment
- Align island and perimeter depths for flow
- Factor leg clearance with toe-kick height
- Plan finishes that resist impact and staining while staying within budget
Durable Surface Materials
Consider thickness for stability and a comfortable reach zone; deeper counters reduce drips and improve prep posture. Surface seams should be minimized and positioned away from high-traffic zones. Eco-friendly options can align with budget and availability, while vintage finishes add character without compromising durability when properly sealed.
Apply durable sealants suitable for your chosen material, and schedule maintenance that preserves luster. Balance aesthetics with tactile usability to sustain a kitchen that ages well and works hard.
Layer Lighting for Tasks, Ambience, and Accent
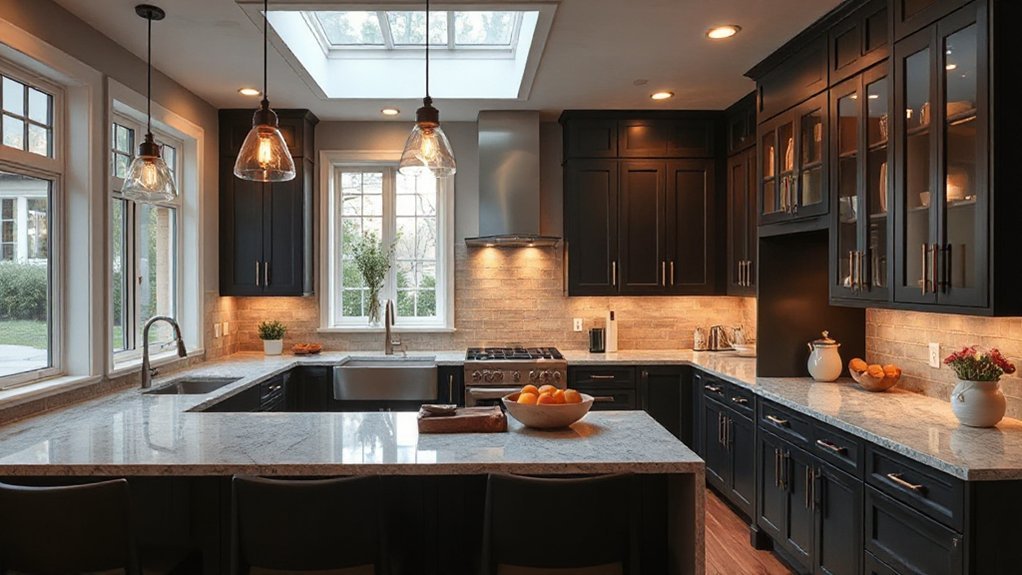
Layering lighting in a kitchen is all about three distinct layers working together: task, ambient, and accent. You’ll layer thoughtfully to support prep, dining, and mood, without glare or shadows. Plan fixtures that are dimmable and aligned with zones for efficiency and comfort.
Use cool task light at counters and warm ambient light for evening atmospherics, with accent lights highlighting decorative accents.
- Position under-cabinet LEDs to illuminate work surfaces precisely.
- Install ceiling ambient fixtures for even, glare-free coverage.
- Add adjustable track or pendant lighting to target focal areas.
- Include decorative accents like candela-friendly sconces or LED strip accents for depth.
Layer lighting, decorative accents, and control options create a balanced, functional kitchen.
Budget for Kitchen Remodel: Realistic Costs and Contingencies
A realistic kitchen remodel budget starts with a clear cost picture and built-in contingencies, so you can plan without surprise gaps. You map line items for cabinets, appliances, surfaces, and structural changes, then forecast labor and permit fees with tight precision.
Your budget planning should assign realistic ranges per category, add a contingency of 10–15 percent, and document assumptions so changes are traceable. Track spend weekly, comparing invoices to estimates, and adjust scope before commitments.
Prioritize durable finishes and efficient layouts to reduce long-term operating costs.
For contractor selection, establish transparent bidding, request itemized proposals, and verify licenses and insurance. Lock in lead times upfront, and reserve funds for unexpected fixes discovered during demolition or inspection.
Avoid scope creep by confirming decisions before work begins.
Quick Wins: High-Value Upgrades You Can Do Now
If you want meaningful gains fast, start with high-impact, low-disruption upgrades that boost flow, storage, and lighting. You’ll see results quickly by selecting tangible, design-forward moves that don’t upend structure.
- Install a decorative backsplash that pulls your kitchen color palette together while protecting walls and guiding eye flow.
- Swap cabinet hardware and lighting to refresh ambiance without a full remodel.
- Add under-cabinet lighting for task clarity and perceived space, aligning with your color choices.
- Optimize vertical storage with tall cabinets or open shelves, improving reach and organizing essentials.
These moves focus on function and aesthetics, delivering a cohesive, refined look without major disruption.
Small Tweaks, Big Impact: Layout Changes That Don’t Require a Full Remodel
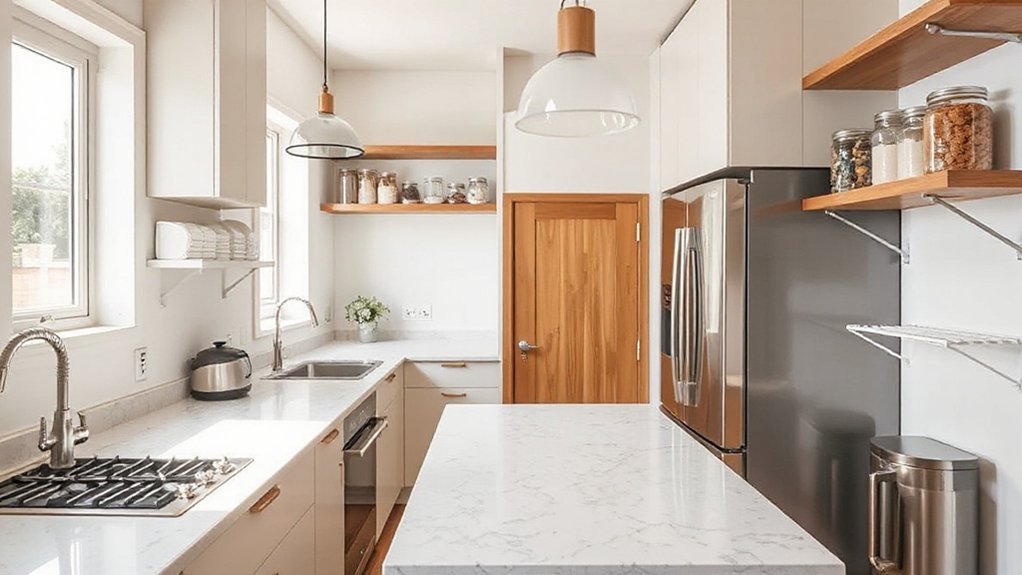
You can boost flow with small moves that optimize workspace layout, keeping you efficient at every task. Try precise accessory placement tweaks to keep essentials within reach and reduce trips across the room.
These subtle adjustments set a clear, practical foundation for a kitchen that feels more organized without a full remodel.
Optimize Workspace Flow
To optimize workspace flow without a full remodel, start with a deliberate zoning of prep, cooking, and cleanup areas so each task has a clear path. You’ll reduce back-and-forth and improve efficiency with deliberate distances and logical adjacency. Focus on visual cues and durable, easy-clean finishes to sustain the workflow.
- Define zones using subtle color contrasts and consistent hardware for quick recognition.
- Align the sink, stove, and fridge to create the kitchen triangle, minimizing steps.
- Choose flooring options that reduce fatigue and feel cohesive under task lighting.
- Implement counter setbacks and under‑cabinet storage to keep surfaces clear.
Color schemes and flooring options influence perception and foot traffic; keep progressions seamless for long-term clarity.
Accessory Placement Tweaks
Small changes to accessory placement can yield big usability gains without a full remodel. You optimize counter zones by grouping frequently used items within easy reach, so you spend less time hunting.
Place decorative accents to cue zones rather than clutter aisles; a single tray or cookbook stand near prep surfaces reinforces workflow without crowding sightlines.
Use vertical real estate: wall racks for knives, mugs, or jars keeps counters clear while still accessible.
Balance function with aesthetics by pairing finishes and heights—toppers, jars, and bowls at eye level feel intentional.
Consider lighting to spotlight key accessories, reducing rummage time.
Don’t overdo it: curate a concise set of essentials, swap in seasonal pieces, and maintain clear paths to the sink, stove, and fridge.
Accessory placement matters as much as layout.
Selecting Materials That Withstand Use and Look Great
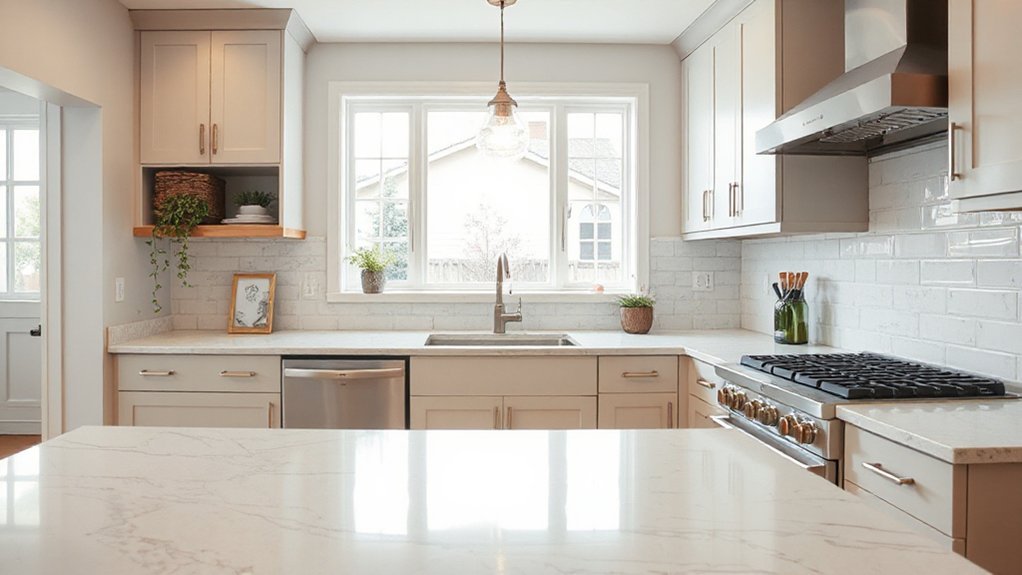
Selecting materials that withstand daily use while looking great starts with choosing durable surfaces and finishes engineered for kitchens. You want surfaces that resist scratches, stains, and heat while delivering a cohesive look that supports your design goals. Prioritize material durability and finish quality above trendiness to preserve aesthetic appeal over time.
- Choose quartz or solid-surface countertops for durability, low maintenance, and consistent color.
- Opt for porcelain or ceramic tile with a high PEI rating for floors and backsplashes to balance style and wear resistance.
- Select thermofoil, veneer, or solid wood with proper sealing for cabinetry to maintain rigidity and finish.
- Pick stainless steel or premium laminate hardware that resists fingerprints and moisture while enhancing appeal.
Appliance Placement: Size, Access, and Ventilation
When planning your kitchen layout, think about how appliance size, user access, and ventilation shape daily work. Start with the fridge, range, and dishwasher locations to minimize walks and backtracking.
Choose compact, tall cabinets that preserve counter space without crowding aisles, and specify clearances around doors to guarantee full swing without obstruction.
Position the range and sink on an efficient work triangle, allowing easy reach from prep zones to cleanup.
Consider built-in ventilation options that vent outside while maintaining quiet operation; your goal is consistent airflow without drafts or heat buildup.
Prioritize appliance efficiency by selecting energy‑star-rated models and matching capacities to your typical load.
Integrate a centralized ventilation systems plan that coordinates with ducting, hood height, and maintenance access for long‑term performance.
Create Clear Sightlines and Easy Cleanability
Clear sightlines reduce clutter and make tasks faster, so plan views from key zones to stay uninterrupted by obstacles. You’ll prioritize horizontal lines and minimize tall partitions that block flow.
Cleanability centers on surfaces you can wipe quickly and joints you can reach easily. Use open shelving strategically to keep items visible yet organized, avoiding clutter that interrupts sightlines.
Backsplash design should complement easy maintenance with seamless panels or simple grout lines, reducing dirt traps.
- Position primary stations with a clear path between sink, prep, and cooking zones.
- Choose durable, non-porous materials for counters and backsplashes to scrub free of stains.
- Install hardware within easy reach and avoid crevices that collect grime.
- Balance open shelving with closed storage to limit dust while preserving accessibility.
Working With a Pro vs. DIY: Roles, Risks, and Boundaries
Working with a pro vs. DIY: you weigh expertise against control. You’ll define what you need from design collaboration early, so expectations align on scope, materials, and sequence.
A pro brings code compliance, structural insight, and functional layouts, while you safeguard your priorities, budget, and finish quality. Communicate desired aesthetics and practical constraints, then document decisions to avoid scope creep.
Budget management is central: expect transparent estimates, itemized changes, and clear payment milestones.
If you DIY, you’ll save upfront costs but assume risk for permits, warranties, and safety. If you hire, insist on written contracts, phased deadlines, and progress checks.
Boundaries matter: reserve critical structural, electrical, and plumbing work for licensed pros.
Balance control with collaboration, and anchor every choice to a cohesive, functional kitchen.
Remodel Timeline: From Plan to Finishing Touches
From plan to finishing touches, a clear remodel timeline keeps your project on track and your expectations aligned.
- Define milestones: concept, permits, rough-in, and finishing touches, so you know when to expect decisions and approvals.
- Schedule trades and deliveries with buffer: cabinets, countertops, lighting fixtures, and appliances arrive in logical order to prevent delays.
- Lock in design details: Kitchen decor finishes, color schemes, and hardware early to avoid rework during install.
- Verify quality at each phase: inspect rough-in, plumbing, electrical, and final fit-and-finish before closing walls.
A disciplined timeline aligns design intent with construction reality, delivering a cohesive, functional space.
Frequently Asked Questions
How Long Does a Kitchen Remodel Typically Take?
A typical kitchen remodel takes about 4 to 12 weeks, depending on scope. You’ll plan around permits, deliveries, and installations. You’ll prioritize Kitchen lighting and appliance upgrades to minimize downtime and maximize functional, design-focused results.
What Are Hidden Costs to Expect?
Hidden expenses bite; Budget overruns hit when you least expect them, right? You’ll plan meticulously, then still crave upgrades, so monitor costs, itemize every change, and cushion contingencies to keep your kitchen remodel practical, precise, and design-focused.
Can Small Changes Improve Layout Without a Full Remodel?
Yes—tiny tweaks can help. You’ll optimize kitchen lighting and appliance placement to improve flow, boost task efficiency, and make space feel larger without a full remodel. Prioritize under-cabinet lighting and keep frequently used appliances near work zones.
Which Pantry Type Saves the Most Space?
The narrow pull-out pantry saves the most space. You’ll love it for pantry organization; it maximizes every inch with vertical and frame-on designs. Space saving designs shine, especially when you customize pulls and dividers for easy access.
How Do I Choose a Contractor I Can Trust?
To choose a contractor you can trust, verify contractor credentials and references, compare bids, and prioritize budget management. Check licenses, insurance, and past project quality; request detailed timelines, clear milestones, and transparent change-order processes for practical, design-focused confidence.
Conclusion
You’ve mapped a kitchen that works as hard as you do. With the work triangle guiding flow and zones clearly defined, you’ll glide from prep to cook to clean without chasing clutter. Smart storage, properly placed appliances, and clean sightlines keep daily tasks effortless. Think of your layout like a well-tuned instrument—everything in its perfect octave, ready to play. When in doubt, revisit the plan and keep your eyes on the practical, design-focused payoff: beauty, function, and ease.
About the Author