For a modern look, you can start with slim faux-molding or shiplap in MDF or plywood, then pair neutral tones with subtle lighting to emphasize depth. Consider modular, snap-together systems for quick installs and a clean, cohesive finish. Keep decorations minimal and focused on geometric patterns and smooth surfaces. You’ll want to weigh budget-friendly options against long-term maintenance, then decide which style—slim molding, shiplap, or a trellis—fits your space and timeline.
How to Pick Modern Minimalist Wall Paneling on a Budget
Choosing modern minimalist wall paneling on a budget starts with prioritizing clean lines, high-contrast textures, and cost-effective materials. You’ll evaluate options by exploring durable substrates like MDF, plywood, or composite panels, then compare finishes such as matte paints or simple veneers.
Prioritize modular systems that snap or hinge for quick installation and minimal tools. Pay attention to edge details, avoiding ornate profiles that drive costs. Consider wall paneling trends that favor negative space, slim profiles, and restrained grain.
You’ll assess whether a single-panel accent or full-room coverage fits your budget and plan for future updates. Reference historical styles only as inspiration, translating their clarity and proportion into minimalist forms.
Balance budget with install time and maintenance to achieve a polished, timeless result.
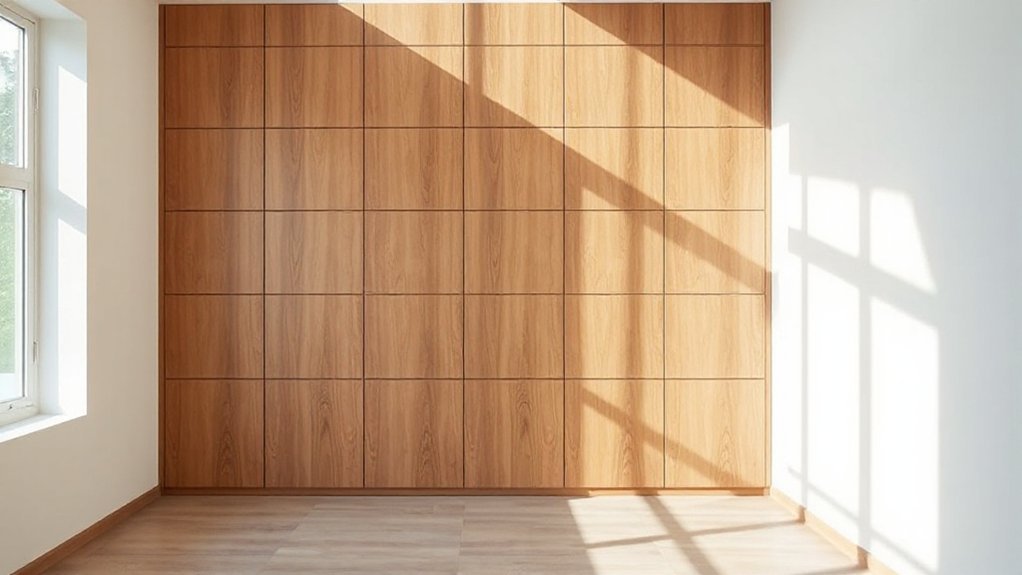
Modern Paneling Styles to Consider (Slim Faux-Molding, Shiplap, Trellis)
Options like slim faux-molding, shiplap, and trellis offer distinct textures and installation rhythms for modern paneling. You’ll evaluate each style by its vertical or horizontal alignment, panel depth, and edge detailing to match room proportions.
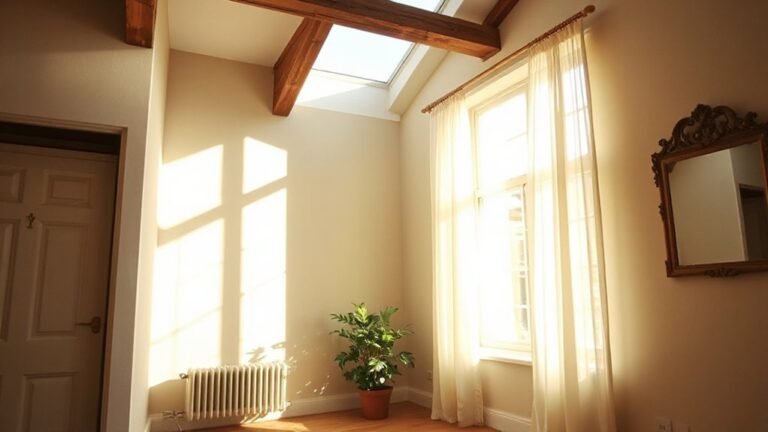
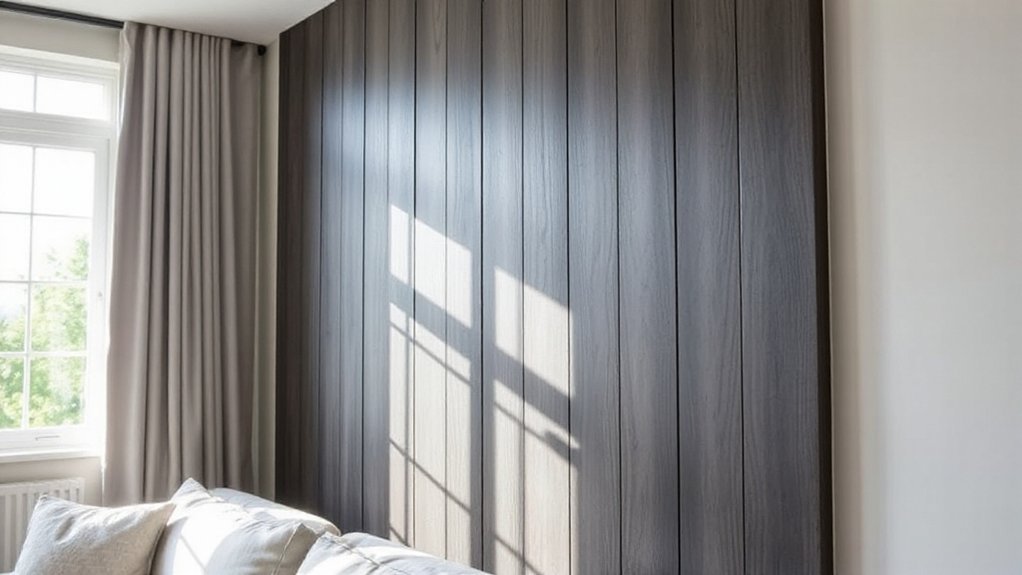
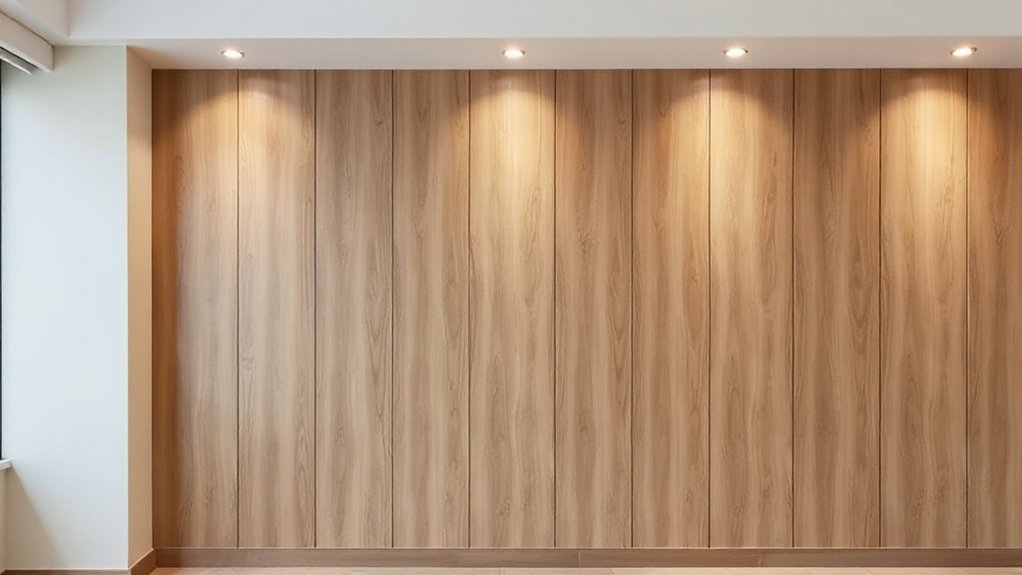
Slim faux-molding delivers clean lines with subtle shadows, ideal for tight ceilings or stair risers where minimal interruption matters.
Shiplap provides broad, continuous planes that emphasize wall height and light reflection, suitable for open-plan spaces seeking warmth.
Trellis introduces lattice-like geometry that can frame decorative accents without overpowering artwork or furnishings.
Consider textured finishes to enhance tactile interest and contrast across surfaces, then pair with complementary trim to preserve scale.
Each option supports targeted decorative accents while maintaining a contemporary, cohesive look.
Budget-Friendly Materials and What They Cost
If you’re budgeting wall paneling, start with affordable materials that deliver solid texture and durability without breaking the bank. You’ll balance cost and performance by selecting options like veneered MDF, medium-density fiberboard, or plywood panels with simple profiles.
Prices for these bases vary by thickness and finish, but you can expect lower upfront costs than solid wood while still achieving a refined look. Consider composite or reclaimed options for added character without substantial expense.
Wall paneling history informs choices; historically, economies of scale favored standardized sheets, driving down prices. Cultural influences shape finishes and profiles, from minimalist laminates to rustic graining.
To maximize value, prioritize substrates with stable dimensional behavior, easy installation, and compatible fasteners, then apply durable finishes that resist wear and moisture.
Step-by-Step: Install Slim Faux-Molding for Clean Lines
Begin by marking a straight, level baseline along the wall where you want the slim faux-molding. Measure and transfer equal spacing to establish consistent vertical lines.
Cut molding to length with a miter saw, keeping edges square for clean joints. Dry-fit sections, then remove for adhesive application.
Apply a high-quality construction adhesive in a thin, even bead along the back, then press the molding into place, aligning with the baseline and intersections.
Use capped or hidden fasteners if you prefer extra security, and countersink them slightly.
Check for plumb and alignment with a spirit level before the adhesive cures.
Textural contrast emerges from the subtle shadows created by inset profiles, while pattern variety is achieved by varying widths and staggered joins.
Wipe excess adhesive promptly to maintain a crisp, seamless look.
Finishing Touches: Color, Lighting, and Long-Term Maintenance
After you’ve installed the slim faux-molding, the finishing details pull the look together. Start with color coordination: limit palette to two or three complementary tones and test paint samples on panels at room brightness. Choose a lighter shade for larger surfaces to brighten the room, and reserve a darker accent for a single focal wall or trim gaps. Keep progressions clean, avoiding high-contrast clashes that disrupt lines.
For lighting enhancement, position fixtures to emphasize panel depth without creating glare; use diffused, warm-white bulbs and consider wall sconces or cove lighting to cast soft shadows along vertical seams.
Regular maintenance is minimal: dust quarterly, reseal any exposed edges every few years, and touch up scuffs promptly to preserve a crisp, modern finish.
Frequently Asked Questions
How Long Does Paneling Installation Typically Take?
Typically, you’ll complete paneling installation in 1–3 days, depending on room size and complexity, with efficient prep and clean finishes. You’ll handle paneling maintenance and align with paneling design trends for a polished result.
Can Faux-Molding Panels Be Used Outdoors?
You can use faux-molding panels outdoors, though check outdoor durability and weatherproofing first; choose material options like resin or PVC. You’ll avoid warping by sealing joints, ensuring proper drainage, and maintaining UV protection for long-term performance.
What Tools Are Essential for DIY Paneling?
You’ll need essential tools like a straightedge, utility knife, miter saw, drill, spirit level, nail gun, clamps, and sanding block. Use decorative trim selectively, and focus on precise panel finishing to achieve a clean, professional look.
How to Repair Damaged Panels Without Replacement?
You can fix damaged panels with panel repair techniques like feathering edges, filling gaps with color-matched filler, and sealing. For damaged panel concealment, use removable patches or veneer overlays to preserve texture without full replacement.
Do Panels Affect Room Acoustics or Insulation?
Panels influence acoustics and insulation: they provide sound absorption and thermal insulation, reducing echoes and heat transfer. You’ll notice calmer rooms and steadier temperatures, especially with proper backing and sealing, though performance depends on panel density and installation tightness.
Conclusion
You’ll finish with flair and finesse, forming a fresh, flawless feature. With minimalist mood and measurable methods, you’ll master modern paneling, molding margins, and matched material costs. Savor subtle shiplap, slim silhouettes, and trellis textures—seasoned by smart staining and sleek lighting. Stay steadfast on simplicity, scale, and schedule, skipping superfluous steps. You’ll create clean, concise corners that captivate, elevate, and endure, all while staying cost-conscious and clearly coordinated. Your compact, clever canopy of cohesion completes the contemporary, cost-conscious cleanup.