You want your home to look bright and inviting for photos and viewings, with neutral walls, well-placed mirrors, and clutter kept at bay. You’ll fine-tune lighting, tidy surfaces, and stage key spaces without overdoing it, then time your shoot for natural glow and calm vibes. It’s a careful balance that hinges on small, deliberate choices—and the next steps will help you nail every angle and detail, from the kitchen to the curb appeal.
Set a Bright, Neutral Backdrop for Every Room
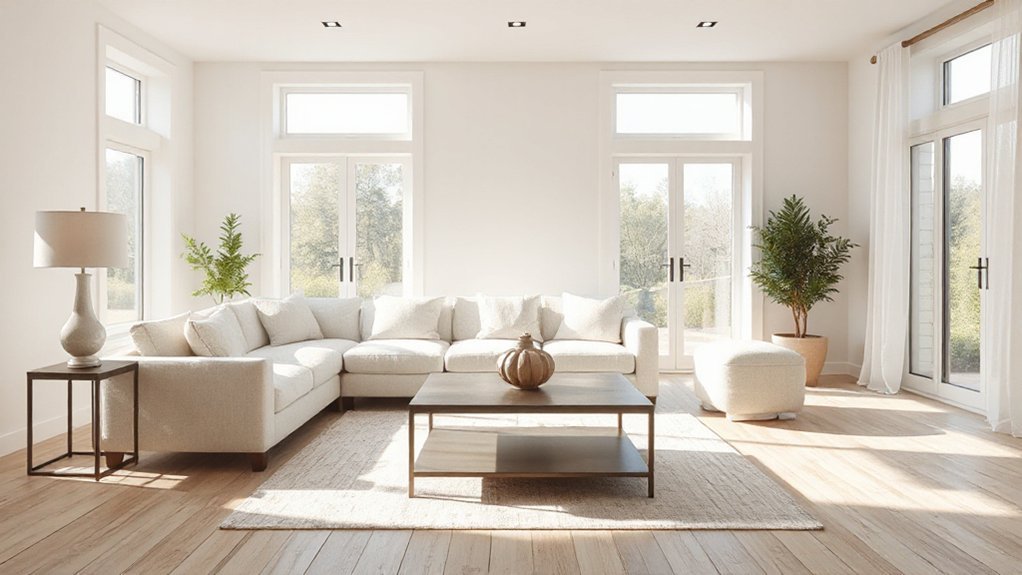
Start by choosing a bright, neutral backdrop for each room. You’ll set the tone with light walls, clean ceilings, and natural light that amplifies space. Keep colors soft and cohesive to support color coordination across furniture, art, and textiles. Plan a calm palette—ecru, warm white, or pale gray—so photos stay true to life. Then consider furniture arrangement: place key pieces to frame windows and open sightlines, avoiding clutter that distracts from the room’s proportions. Guarantee corners are clear and corners feel airy by removing bulky items that mask floor area. Use mirrors selectively to reflect light without duplicating objects. Finally, test a quick photo with your phone to confirm brightness and balance, adjusting lamps or curtains as needed for a crisp, inviting backdrop.
Quick Decluttering Routines to Make Spaces Look Bigger
Decluttering quickly doesn’t have to feel like a full makeover; a few targeted routines can instantly make spaces look larger. You begin by clearing horizontal surfaces first, leaving only the essentials. Choose one focal area per room and pare back decor to minimalist furniture that communicates calm, not clutter. Move items into hidden storage to reveal floor space without creating tension between function and flow. Use uniform storage bins or baskets to keep contents invisible yet accessible, and label them for easy return. Tidy closets by hanging clothes, shelving evenly, and consolidating like items—this creates a perception of depth. Finally, wipe surfaces and doors to reflect light, bending attention toward clean lines rather than excess. Consistent routines build roomy impressions without a heavy lift.
Light, Color, and Texture That Photograph Well
Great light can make space feel larger, brighter, and more inviting—so start by controlling how it enters and moves through each room. You’ll want soft daylight for day photos and balanced artificial lighting for evenings, avoiding harsh shadows. Choose color palettes with harmonious, neutral bases and add accent tones that photograph well, like crisp whites, warm beiges, or cool grays. Incorporate natural textures—linen, wood, stone, woven baskets—to create depth without clutter, letting the eye travel smoothly. Embrace vibrant hues sparingly—an accent pillow, a single throw, or a wall art piece—to spark life without overpowering space. Keep reflections in check: position lights and mirrors to avoid glare and ensure true color rendering. Aim for cohesion, contrast, and a calm, inviting tonal range.
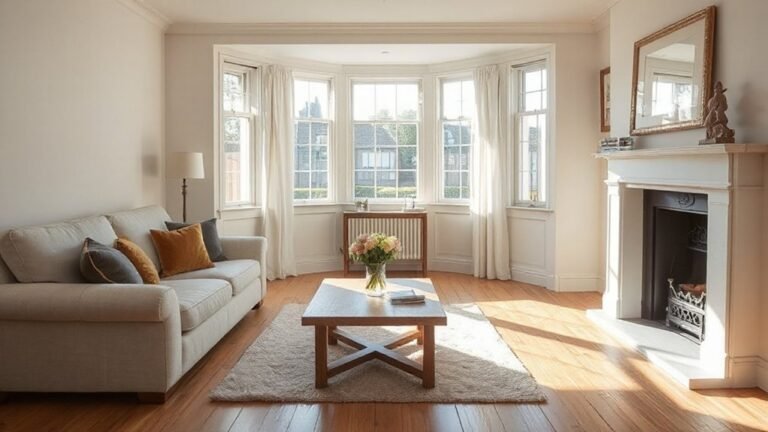
Stage the Living Room for Buyer Appeal
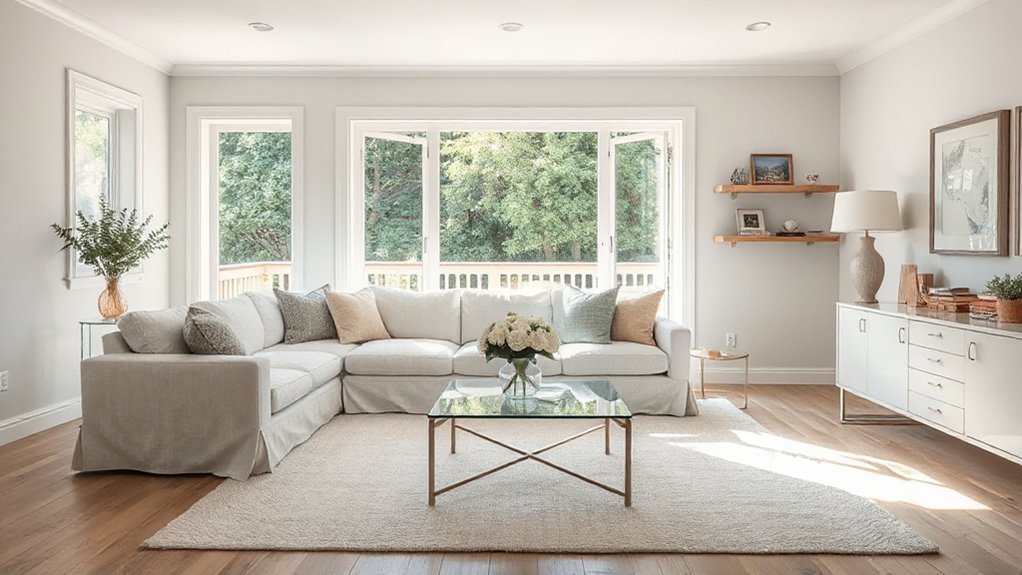
To stage the living room for buyer appeal, begin by creating a clear, inviting focal point—whether it’s a seating arrangement that invites conversation or a sunlit reading nook near a window. You’ll craft a space that reads as intentional, not random, with symmetry and purposeful negative space guiding the eye. Focus on a cohesive color palette and streamlined furniture arrangement that highlights flow and function. Keep surfaces clean and surfaces uncluttered, letting a single statement piece or art anchor the room without overwhelming it. Arrange seating to encourage dialogue and sightlines toward natural light. Use accessories sparingly to avoid distraction, ensuring the room feels welcoming, versatile, and photographable for every listing. Artistic staging meets practical setup for maximum buyer appeal.
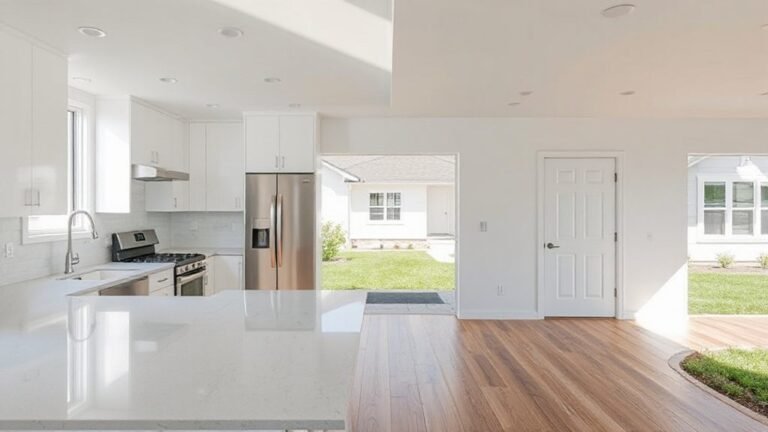
Kitchen Tweaks That Photograph Beautifully
A kitchen that photographs beautifully starts with clean lines and a bright, distraction-free backdrop; when counters are clear and surfaces gleam, the space reads larger and more inviting. You’ll focus on practical tweaks that show off function and style, pairing kitchen organization with subtle visuals that read as polished yet attainable. Small changes become big feels: tidy zones, intentional color accents, and appliance updates that don’t overpower the room. You want to communicate efficiency and warmth in every shot, so keep textures clean and lighting soft.
- Clear, clutter-free countertops that highlight key prep zones
- Coordinated storage solutions for utensils and gadgets
- Gentle, cohesive color palette across appliances and cabinetry
- Strategic lighting to reduce shadows and glare
- Subtle appliance updates that boost modern appeal
Bathroom Tweaks That Photograph Well
Bright lighting transforms bathroom photos, so switch on all mirrors’ lights and open any blinds to flood the space. Keep surfaces decluttered and wipe down counters, so every detail reads clean and inviting. With crisp lighting and tidy surfaces as your foundation, we can discuss smart tweaks that elevate the shot without clutter.
Bright Lighting Tips
When you’re prepping a bathroom for photos, bright, even lighting is nonnegotiable, and there are simple tweaks that make a big difference. You’ll blend natural sunlight with balanced artificial lighting to erase shadows, boost color, and highlight fixtures. Use diffused overheads and sconces that flatter tile and countertops, not harsh spotlights. Elevate mirrors with backlighting to eliminate glare and widen the space. Set bulbs to a neutral white (around 3500–4000K) for true tones, and avoid mixed temps. Test angles at eye level, then adjust for even spread. Keep fixtures clean, and use a light-friendly camera mode to maintain brightness with minimal editing.
- Diffuse overheads for even coverage
- Mirror backlighting to reduce glare
- Neutral white bulbs (3500–4000K)
- Consistent color temperature throughout
- Clean fixtures and reflective surfaces
Decluttered Surfaces Matter
Decluttered surfaces matter because clean, intentional spans read as calm, spacious in photos. In the bathroom, you’ll create that breathing room by choosing a single focal point—like a neatly arranged tray or a small potted plant—then keep other areas clear. Opt for minimalist decor and limit toiletries to essentials, arranged in a tidy row or tucked away behind doors. Surface organization is your ally: use a tray to corral items, a small basket for towels, and a wall hook for robes. Wipe gaps, polish fixtures, and remove toothpaste towers from countertop corners. Aim for symmetry and soft, neutral tones to reflect light. Your goal is tranquil, purposeful surfaces that highlight space, not clutter, inviting viewers to imagine themselves here.
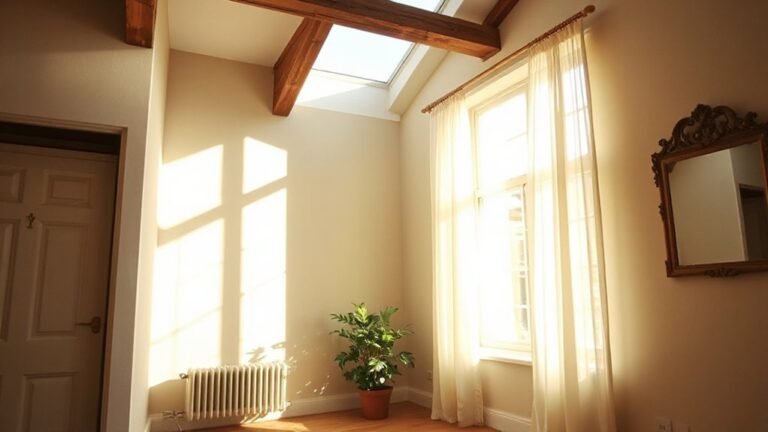
Create a Calm, Spacious-Feeling Bedroom
Creating a calm, spacious-feeling bedroom starts with a simple, intentional setup: keep surfaces clear, choose a soothing color palette, and let light in. You’ll transform the room into a restful retreat that reads well in photos and feels welcoming in person. Focus on balance: uncluttered nightstands, a clean floor, and a bed dressed in calming color schemes that echo the walls. Use strategic mirrors to reflect natural light, not to amplify clutter. Maintain consistent tones for furniture and textiles to enhance bedroom organization and cohesion. Small touches—soft throws, minimal art, hidden storage—keep the space serene and photogenic.
- Clear surfaces and tidy corners to maximize perceived space
- Soothing color schemes across walls, linens, and decor
- Strategic lighting and mirror placement
- Minimal, purposeful art and accessories
- Hidden storage for a clutter-free look
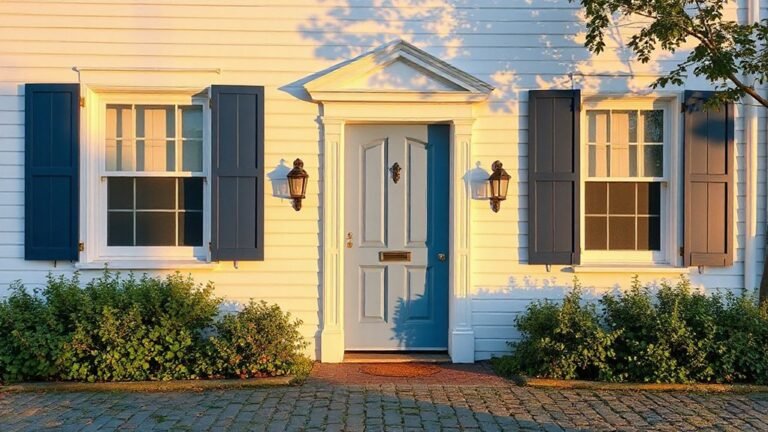
Outdoor and Entry Lighting to Boost Curb Appeal
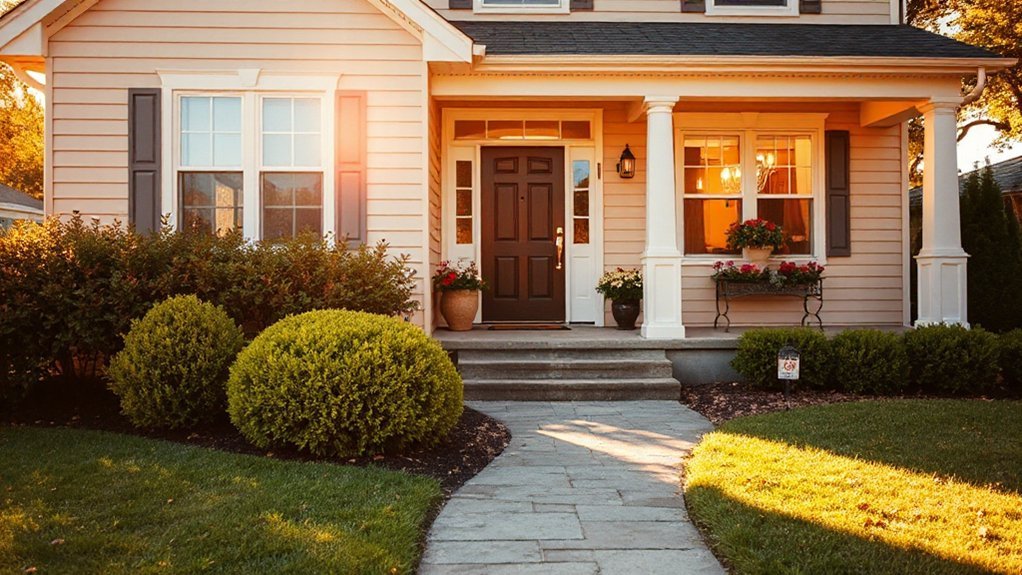
Lighting sets the tone for your home’s first impression, both in photos and in person, so start at the entry and extend outward to the curb. You’ll highlight the doorway with a warm, even wash that flatters architectural details and reduces harsh shadows. Choose layered lighting: a primary porch light, step lights, and low-voltage path lights to guide the eye toward the garden and street. Pair fixtures with smart controls so lighting dims for photos and activates automatically at dusk. Keep glare low by angling fixtures away from windows. Integrate garden landscaping features that glow softly, and guarantee outdoor furniture is visible and inviting through balanced illumination. Well-lit exteriors boost curb appeal and showcase your home’s welcoming atmosphere.
Timing Shoot Days and Viewings for Best Impact
Timing is everything, so plan shoot days and viewings when the light is most flattering and the house feels welcoming. You’ll maximize appeal by aligning scheduling with natural glow and steady weather, so photos look crisp and rooms feel airy. Consider how seasonal timing affects shadows, outdoor color, and curb appeal, then lock in slots that showcase your home at its best. Communicate clearly with your agent about preferred times and buffer periods for quick touch-ups between shoots. Prioritize weekend flexibility if buyers search then, but seek weekday windows to avoid crowding. Schedule conflicts should be minimized with backup dates. Stay proactive about calendars, reminders, and confirmations to keep momentum strong.
- Coordinate light windows around golden-hour dips
- Build in buffer times for touch-ups
- Align with weekend peak traffic
- Pre-book alternative slots for conflicts
- Note seasonal timing shifts in calendars
Quick Fixes: Pet Hair, Clutter, and Cords
Pet hair, clutter, and cords can quietly sabotage a listing photo, so tackle them head-on before your shoot. You’ll want a clean canvas: run a pet hair removal tool over fabrics, vacuum floors, and sweep any visible dust. For clutter control, pick one focal area per room and stash extras out of sight in closed bins or closets. Tidy cords by securing them with cord clips or furniture anchors, keeping lines neat and unobtrusive. Set aside a dedicated staging basket for everyday items you’ll relocate during the shoot. Use minimal decor to enhance space perception without sacrificing character. Schedule time to recheck, then spot-clean surfaces. With these quick fixes, you’ll present a fresher, more inviting home that photographs well.
Frequently Asked Questions
How Should I Handle Pet Photos in Listing Shots?
You should showcase pet safety by choosing calm, well-behaved moments and remove hazards; keep photos clean. Use subtle photo editing to blur pets in motion or edits to protect privacy, while labeling shots to reassure buyers about pet safety and care.
Can I Stage With Rental Furniture or Props?
Yes, you can stage with rental furniture or props. Staging with rentals adds warmth, while using props highlights space and flow. You collaborate with the agent, ensuring everything aligns with your listings, feels authentic, and photographs crisply.
Should Mirrors Be Avoided in Key Rooms?
Yes, avoid oversized mirrors in key rooms, as they can distort space. Use strategic interior lighting and flattering camera angles to showcase depth, avoiding reflections. You’ll create brighter, inviting rooms that photographers capture with precision and collaboration.
Is It Okay to Show Personal Belongings in Photos?
Yes, you can show personal memorabilia, but curate carefully. Think symbolism: decorative accessories become focal stories rather than clutter. You present a collaborative scene, not your life, so select tasteful items that feel cohesive and welcoming to buyers.
What’s the Best Order for Shooting Different Rooms?
You’ll start with living areas, then kitchens, master suites, and bathrooms, using a steady Lighting setup and varied camera angles to guide flow. You’ll adjust sequences for light, depth, and size, collaborating with the photographer for best results.
Conclusion
You’re closing the gap between dream and deal. So, test a theory: rooms feel bigger when they’re clean, light, and uncluttered, and that vibe travels straight from photo to buyer’s imagination. Your checklist—neutral walls, bright lighting, tidy cords, fresh textures—becomes a shared vision, not a chore. Collaborate with each space: declutter, stage, spotlight, and breathe. When you trust the process, photos and viewings reflect the truth you’ve already created—confident, inviting, and ready to impress.