Your front door upgrade will be the most dramatic improvement you’ll ever make—unlocking better security, comfort, and curb appeal in one move. You’ll want a clear plan: set goals, pick the right style and material, and map out a budget before you measure and remove the old door. With proven steps for weatherproofing, fit, and hardware, you can proceed confidently and avoid costly mistakes. Ready to start shaping a durable, inviting entry that pays off for years?
Set Your Entry-Door Goals and Budget
Setting clear goals and a realistic budget is your first, most important step. You’ll define what you want from your entry door project and set measurable targets like cost caps, timeline, and finish quality.
Start with a needs assessment: security, insulation, curb appeal, and maintenance.
Next, establish a budget range and line items for doors, hardware, finish, and installation.
Prioritize decisions that affect cost and impact, such as door color choices and material type, then reserve funds for unexpected issues.
Research doorbell options now to avoid scope creep later.
Determine decision deadlines to prevent drift.
Finally, create a simple approval process and a tracking method so you stay on schedule and within budget while achieving your desired look and performance.
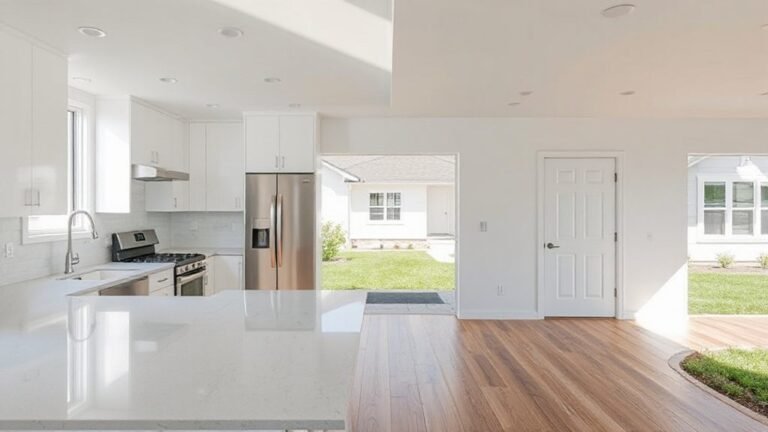
Compare Styles for Curb Appeal and Function
When choosing styles, prioritize curb appeal and daily function in tandem. Start by identifying your home’s architectural cues, then compare door aesthetics across options that match or elevate those cues.
Assess height, width, and panel design for visual balance and easy operation. For curb appeal, consider finish, glass inserts, and hardware that echo your exterior accents without overpowering the façade.
For function, evaluate energy performance, weather sealing, and maintenance needs tied to each style.
Do concise style comparisons: Craftsman, contemporary, traditional, and cottage entries each offer distinct silhouettes and proportion. Eliminate choices that clash with prevailing lines or clutter the entryway.
Choose a style that harmonizes with your porch, foyer, and yard. Confidence comes from clear, side-by-side differences, not impressions alone.
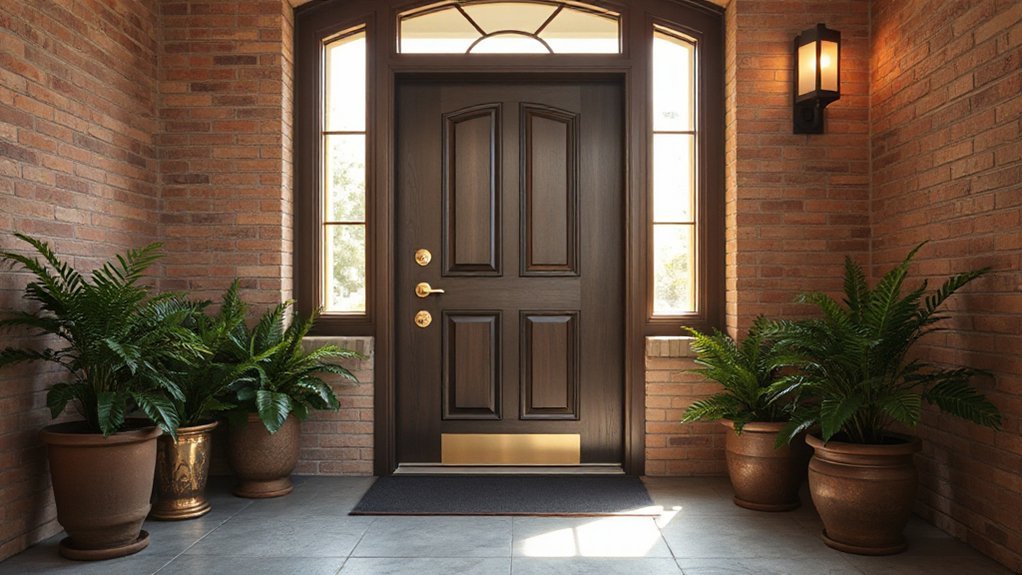
Pick Materials for Security and Energy Efficiency
Choosing door materials matters for both security and energy efficiency, so start by prioritizing strength, insulation, and weather resistance. You’ll want a core that resists denting and prying, paired with a solid frame and reinforced hardware. Look for materials with proven material durability and a tight seal that reduces drafts.
For energy savings, prioritize insulation value and air-tight construction over decorative looks. Steel doors with a foam core offer strong security and good insulation, while solid fiberglass resists warping and handles heat transfer well.
Wood can be attractive but requires maintenance and may lack uniform insulation unless engineered. Consider composite options that blend durability with efficient insulation.
Balance cost, maintenance, and performance to maximize both security and long-term energy savings.
Assess Framing, Hardware, and Weatherproofing Needs
Assess framing, hardware, and weatherproofing needs by focusing on compatibility with your chosen door and climate. You’ll want a solid frame that accommodates the door’s opening size and swing, so verify rough opening dimensions before buying.
Perform a quick frame inspection for any warped studs, loose sills, or cracks that could compromise fit or sealing. If issues exist, address them now to prevent leaks or instability after install.
For hardware selection, choose hinges, a lockset, and a strike plate rated for your door material and weather exposure. Look for corrosion-resistant finishes and appropriate thickness—budget for reinforced hinges if you’re installing a heavy exterior door.
Finally, plan weatherproofing with upgraded seals, a weatherstripping kit, and a compatible threshold to minimize drafts.
Measure Precisely for a Perfect Fit
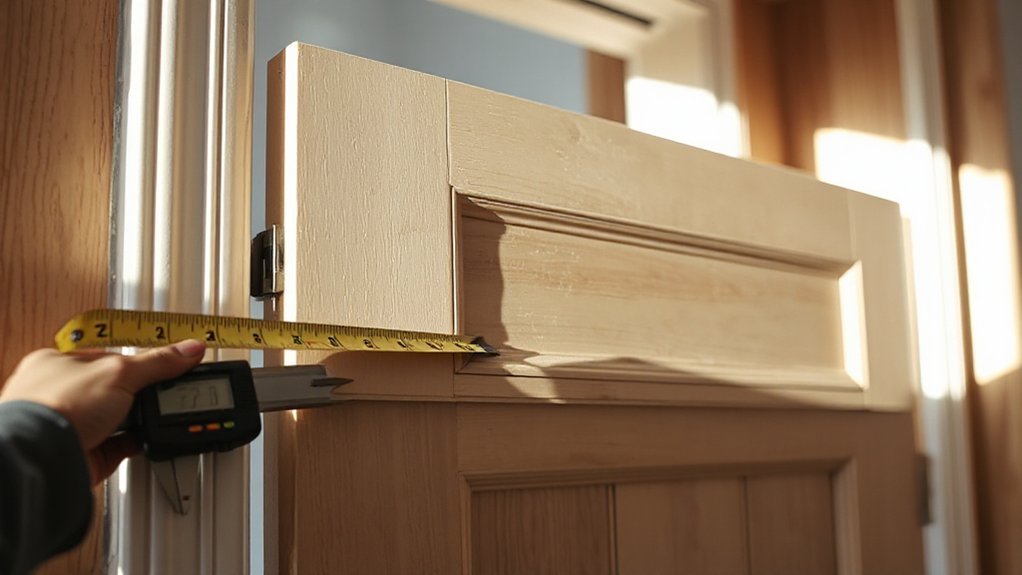
To get a perfect fit, you must measure with precision and verify every dimension before you order or cut.
Start with the door frame measurements: measure the width at the top, middle, and bottom. Then use the smallest width to guide the door size.
Note the door height from floor to header, and check clearance for a swing path.
Record reveal allowances for both sides and the bottom, accounting for floor slope.
Don’t forget hinge placement: mark the exact hinge locations on the door edge and frame, ensuring alignment with the hinges on either side so the door lands evenly when closed.
Recheck all measurements after any minor adjustments, and double-check that the new door will clear trim, weatherstripping, and hardware.
Prep the Space and Remove the Old Door
Before you swap doors, clear the entryway and set up a safe workspace.
Start with door removal by removing hardware first—screws, hinges, handles—so nothing interferes. Label components as you go to avoid mix-ups during reassembly. Protect surrounding trim and floor with a drop cloth or old towels.
If a storm door is present, detach it before you tackle the interior unit. When you lift the old door, get a helper or use a sturdy lever to avoid pinched fingers.
Measure the rough opening and check for moisture or rot in the frame; address issues now rather than later.
Space preparation matters: keep tools organized, store screws in labeled containers, and maintain a clean surface to prevent trips.
With walls clear and the door free, you’re ready for the next step.
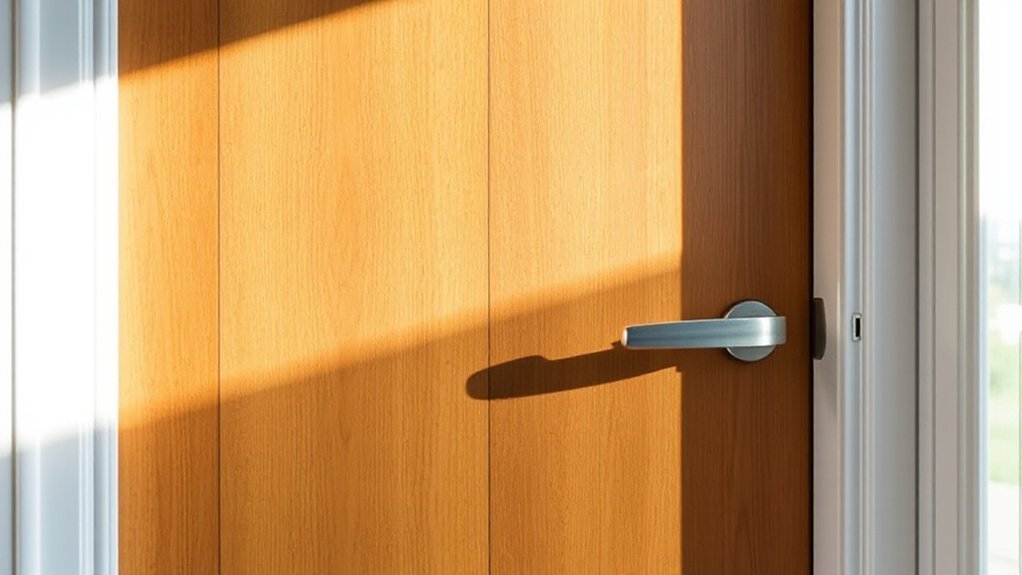
Install the New Door: Step-By-Step Basics
Now that the space is ready, you’ll install the new door with steady steps. Start by setting the door into the frame, checking alignment and plumb with a level.
Secure hinges to the door first, then to the jamb, keeping screws snug but not overdriven.
Check reveals and gaps; you want even spacing along all sides.
If the door sticks, plan minor shims behind hinges or at the latch side—not by forcing the swing.
Install the latch and strike plate, test a smooth, full latch.
Consider hardware options that suit your door’s style, then choose a compatible finish.
Decide on paint finishes before final tightening to avoid smudges.
Finish by confirming the door swings freely and seals well without binding.
Seal, Insulate, and Weatherstrip for Comfort
Careful sealing and insulation around your new entry door makes a big difference in comfort and energy bills. Start with door insulation by choosing a high-quality foam or fiber gasket that matches your door frame. Fit it snugly in the reveal to minimize gaps, then test for movement—should feel firm but not warped.
Next, apply weather sealing along all edges; dense, flexible weatherstrips compress evenly when the door closes. Check the threshold for a proper seal and add or replace a sweeper if needed. Don’t overlook the hinge side; use compatible weatherstrips to stop drafts from sneaking in.
Finally, assess insulation in the door itself—if you see daylight near the edges, upgrade to better core construction or add a thin, rigid insulating panel.
Maintain Your Door to Protect Longevity and Value
Gentle maintenance now protects your door’s longevity and value, so set a simple routine you can stick to. Regularly inspect hinges, latches, and weatherstripping for looseness, rust, or wear. Tighten screws, lubricate hinges, and replace weatherstripping as needed to prevent drafts and squeaks.
Perform a quick check of the door frame for cracks or settling; address any gaps promptly. For hardware maintenance, keep metal components clean and lubricated to extend life and function.
When you notice fading or peeling, plan paint preservation steps: clean, lightly sand, and apply a suitable exterior finish, protecting trim and edges. Schedule seasonal checks, touch-ups, and hardware tweaks to sustain curb appeal, security, and energy efficiency over time.
Frequently Asked Questions
Can I Install a Door Myself or Hire a Pro?
Yes, you can DIY, but for best results, hire a pro if you’re unsure. DIY tips help with prep and alignment; professional installation guarantees weatherproofing, security, and warranty. Weigh costs, skill, and time before deciding.
What’s the Typical Cost Range for Door Upgrades?
You’re stepping into a story where cost mirrors your door’s journey: typically $250–$2,000+ installed. Weigh design options and material choices, then compare pros and cons, so you decide confidently rather than guessing.
How Long Does a Door Replacement Usually Take?
A typical door replacement takes half a day to a full day, depending on your home and door type. You’ll tighten the Door frame, add insulation materials, and finish with trim when you’re done.
Do I Need Permits for Exterior Door Work?
Yes, you’ll likely need permits for exterior door work in many areas. You’ll also document door frame and weather sealing details, guarantee compliance, and avoid fines, because proper permits protect you and your project from costly, dramatic delays.
Which Security Features Matter Most for Entry Doors?
Smart locks and reinforced frames matter most for entry doors, because they deter break-ins and simplify access. Choose tamper-resistant smart locks and steel-reinforced frames, install proper strike plates, and guarantee batteries and firmware stay updated for reliable security.
Conclusion
Upgrading your entry door sounds heroic, doesn’t it? You’ll finally fix drafty mornings and jealous neighbors’ stares. Irony aside, you’ve chosen a sturdy style, measured twice, cut once, and sealed every crack like a martyr for comfort. You’ll enjoy energy savings that somehow aren’t dramatic, yet somehow are. Remember: even the strongest door wears out—so you’ll repeat this ritual in a few decades. Until then, pat yourself on the back, because you’ve earnestly made your home marginally less drafty.