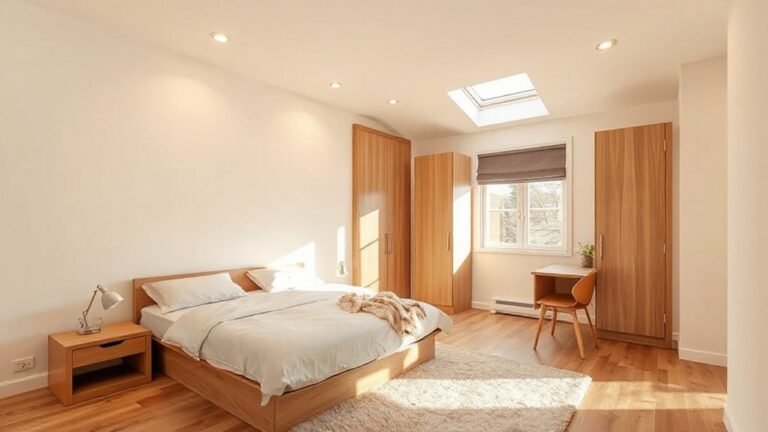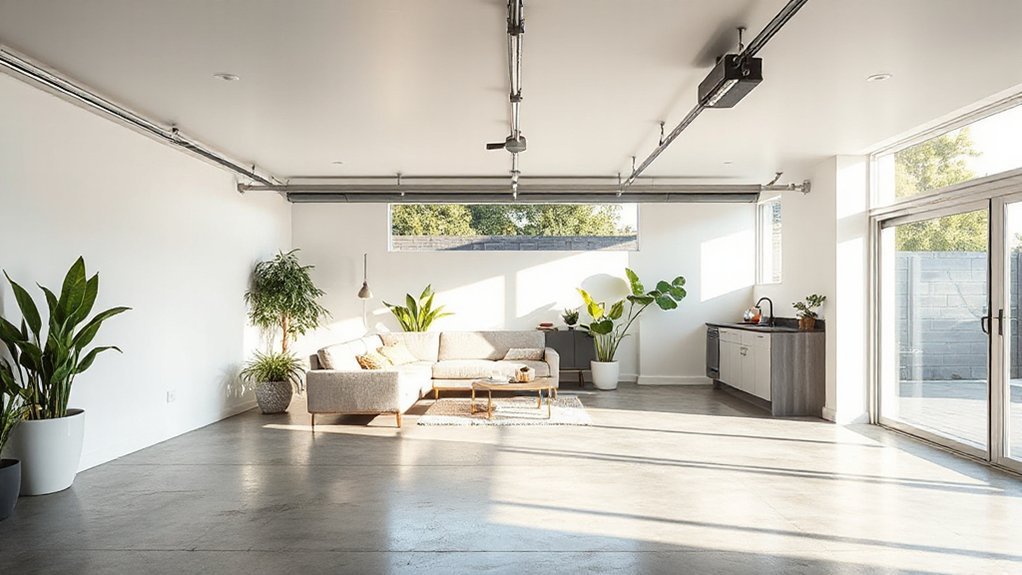
Like a quiet door you’ve passed a hundred times, your garage holds the promise of space you’ve yet to claim. You’ll assess feasibility, map budgets, and sketch layouts that feel intentional, not rushed. With careful finishes, smart storage, and abundant light, you’ll create rooms that look refined yet stay practical. So you’ll want to see how small living rooms can breathe, and where to place lighting—as the choices you make now shape what comes next.
Assess Feasibility: Criteria to Convert Your Garage
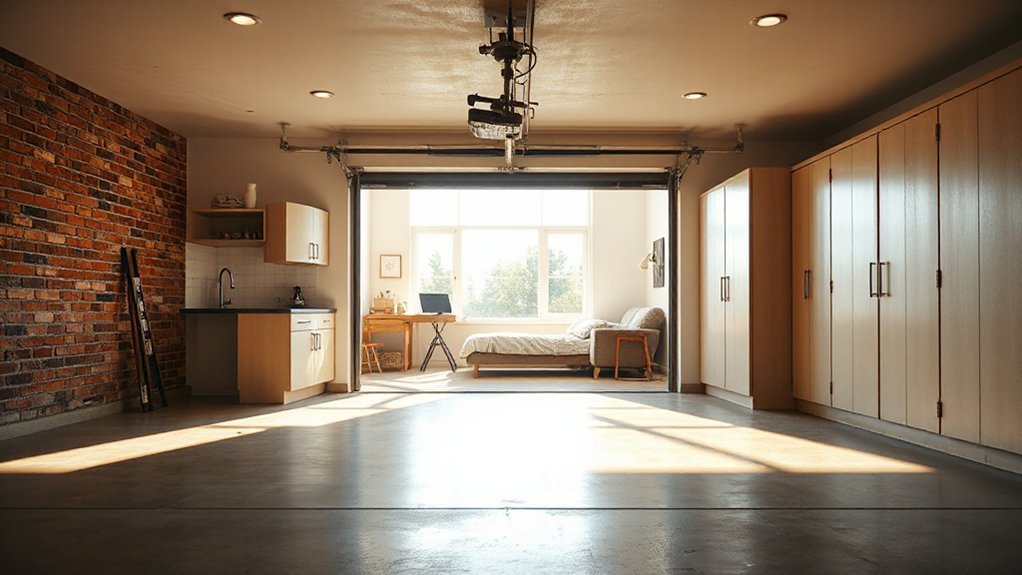
Evaluating feasibility starts with a clear map of what you can legally and practically change. You’ll assess structural limits, planning rules, and utility access, so your project stays grounded. Consider ceiling height, daylight, and egress, because usable space depends on these realities.
Check existing foundation, load-bearing walls, and insulation potential to forecast costs and timelines. Gauge HVAC, electrical, and plumbing rerouting needs early to avoid surprises.
Garage security matters: plan sturdy doors, windows, and access controls to preserve safety as you convert. Insurance considerations matter too; confirm coverage during work and post-conversion, so your policy remains active and accurate.
Balance ambition with restraint, prioritizing essential upgrades first, then refine aesthetics as feasibility confirms your path. Your clarity now prevents costly backtracking later.
Plan First: Budget, Codes, and Timeline
Begin with a clear budget, a realistic code plan, and a concrete timeline, because money, rules, and timing drive every decision. You’ll align your vision with practical steps, avoiding costly detours and delays.
Plan first to protect Garage aesthetics and exterior design, ensuring curb appeal matches interior potential.
- Define cost envelopes for permits, insulation, and finishes.
- Set compliance milestones with code reviews and inspections.
- Establish a phased schedule that accommodates weather and permitting windows.
This approach keeps momentum, minimizes rework, and clarifies tradeoffs between aesthetics and function.
You’ll balance style with structure, choosing materials that respect structure and style.
Space Needs and Layout: Define Your Living Zones
Start by translating your lifestyle into distinct living zones: a comfortable, accessible flow that prioritizes daily use, storage, and daylight. You’ll map zones by function, not footprint, ensuring clear progressions between cooking, lounging, and sleeping areas.
Choose a zone logic that minimizes doorways and maximizes natural light, with sightlines that feel generous despite square footage. Allocate storage around each zone, so tools and gear live near activity without clutter.
Think circulation first: wide paths, hinge-free doors, and reachable switches. Integrate Garage aesthetics through finishes that unify the space—matte cabinetry, warm woods, and durable, easy-clean surfaces.
Blend landscaping integration with exterior doors and sightlines to extend the indoors outward, enhancing curb appeal while maintaining privacy. This zoning approach yields a balanced, adaptable retreat.
Plan Layouts for Small Living Rooms
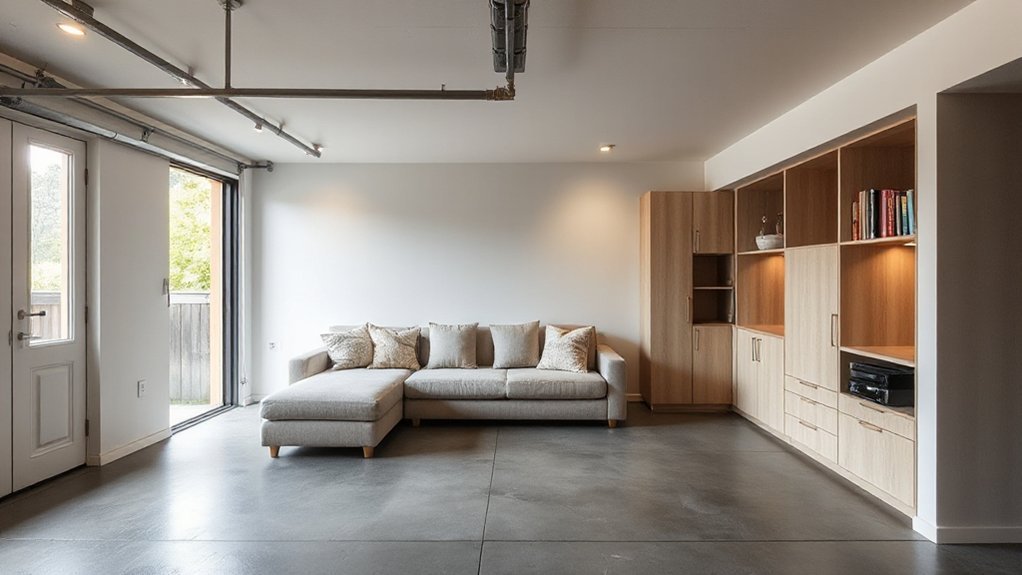
When space is tight, prioritize layouts that maximize function without sacrificing flow: map the room to three core zones—seating, display/tech, and circulation—so every inch serves a purpose. You’ll optimize with compact furniture, modular seating, and a single focal point to unify the space. Consider vertical storage, wall-mounted media, and a low-profile coffee table to preserve openness.
- Define clear traffic paths to avoid bottlenecks and keep movement intuitive.
- Use multi-purpose pieces that tuck away when not in use for clean lines.
- Align décor with a cohesive palette to reinforce Garage aesthetics and landscaping integration.
Plan layouts that feel spacious, intentional, and visually balanced, even in a compact footprint.
Maximize Natural Light in Garage Conversions
Smart lighting begins with natural sources: harness window placement to flood your space with daylight while preserving comfort. Strategically sized and positioned openings, skylights, and glass doors maximize light without compromising privacy or heat control.
Choose light-maximizing materials—reflective paints, glass, and light-toned surfaces—to bounce brightness deeper into the garage.
Natural Light Strategies
Natural light can transform a garage from a dim utility space into a bright, welcoming living area; prioritize strategies that flood the room with daylight while preserving energy efficiency. You’ll boost glow without glare by combining reflective surfaces with smart shading and thoughtful layout. Focused choices *release* space, mood, and function.
- Utilize skylights or wide roof windows to maximize daylight penetration.
- Choose light, neutral tones and strategically placed mirrors to amplify brightness.
- Integrate clerestory windows and glass doors where permitted to blend indoors with outdoor views.
To complement light, consider Landscaping enhancements and Exterior paint options that reflect sun rather than absorb it, maintaining a balanced, serene atmosphere.
Window Placement Techniques
Even with a tight footprint, smart window placement can flood a garage conversion with daylight and reduce energy use. You’ll prioritize window positions that align with living zones, letting sunrise wash your lounge while avoiding glare in work spaces.
Consider symmetry for calm, or intentional asymmetry to frame architectural views. Use larger panes on the long wall to maximize reflections and perceived space, and smaller, strategically placed side windows to capture cross-ventilation without overheating.
Decorative window trims add depth, anchoring the openings to your interior palette. Choose window treatment options that balance light control with privacy—think light-filtering shades or wood-veneer panels that pair with your finishes.
Light- Maximizing Materials
To maximize natural light in a garage conversion, choose materials that bounce or transmit daylight deeper into the space. You’ll harness brightness with light-reflective finishes, clear glazing, and high-contrast accents that guide the eye.
Color psychology informs your palette, pairing airy whites with soft neutrals to elevate mood and perceived space.
Furniture arrangement matters too, so align seating to maximize wall-to-wall light paths and avoid shadowy nooks.
Use these material tactics:
- Opt for glossy or satin surfaces on walls and ceilings to reflect daylight.
- Choose low-iron, wide-pane glass for doors and windows to reduce tinting.
- Select light-toned, durable floorings that resist glare and swell with natural illumination.
Insulation, Windows, and Climate Control Essentials
Insulating well and choosing the right windows are the foundation of a comfortable garage conversion, because a tight shell keeps heat in, cold out, and your energy bills down. You’ll seal gaps with gasketed doors, rigid foam, and well-placed air barriers.
Then, select triple- or double-glazed fixed or operable units that balance light, glare, and security. Climate control thrives when the shell sheds heat in summer and retains warmth in winter, so pair continuous insulation with a smart thermostat and zoned heating.
Consider shading and ventilation to manage humidity, and plan for future upgrades without overbuilding. Garden landscaping and outdoor lighting can frame the space, guiding perception of coziness while you optimize airflow, daylight, and glass performance.
Energy-Efficient Systems for Comfort and Cost
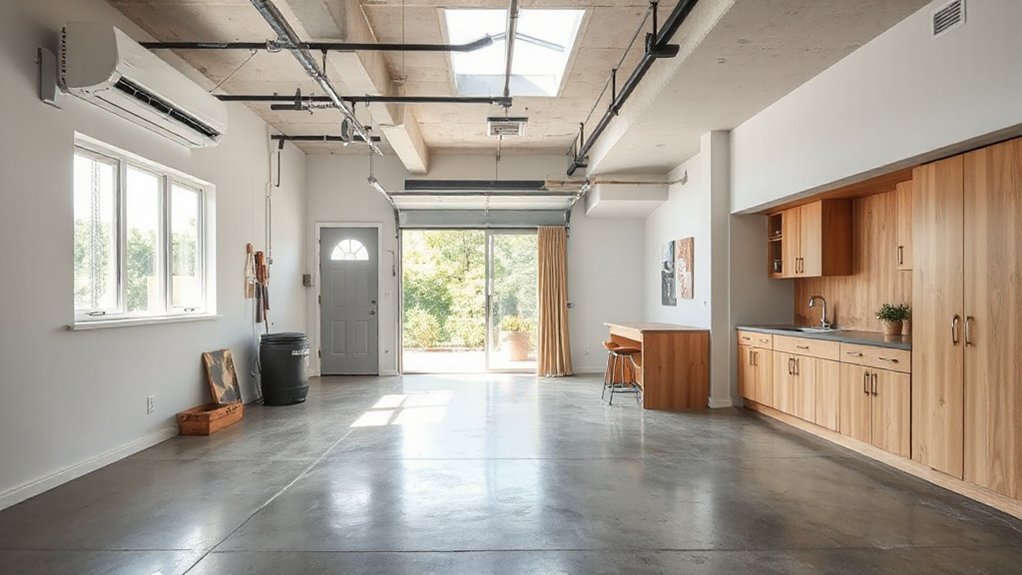
Smart, energy-conscious systems keep your garage living space comfortable and affordable, letting you enjoy climate control without breaking the bank. You’ll balance comfort with cost by choosing efficient options that fit your space and lifestyle.
Use solar panels to capture daytime energy and reduce bills, while scheduling energy audits to uncover waste and optimize performance. A thoughtful setup pairs insulation with smart controls, maximizing every degree.
- Assess sources of heat loss and seal gaps
- Integrate smart thermostats and occupancy sensors
- Size and position solar panels for peak exposure and ROI
With precise planning, you gain reliable comfort, lower utility expenses, and a cleaner footprint. Your transformed garage rewards you with steady climates, minimal maintenance, and enduring efficiency.
Kitchen and Plumbing Layouts for Compact Spaces
When space is tight, a kitchen and its plumbing should work like a well-oiled compact machine: compact layouts, smart routing, and visible efficiency.
You design with a micro-hub concept: keep the fridge, sink, and stove in a triangle, but tuck plumbing runs behind cabinetry for clean lines.
Use wall-mounted storage to free floor space and reduce clutter, while a single trough or corrugated drain keeps pipes discrete yet accessible for maintenance.
Compact plumbing should prioritize gradient, trap placement, and access panels for quick fixes.
Choose integrated appliances to preserve flow, and color and texture that echo garage aesthetics while still feeling refined.
Exterior design cues can carry through to doorways and windows, linking interior practicality with cohesive regional charm.
Bathrooms in a Garage Conversion: Efficient Layouts
Even in a garage, a well-planned bathroom can feel like a designed finisher, with a compact footprint that doesn’t compromise flow. You’ll optimize layout by prioritizing zoned wet areas, a slim vanity, and a corner shower to maximize space without crowding sightlines.
Embrace Garage aesthetics by choosing light, reflective surfaces and wall-hung fixtures that reduce visual bulk. Outdoor integration can be achieved with a transom window or door access that brings in natural light and air flow.
- Plan a linear layout: door, toilet, vanity, shower in a tight, logical sequence.
- Choose compact, wall-mounted units to free floor space.
- Use moisture-friendly materials and a short-run ventilation strategy for comfort and longevity.
Built-In Storage That Maximizes Small Spaces
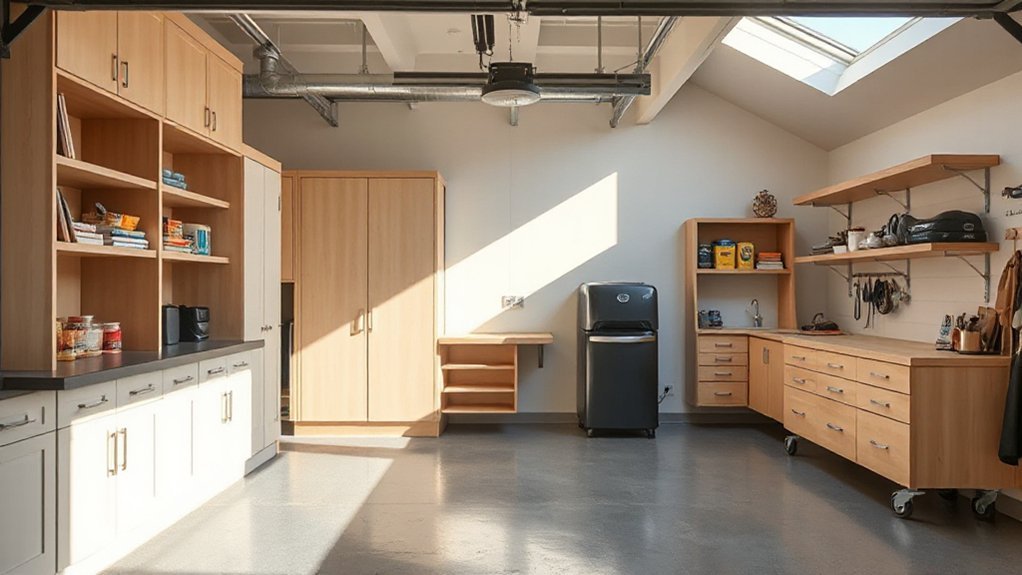
Built-in storage can be the quiet hero of a small-space garage conversion. You’ll uncover clever nooks, from wall-mounted cabinets to floating shelves, that reclaim floor area without sacrificing style.
Prioritize vertical runways—pegboard panels, track systems, and modular cubbies—so every inch serves a purpose. Choose built-in storage that integrates with your overall aesthetic, using uniform finishes and slim profiles to vanish into the backdrop.
Opt for multi-functional pieces: a bench with hidden bins, a bed platform with drawers, or stairs that conceal storage cavities. Plan routes for access and consider moisture-resistant materials for durability.
This approach delivers space optimization by layering storage into the architecture, keeping surfaces clear while preserving an expansive feel. Subtle hardware completes a cohesive, clutter-free environment.
Lighting Plans to Elevate Mood and Space Perception
Let natural light shape your garage’s rhythm by layering daylight through multiple sources and apertures.
Pair this with mood-enhancing fixtures that glow softly at the right moments, making the space feel larger and more welcoming.
You’ll notice how precise lighting choices tighten perception of space while elevating daily mood.
Natural Light Layering
Natural light isn’t just illumination; it’s the design language that shapes mood and perception in a garage conversion. You layer brightness like a painter, balancing intensity, direction, and shadow. With thoughtful glazing, you invite garden integration and outdoor connectivity, weaving the interior with the outside world.
- Orient windows to maximize daylight hours while framing landscape views.
- Use layered glazing—translucent screens, skylights, and sidelights—to modulate glare and depth.
- Pair reflective surfaces with warm tones to extend daylight feel into evenings.
You’ll notice rooms feel larger when light travels fluidly from source to corner. Choose trims, frames, and materials that celebrate natural hues. The result is a serene, versatile space that breathes with the day.
Mood-Enhancing Fixtures
Mood often hinges on sightlines and ambience, and lighting is the quickest way to bend perception in a garage conversion. You’ll use a layered approach: ambient, task, and accent lighting that reacts to mood shifts.
Choose warm cCTs for cozy evenings and cooler tones for focused tasks, balancing color temperature with color psychology to guide feeling without shouting. Dimmable LEDs let you switch scenes—from calm mornings to social evenings.
Position lighting to highlight architectural lines, avoid glare, and expand perceived space. Consider furniture arrangement and sightlines; lamps near seating create intimate corners, while under-cabinet strips reveal surfaces without crowding the room.
Integrate coves or wall grazing to add depth, then test with movable fixtures to refine atmosphere before finalizing.
Soundproofing and Privacy in Open-Plan Garages
Open-plan garages demand both quiet and privacy, and with the right soundproofing strategy you can keep conversations, music, and HVAC noise contained without sacrificing openness or light.
- soundproofing techniques that dampen impact and airborne sound
- privacy strategies that create visual control without creating a tunnel
- airflow careful planning to avoid sound leakage between zones
You’ll implement layered walls, resilient channels, and acoustic caulk to reduce reverberation while preserving scale. Use plush, absorptive furnishings and strategic rug placements to tame midrange reflections.
Position work zones and private calls behind partial screens or bookfolds to maintain openness yet shield sensitive moments. Think zoning: keep social areas visually connected but acoustically distinct.
The result is calmer ambience, clearer conversations, and a thoughtful balance between openness and retreat.
Finishes and Materials That Look High-End on a Budget
You can achieve a luxe look without breaking the bank by pairing budget-friendly finishes with simple, high-end material choices. Focus on clean lines, subtle textures, and smart contrasts to elevate surfaces without overdoing it.
This approach centers on material simplicity, thoughtful detailing, and budget-conscious surface upgrades that read as refined.
Budget-Friendly Finishes
- Replace dated floors with faux-wood vinyl or ceramic that mimics real grain while resisting moisture.
- Layer lighting—track, wall washers, and warm LEDs—to sculpt depth and warm ambience.
- Use cohesive millwork and panels in neutral tones to unify walls, ceiling, and storage.
For added impact, choose finishes that support garage aesthetics and seamless outdoor integration, such as outdoor-rated materials repurposed indoors or passage-friendly trim. Pair matte surfaces with glossy accents to avoid flatness. This approach keeps the feel polished, breathable, and distinctly modern.
High-End Material Simplicity
High-end looks don’t have to cost a fortune; you can achieve luxe with simple, well-chosen materials. When you select finishes, prioritize texture, light reflection, and seamless joins to punch above their price tag.
Luxury textures—think brushed metals, matte laminates, and generous stone-inspired surfaces—add depth without heaviness. Favor minimalist elegance: clean lines, restrained palettes, and deliberate contrasts that let material quality shine.
Use wide-board composite flooring that resembles timber, but with durability; pair it with a glass or quartz island to read as premium. For walls, a satin plaster or geometric paneling detail can feel refined without ornate flourishes.
Keep hardware cohesive and understated, avoiding novelty. The result: a refined, cohesive space that reads expensive through intent, not excess.
Budget-Conscious Surface Upgrades
Smart surface upgrades can look lux without a steep bill, as long as you choose materials that play with texture, light, and scale. You’ll transform garages into refined spaces by smartly pairing finishes with lighting, color, and proportion.
- Use large-format porcelain or quartz-look tiles with matte seaming to mimic high-end stone without the cost.
- Choose plywood or MDF with real veneer edges for warm, tactile walls, then pair with soft, ambient lighting.
- Implement affordable metallic accents and glass hardware to elevate doors, cabinets, and railings, balancing Garage aesthetics with color schemes.
Aim for restrained palettes and texture variety to maintain cohesion, not clutter. This keeps the space timeless, bright, and functional.
Real-World Case Studies: Takeaways and Pitfalls
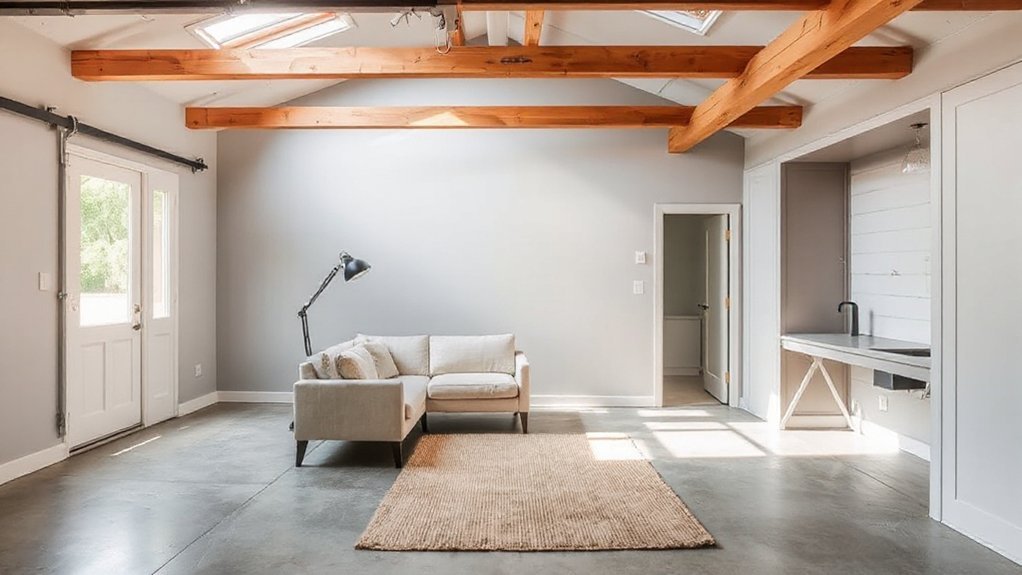
Real-world case studies reveal what works and what doesn’t, offering actionable lessons you can apply to your own garage conversion. You’ll notice patterns: tight budgets demand clever space planning and durable finishes, while unsealed potential comes from thoughtful daylight and ventilation.
Pitfalls often hinge on zoning hiccups, inadequate thermal breaks, and mismatched HVAC needs; anticipate them before you draft. Takeaways emphasize scalable layouts, modular storage, and resilient materials that age gracefully.
When you focus on Garage aesthetics, you’ll balance form with function—neatly integrated built-ins, cohesive color palettes, and hidden wiring. Outdoor integration proves powerful: seamless doors, transitional patios, and strategic landscaping extend living areas without overbuilding.
Learn from examples, but tailor designs to your climate, lifestyle, and budget, keeping clarity, precision, and timeless appeal at the core.
Frequently Asked Questions
How Long Does a Typical Garage Conversion Project Take?
A typical garage conversion takes 2 to 6 weeks, depending on scope. You’ll plan, insulate, and finish with Garage insulation and Lighting installation, shaping a precise, aesthetic space where you feel inspired each day.
What Permits or Approvals Are Usually Required?
You’ll typically need permits from local building authorities, plus inspections; expect approvals for electrical, plumbing, and structural work. Comply with building codes and zoning laws to guarantee safety, legality, and seamless permit processing.
Is a Garage Conversion Worth Reducing Parking Space?
Yes, it can be worth it, but weigh the Parking impact and neighborhood perception before you proceed. You’ll gain living space while ensuring design blends with streetscape, preserving curb appeal and resale value for your whole area.
What’s the Typical Return on Investment for Conversions?
Typically, you’ll see a solid ROI, though it varies. You’ll likely recoup costs with enhanced space and value. Garage insulation and conversion costs factor in; plan smartly, and you’ll enjoy better living space and resale appeal.
Can a Garage Conversion Be Reversible or Resale-Friendly?
Yes, you can, and it often remains resale-friendly with smart planning. You’ll preserve Design flexibility while addressing Structural considerations, ensuring reversible features and easy conversions for future buyers, without sacrificing aesthetics or comfort.
Conclusion
You can turn a garage into a warm, polished extension of your life—no magic required, just smart choices. See each square inch as potential, a blank canvas waking with light. You’ll blend durable finishes with gentle touches, craft zones that breathe, and tune mood with thoughtful lighting. Plan, budget, and respect codes, but don’t let fear dim your vision. When done well, your garage becomes a well-worn favorite room: practical, stylish, and quietly transformative.
About the Author