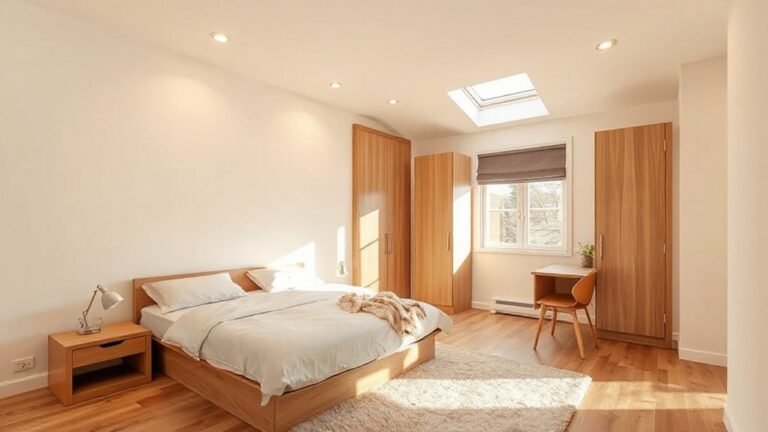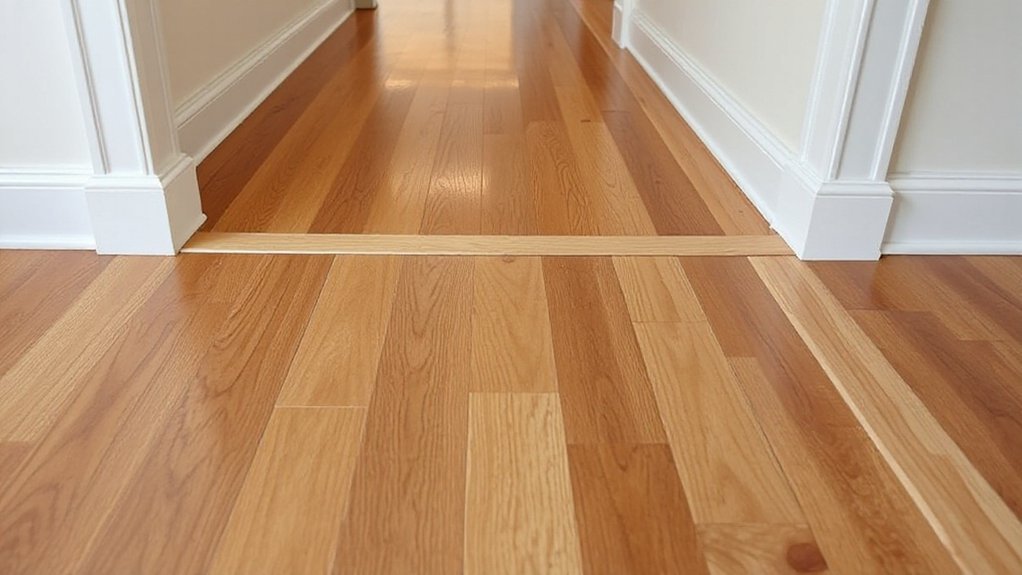
A single floor plan can guide your eye from room to room, turning passages into design moments you actually notice. You’ll blend color, texture, and plank direction so spaces feel connected, not matched. Think about base tones, durable materials, and easy maintenance to keep the flow steady. Transitions, thresholds, and elevation tweaks matter more than you might expect. Start with a plan, then see how your choices shape the overall vibe—there’s a quiet elegance waiting just beyond the threshold.
What Coordinating Flooring Really Means for Your Home
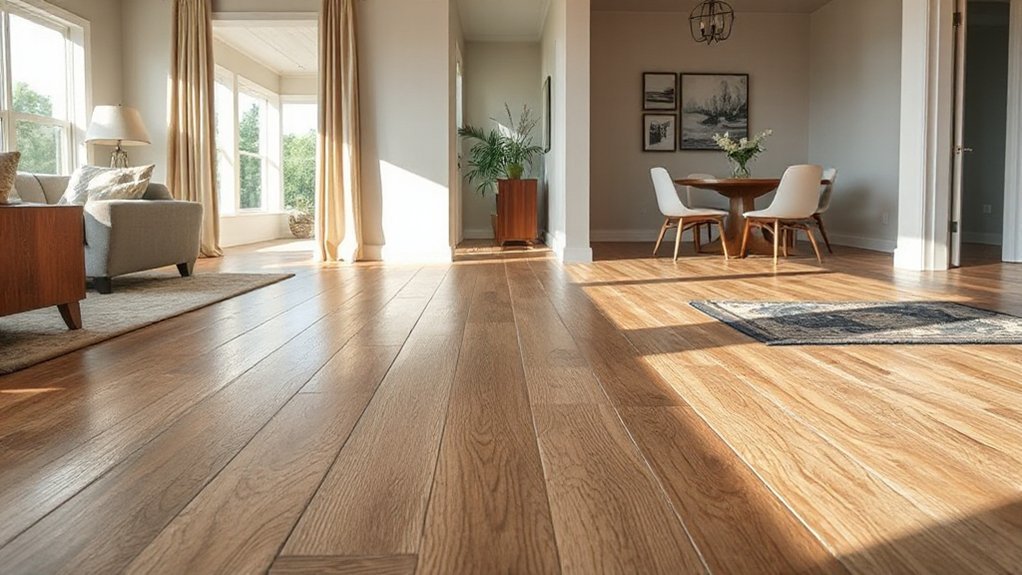
Coordinating flooring between rooms isn’t about matching every tile or plank exactly; it’s about creating a cohesive flow that feels intentional. You approach this by embracing the idea that passage matter more than perfect sameness. Flooring installation becomes a unifier when you consider sightlines, texture, and scale as you move through spaces. Focus on how each room communicates with the next, not on tiny discrepancies. Material selection should prioritize compatibility: similar undertones, complementary grain, and balanced moisture resistance. You don’t need identical materials; you need a shared language. When you plan, think about where you walk most, where light shifts, and how finishes age. The result is a seamless rhythm across your home, where every room feels connected yet distinct.
Choose a Unifying Base Color for Flow
Choose a unifying base color that anchors your flow without locking you in. Your base should feel like a quiet soundtrack, letting rooms breathe while unifying them. Pick a hue that isn’t too loud, then let decorative accents do the talking. Use subtle shifts in shade to create depth without interrupting the cadence between spaces. Pattern contrast matters: balance a calm base with occasional, deliberate contrasts in rugs or textiles to delineate zones without severing continuity. Consider a midtone that complements woods, metals, and wall tones you already love. Test swatches in multiple lights, ensuring the base color remains cohesive from corridor to living area. Avoid color fatigue by reserving bold statements for accessories, not main surfaces. The result is a seamless, timeless flow.
Choose Plank Patterns That Link Rooms
To link rooms, choose plank patterns that create a visual rhythm from space to space. You guide the eye along a single current, using pattern variety to weave consistency without monotony. Favor staggered or herringbone layouts subtly, so progression feel intentional rather than jarring. Consider how plank length and direction shape perception: longer planks in adjoining spaces can extend a line, while alternating directions between rooms adds deliberate interest. Balance pattern variety with material contrast, selecting planks that differ in grain or finish but share a cohesive tone. Avoid abrupt changes; let a shared base color or subtle texture anchor the rooms. The goal is a seamless flow where each space speaks to the next, not competing for attention.
Transitional Elements to Smoothly Blend Surfaces
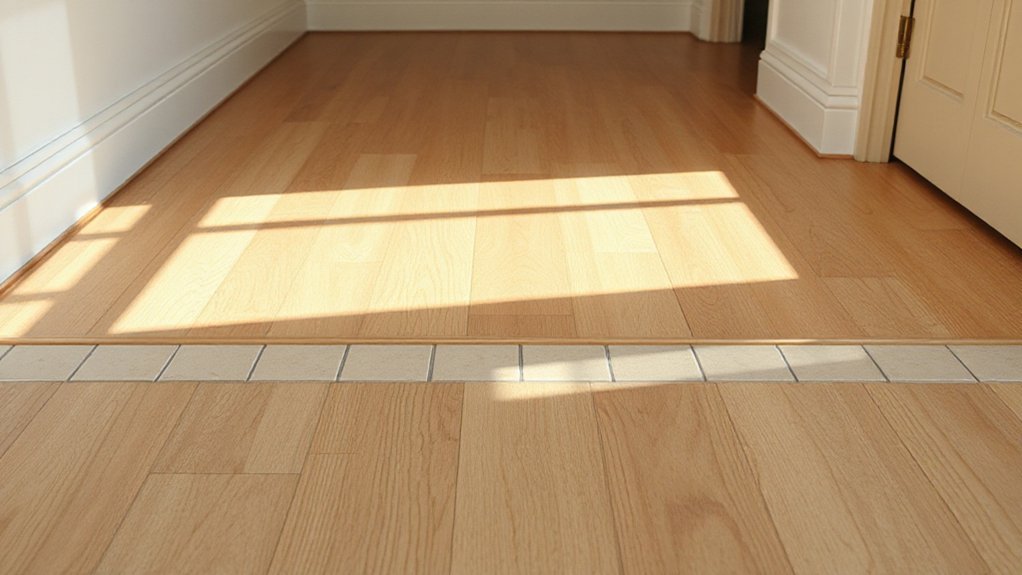
You’ll begin blending surfaces with transitional edge techniques that feel intentional, not abrupt. Pair color choices thoughtfully to keep rooms cohesive, avoiding jarring shifts. Consider seamless threshold options to maintain flow while defining each space.
Transitional Edge Techniques
Transitional edge methods blend two flooring surfaces seamlessly, guiding the eye from one room to the next. You align heights precisely, then choose a slender profile that won’t overpower the space. A clean edge creates continuity, while deliberate gaps accommodate movement without tripping hazards. Decorative borders can frame transitions, adding personality without distraction; keep the pattern restrained to preserve flow. Edge sealing protects seams from moisture and foot traffic, extending the life of both floors. You’ll install tolerant joints where planks meet tile, allowing expansion without compromising appearance. Maintain consistent grain direction or finish sheen to avoid visual interruptions. When finished, test for smooth footfall and even reflections of light. The result is a cohesive corridor that feels intentional and refined.
Color Compatibility Tips
Color choice can pull two surfaces together without shouting, so aim for harmony over matchy-matchy. You’ll want a restrained palette that respects both rooms’ tones—neither overpowering the other. Begin with a shared base color or a common undertone to unify, then introduce a subtle secondary hue as an accent. Use neutral anchors to bridge warm and cool spaces, keeping saturation moderate to preserve cohesion. When evaluating patterns, favor similar scales and avoid busy prints that clash with adjacent textures. Artistic patterns can add personality, provided they echo the overall color story rather than dominate it. Texture contrasts matter too: pair matte with shine or wood with stone to create depth without conflict. Your goal is a seamless, connected feel that stays refined and calm.
Seamless Threshold Options
A well-chosen threshold quietly links rooms by emphasizing flow without shouting. Seamless junctures minimize visual disruption, letting materials meet gracefully. You’ll choose threshold styles that bridge differing heights and textures, whether a flush transition, ramped edge, or micro-bevel. Consider metal, wood, or stone options that echo your flooring palette, supporting a cohesive rhythm from room to room. The goal is function without fuss, so select low-profile profiles that stay out of sight while guiding foot traffic. Keep moisture and wear in mind, especially near entryways or kitchens. Flooring accessories like careful sealants and matching trims prevent gaps and chipping. When in doubt, test transitions with samples to confirm a continuous, elegant look across spaces.
Balancing Finishes: Wood, Tile, and Other Surfaces
You’ll start by aligning material shift techniques so your spaces feel connected, not cut apart. Consider color and grain coordination across wood, tile, and other surfaces to create a cohesive rhythm. Keep surface elevation consistent to avoid jarring shifts as you move from room to room.
Material Transition Techniques
When balancing finishes between rooms, choose shifts that respect both function and mood, aligning wood, tile, and other surfaces through a shared edge, color, or texture cue. You’ll use junctures that minimize abrupt changes while highlighting intentional shifts. Consider a subtle step or eased bevel where materials meet, or a thin metal strip that grounds the seam without shouting. Pattern contrast can guide the eye—pair a busy tile with a calmer wood surface or vice versa—creating visual rhythm rather than interruption. Prioritize material durability for high-traffic zones by selecting hardened tile or sealed wood with appropriate wear ratings. Edge treatments and grout tones should reinforce cohesion, not compete, so the transition reads as a deliberate design move. Maintain balance, order, and a quiet, lasting tactility across rooms.
Color and Grain Coordination
Color and grain coordination shapes the rhythm between wood, tile, and other surfaces. You balance warmth and cool, light and dark, letting each material speak without clashing. Choose a shared undertone—warm amber, cool gray, or neutral beige—as your throughline, then let grain direction guide flow between rooms. Pattern mixing can add personality, but keep it deliberate: repeat one motif in subtle ways across textures to unify spaces. Material contrast matters, too; pair a matte tile with a polished wood or a lightly textured surface to create tactile interest without competing glints. Test samples side by side, observing how ambient light shifts the harmony throughout the day. Aim for cohesiveness, clarity, and a quiet yet intentional finish.
Surface Elevation Consistency
Surface elevation consistency keeps different surfaces reading as one seamless plane rather than competing finishes. When you plan progressions, you align thicknesses, profiles, and substrates so doors swing smoothly and thresholds disappear. Match subfloor tolerances first, then coordinate edge treatments and shifts that respect traffic patterns. Choose surface elevations that minimize step hazards while preserving aesthetic hierarchy. Use precise measurements and verify with a level to guarantee visually uninterrupted flow. Consider the impact of underlayment choices on final height, especially between wood, tile, and other surfaces. Document your standards for joint gaps, fastener heights, and adhesive allowances. Select reliable flooring adhesives compatible with each material to maintain long-term stability. Uniformity in elevation reduces maintenance and reinforces a cohesive, purposeful space.
Practical Rules for Doorways and Open Layouts
Doorways don’t just cut spaces; they govern flow. In open layouts, you set routes, not barriers, guiding foot traffic with subtle cues. Keep thresholds low or use seamless connections to preserve sightlines and movement. Choose flooring that behaves consistently across zones, prioritizing flooring installation that minimizes trip hazards and visual interruptions. You’ll want long planks or uniform tiles that align through openings, reducing sudden changes that jar the eye. Consider material durability when different areas meet: a robust core in high-traffic zones and softer textures where noise matters, yet maintain a cohesive look. Define clear color and grain relationships so shifts feel intentional, not accidental. Finally, plan for expansion gaps and fastening methods that tolerate seasonal movement, preserving harmony between rooms.
Layer Textures Without Clashing
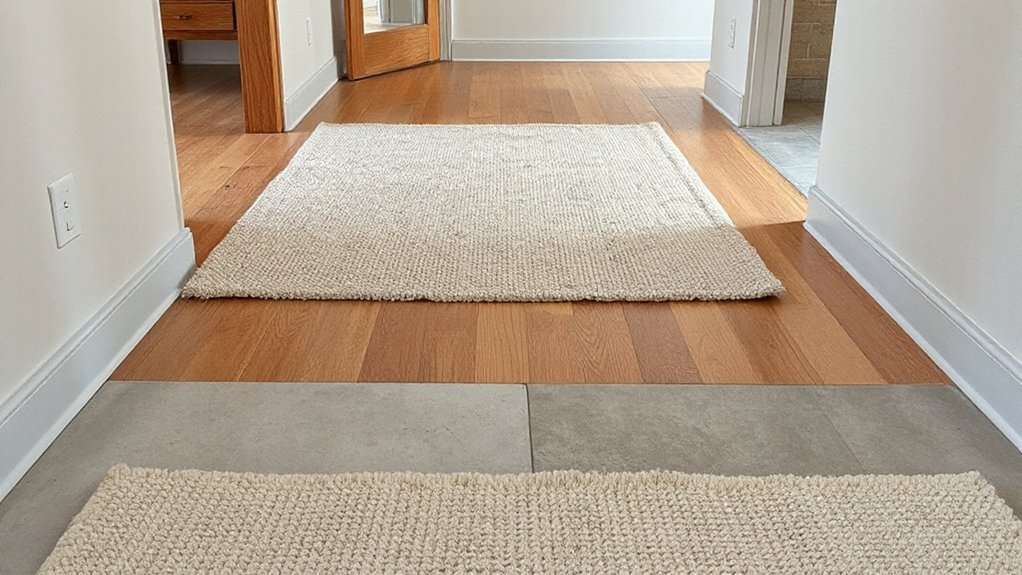
Textures can layer without clashing by threading a shared tempo across materials. You balance texture by grouping elements with similar grain, sheen, and scale, letting one surface take the lead while others echo. Start with texture contrast: mix a bold tactile surface with smoother finishes, then offset with subtle patterns that don’t compete. Use Pattern repetition to weave cohesion—repeat a motif across zones in a restrained way, so steps feel connected rather than discordant. Attention to grain direction helps alignment; align boards or planks to a common flow, even if grain varies. Consider scale carefully: pair large-scale textures with finer ones to avoid overwhelming a room. End with intentional gaps for breathing room, ensuring each floor reads as a deliberate layer, not a jarring intersection.
Lighting and Color Temperature to Unify Spaces
Lighting and color temperature act as the unifying thread between rooms: by aligning the brightness and warmth of each space, you create a cohesive flow without sacrificing individuality. You’ll unify with deliberate Lighting tones that match across areas, preventing abrupt shifts as you move from room to room. Start with a consistent base color temperature—around 2700–3000K for a warm, inviting feel, and adjust in zones to emphasize function without breaking harmony. Use dimmable fixtures to modulate intensity and preserve color fidelity across flooring choices. Color harmony emerges when accent lighting reflects the floor’s undertone, whether beige, gray, or wood. Maintain a shared palette for fixtures, trim, and soft furnishings to reinforce continuity, letting contrast arise from texture and scale rather than jarring color changes.
Maintenance and Durability Across Mixed Floors
Maintenance and durability across mixed floors require a practical, proactive approach: choose flooring options with compatible wear ratings and consider shifts that protect against scuffing and moisture. You assess traffic patterns between rooms, selecting surfaces that endure daily use without abrupt changes in texture or height. Pair resilient materials with softer accents to reduce impact, and seal edges where junctions occur to prevent moisture intrusion. Opt for consistent cleaning routines that respect each surface’s finish, avoiding abrasive methods that cause dulling or scratch marks. Stay mindful of flooring trends while prioritizing longevity and ease of maintenance. Favor eco friendly materials when possible, ensuring compatibility with existing substrates. In short, plan junctions, balance performance with aesthetics, and maintain cohesion through uniform care.
Quick-Start Checklist: Coordinate Flooring Today
Ready to act, you can start coordinating flooring today with a simple, practical checklist. First, assess each room’s purpose and foot traffic to determine durable materials and transition needs. Next, note existing colors and architectural features to guide your palette choices. Then, pick a unifying base tone, and pair it with two accent hues that echo the space’s mood. Consider artistic patterns sparingly to avoid visual clutter, reserving them for individual zones or feature runs. Check light levels, since color psychology shifts with daylight and artificial lighting. Confirm subfloor conditions, moisture barriers, and trim compatibility to prevent future refinishing. Finally, map transitions with consistent thresholds and create a mock layout to verify flow. Execute, review, adjust, and complete with cohesive, quiet sophistication.
Frequently Asked Questions
How Do We Handle Door Thresholds With Different Flooring Heights?
Door changeover with a stepped, ramped or micro-beveled threshold design smooths height differences. You’ll align flooring heights, use a gentle slope, and choose trim that hides gaps while keeping traffic seamless and visually cohesive.
Can Underlayment Choice Affect Color Perception Across Rooms?
Yes, underlayment can influence color perception, affecting color consistency across rooms. Choose a uniform, low-gloss underlayment to minimize reflections, and test samples in multiple lighting. Underlayment impact consequently helps maintain cohesive, aesthetic flooring throughout.
What Budget-Friendly Options Unify Multiple Flooring Types?
You can choose cost effective solutions like matching baseboards and thresholds, plus cohesive passages; use budget-friendly options such as luxury vinyl planks or engineered wood with coordinating grout-free tiles to create a seamless transition technique.
Do Lighting Changes Require Floor Color Adjustments Between Rooms?
Lighting changes do not force drastic shifts; aim for Lighting consistency and Floor color harmony. Like a quiet drumbeat, your spaces flow. You decide subtle ties, keeping progressions smooth, cohesive, and visually balanced.
How Often Should Mixing Floors Be Updated During Renovations?
During renovations, update mixing floors as needed, typically every major phase or when changing materials, ensuring flooring durability is maintained and installation techniques stay consistent. You’ll preserve cohesion and aesthetics without sacrificing function or long-term performance.
Conclusion
You’ve got this: envision a seamless flow from room to room, where color, texture, and grain align with purpose. Pick a unifying base and let progressions do the heavy lifting, so surfaces meet with understated grace. Layer finishes thoughtfully, and let lighting sculpt warmth and continuity. Ready to transform your space? Will you let careful coordination turn every step into a quiet, cohesive statement of home? Now start planning, pick materials, and watch harmony unfold.
About the Author