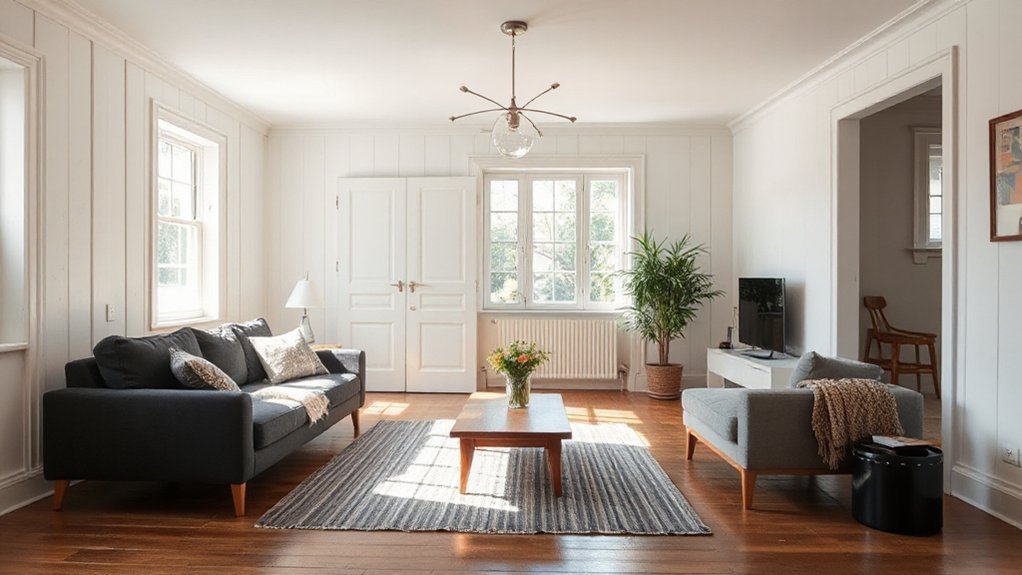
Dated charm can feel outdated at first glance, but modern upgrades don’t have to wreck your budget. You’ll start by defining clear goals—energy efficiency, brighter spaces, flexible layouts—and then tackle quick wins like energy-efficient lighting and fresh neutrals that lift the whole feel. This pragmatic approach keeps you grounded while you test bigger ideas, and there’s a practical payoff waiting just beyond the small changes, if you’re willing to plan and pace yourself.
Pinpoint Your Modernisation Goals
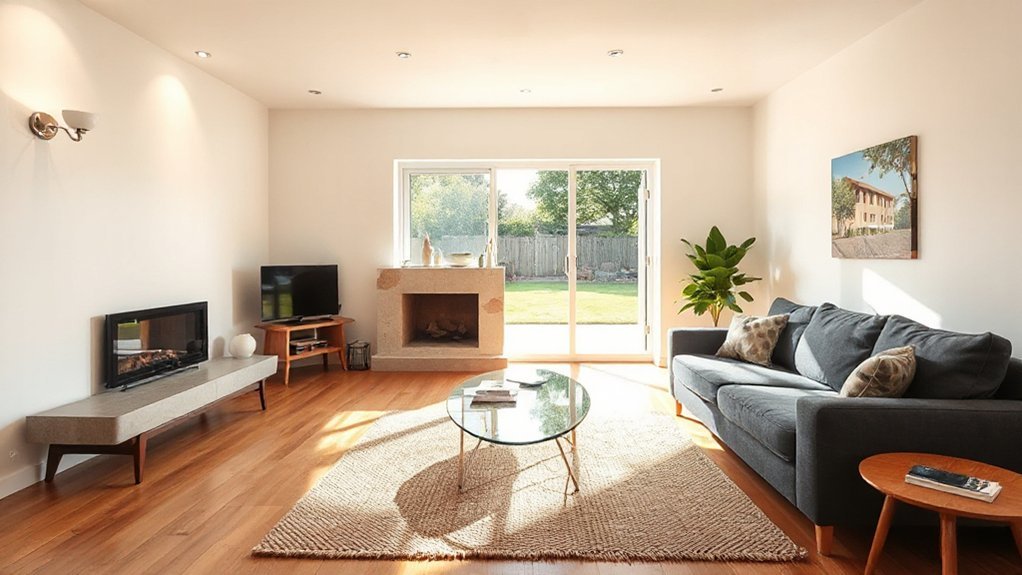
Pinpointing your modernisation goals starts with clarity about what you want to achieve and why. You’ll map outcomes that balance function, safety, and value, so every change serves a purpose.
Begin by listing non-negotiables: rooms you’ll use daily, circulation improvements, and structural concerns. Next, define style and constraints, considering historic preservation and architectural integrity.
Identify upgrades that preserve character—measurements, materials, and finishes that align with the building’s history while supporting contemporary use. Prioritise practical milestones, like energy efficiency, daylight, and layout flexibility, then assign timelines and budgets.
Assess risks early: permit requirements, potential restoration challenges, and vendor capabilities. Finally, translate goals into a simple, actionable plan with milestones, so you stay focused while respecting the property’s provenance.
Quick Wins: High-Impact, Low-Cost Upgrades
You’ve mapped your goals and now it’s time to act fast with high-impact, low-cost upgrades. Start with lighting upgrades: swap in bright, energy-efficient LEDs and layer with task lighting to instantly sharpen spaces without a full overhaul.
Update hardware in doors and drawers—modern handles can transform cabinetry in minutes. Focus on architectural features you already have: restore or spotlight crown molding, soffits, or exposed beams to reclaim vintage charm without massive expense.
Paint is a powerful tool; choose a cohesive palette that clarifies flow and highlights contrasts between old and new. Refresh kitchen and bath fixtures with inexpensive, stylish options, then declutter surfaces to reveal honest lines.
Finally, improve seals and weatherstripping for immediate comfort and measurable energy gains.
Refresh With Color and Texture for Instant Modernity
Color and texture are your fastest route to a modern feel, because they read as intentional and current even when the bones are older. You’ll refresh a space by pairing bold color psychology with restrained, tactile textures, so the room reads fresh without a full remodel.
Start with a dominant wall color or a curated palette, then layer texture with textiles, rugs, throw blankets, and upholstery in varying fabrics to add depth. Keep contrast intentional—dark accents against lighter neutrals, or a soft backdrop with a striking accessory.
Use texture layering to sculpt atmosphere: velvet, linen, and woven surfaces interrupt flat planes. Maintain balance; avoid clutter that dulls impact.
Test samples in natural light, observe how colors evolve, and adjust until the finish feels modern, cohesive, and lived-in.
Lighting Makeovers: Brighter, Smarter, More Efficient
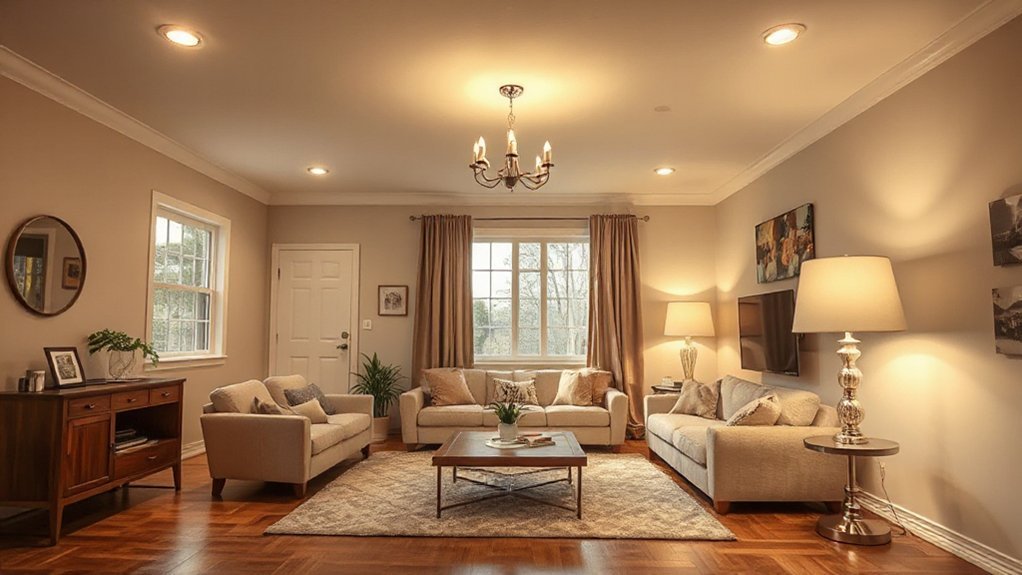
Switch to brighter lighting options that illuminate rooms evenly and reduce shadows, so spaces feel open and functional.
You’ll want smarter controls—motion sensors, timers, and dimming—so you only use light when and where you need it.
Pair these with energy-efficient upgrades, like LEDs and smart switches, to cut costs without sacrificing performance.
Brighter Lighting Options
If you’re upgrading a dated space, brighter lighting can transform the mood, function, and efficiency in just a few smart moves. Start with a layered approach: ambient lighting for overall visibility, task lighting for work areas, and accent lights to highlight architectural features.
Choose brighter, efficient LEDs with good color rendering (CRI) to keep colors true. Use dimmers to control intensity and set different moods without extra fixtures. Opt for cooler temperatures in work zones and warmer tones where you want coziness.
Consider track or recessed options to reduce clutter and maintain a clean line of sight. Lamps with glaze or metallic finishes add ambient ambiance, while decorative accents, like statement fixtures, can anchor rooms without overpowering them.
Keep cables hidden and outlets accessible for practical use.
Smarter, Energy-Efficient Upgrades
Upgrading to smarter, energy-efficient lighting is simpler than you might think and pays off every day. Start by auditing rooms: identify dark corners and glare-prone zones, then swap to high-efficiency LEDs with color temperatures that suit each space.
For living areas, choose dimmable bulbs to preserve ambience without wasting power. In kitchens and workspaces, opt for bright, cool-white LEDs to improve visibility and accuracy.
Smart controls matter: motion sensors in hallways, daylight sensing in larger rooms, and central hubs for scheduling.
If you love vintage charm, blend smart LEDs with warm filaments or vintage fixtures to honor traditional aesthetics while gaining efficiency.
Update switch plates and trims for a cohesive look, and keep energy savings steady by simple, routine management.
Upgrade Fixtures and Hardware for Cohesive Style
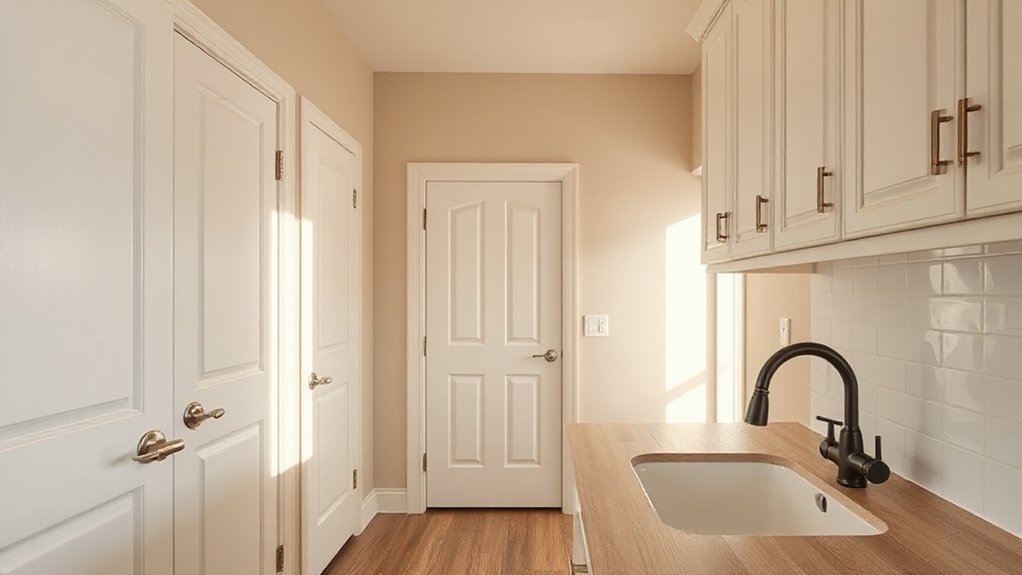
Even small updates to fixtures and hardware can pull a dated interior together, so start by choosing cohesive finishes that run throughout the space. You’ll unify rooms by pairing matching door handles, cabinet pulls, and faucet styles in the same metal or matte finish.
For a timeless look, lean on classic fixtures with clean lines and minimal ornament. Choose finishes like satin nickel, matte black, or brushed brass to avoid trend-driven clutter.
Prioritize scale and installation height so every piece feels deliberate, not random. Keep hardware consistent across adjacent rooms to reinforce flow.
Introduce vintage charm through a few well-chosen accents, then balance with modern, simple fixtures for contrast. This approach delivers cohesive style without sacrificing practicality or comfort.
Floor and Wall Treatments That Transform Spaces
Floor and wall treatments can completely redefine a space, so start with durable, easy-to-clean options that suit your lifestyle. Focus on performance first: scratch-resistant flooring, moisture-tolerant finishes, and low-maintenance walls that resist fingerprints.
Next, choose a cohesive palette—neutral bases with deliberate pops of color—to create visual flow across rooms. For walls, consider smooth paints or washable wallpapers in strategic areas like halls and kitchens to keep upkeep minimal.
Introduce texture with woven rugs, fabric panels, or tactile wall coverings to add depth without clutter. For personality, weave in vintage charm through carefully selected wall art and lighting, avoiding overcrowding.
Finish with trims and baseboards in a consistent tone to unite the look while keeping spaces practical and timeless.
Smart Storage and Layout Tweaks for Everyday Ease
Smart storage and thoughtful layout tweaks make daily routines smoother, so start by reclaiming dead space: swap out bulky furniture for slim, multi-functional pieces and use built-in niches or wall-mounted organizers to keep essentials within reach.
You’ll gain instant order by prioritizing Custom storage that fits your actual use, not just looks. Choose vertical solutions, like tall cabinets and open shelving, to maximize small footprints without crowding rooms.
Practice layout optimization by grouping frequently used items near their destinations—kitchenware near the prep area, cleaning supplies under the sink, chargers by the entryway.
Embrace hidden storage in ottomans, beds, and benches to reduce clutter.
Finally, test traffic flow: ensure walkways stay clear and doors open fully, then refine until every space feels effortless.
Sustainable Upgrades That Save Money Over Time
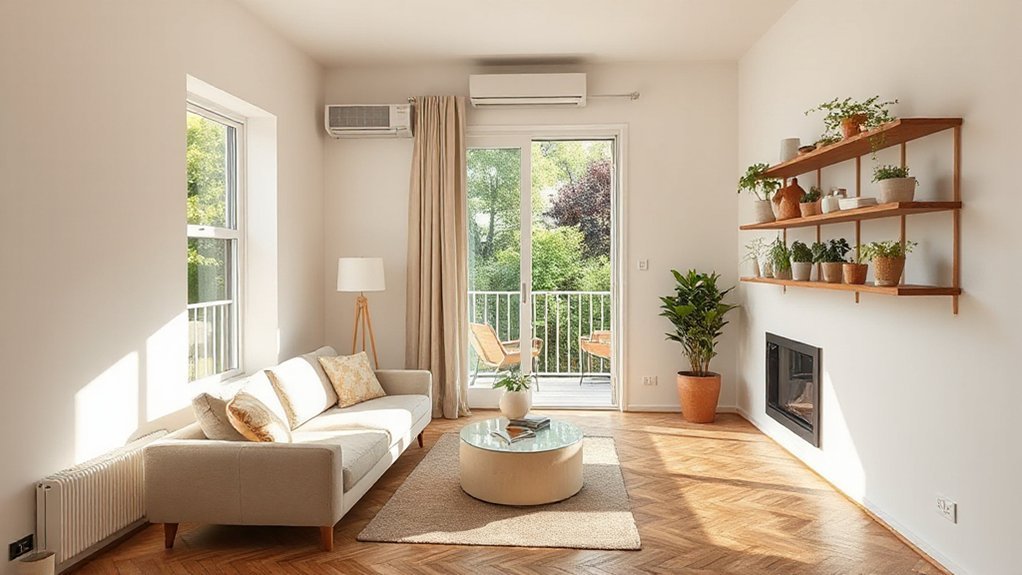
From smart storage to sustainable upgrades, you can keep your home efficient and affordable for years to come. You focus on practical choices that pay back over time. Start with eco-friendly materials for durable, low-maintenance surfaces and insulation, reducing energy waste without sacrificing style.
Prioritize upgrades that lower ongoing costs: high-efficiency LED lighting, smart thermostats, and properly sized ducts help you trim monthly bills without sacrificing comfort.
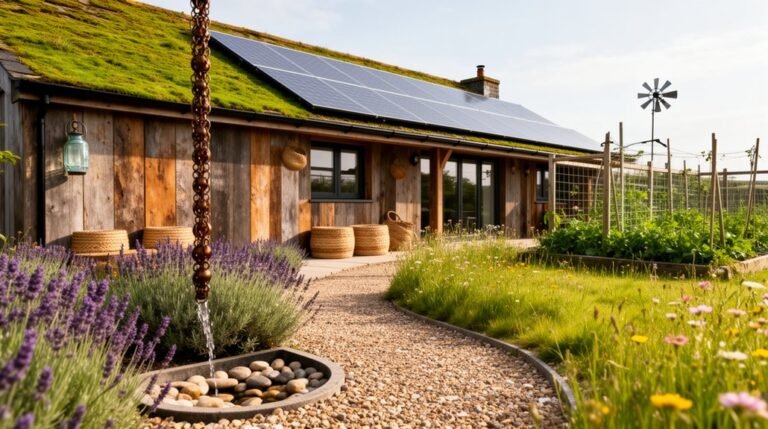
Consider renewable energy options like a small solar setup or solar water heating if your climate fits, balancing upfront costs with long-term savings.
Choose durable finishes and timeless designs to extend the life of improvements, avoiding frequent replacements.
Plan Your Realistic Timeline and Budget Pinpoints
Start with a realistic timeline map that aligns your goals with the work scope and seasonal realities.
Build a budget pinpoint strategy that separates must-haves from nice-to-haves and ties costs to concrete milestones.
Use phasewise milestone planning to track progress, adjust plans, and keep the project on schedule and within budget.
Realistic Timeline Mapping
To map a realistic timeline and budget, start by identifying your project scope.
Then break it down into clear phases with specific tasks, durations, and dependencies. You’ll create a practical schedule that aligns milestones with contractor availability and permitting windows.
Set realistic buffers for supply delays and weather impacts, and document any historical preservation needs to avoid scope creep.
Track progress daily, updating task statuses and adjusting dependencies as you go.
Prioritize architectural consistency in sequence decisions, ensuring materials and finishes respect the property’s character while delivering modern comfort.
Use a simple Gantt or checklist to keep everyone aligned, from tradespeople to homeowners.
Finalize key decision points early to prevent costly mid-project reversals, and revisit the timeline only when a substantial change is unavoidable.
Budget Pinpoint Strategy
Ever wondered how to pin down your budget with the same precision you use for timelines? You’ll craft a Budget Pinpoint Strategy by mapping costs against your planned upgrades, not guesses. Begin with a clear scope, then identify every line item you’ll need: materials, labor, permits, and contingency.
Conduct a practical budget allocation by grouping items into categories (essential, optional, deferred) and assigning guardrails for each. Use cost analysis to estimate realistic prices, sourcing multiple quotes to validate numbers.
Build a living document: update as vendor quotes change and timelines shift, so your budget stays aligned with reality. Maintain a disciplined review cadence, and reserve a contingency buffer to absorb surprises without derailing progress.
This approach keeps finances predictable and decisions focused.
Phasewise Milestone Planning
By breaking the project into clear, phasewise milestones, you map a realistic timeline that aligns with your budget pinpoints. Phasewise Milestone Planning helps you sequence tasks so upgrades flow logically from framing to finish.
Start with a high-level roadmap that prioritizes essential work, like structural reinforcement, to protect long‑term value. Then break it into discrete, time‑boxed steps: assessment, permits, procurement, and execution.
For each phase, define measurable outputs, responsible parties, and contingency buffers to accommodate delays or surprises. Incorporate Historical preservation considerations early to avoid rework later.
Track progress weekly, adjusting dependencies and cashflow as needed, rather than waiting for a problem to surface. Conclude with a final walkthrough and documentation to cap the project with a clear, approved finish.
This approach keeps cost, schedule, and quality aligned.
Frequently Asked Questions
How Do I Prioritize Upgrades Within a Tight Budget?
Prioritize high-impact upgrades first. Allocate funds to Budget friendly flooring and Cost effective lighting to transform rooms quickly, then upgrade surfaces. You’ll maximize bang-for-buck, minimize disruption, and preserve flexibility for future improvements while staying under budget.
What Quick Finishes Create a Timeless Look Beyond Trends?
You’ll nail a timeless look by embracing vintage fixtures and classic materials, avoiding fleeting trends. You choose simple, durable finishes, pair brass or patina metals with white walls, and let clean lines keep spaces practical, cohesive, and approachable.
Which Fixtures Deliver the Best Long-Term Value?
You should prioritize fixtures with high durability, like solid metal or ceramic options, because they offer long-term value. Choose timeless designs that preserve vintage charm, while prioritizing fixture durability to guarantee ongoing reliability and minimal replacement costs.
How Can Color Choices Affect Perceived Space and Flow?
Color choices shape spatial perception; studies show light colors can visually expand rooms by up to 20%. You can use color psychology to temper contrasts and guide flow, creating a brighter, more navigable, and cohesive space.
What Hidden Costs Should I Anticipate in Renovations?
Hidden expenses can surprise you; expect permit fees, contingency budgets, material overruns, and labor gaps. You should factor permits early, set aside 10–20%, and track invoices closely to keep renovations affordable and on schedule.
Conclusion
You can modernize with purpose, pace, and practicality. Start with clear goals, then tackle quick wins, then layer in color and texture. Embrace brighter lighting, smarter systems, and cohesive fixtures, keeping sustainability in sight. Refresh walls and floors with thoughtful treatments, and optimize storage for daily ease. Plan your budget realistically, track milestones, and adjust as needed. Prioritize comfort, functionality, and style that lasts. You’ll transform a dated space into a modern, inviting home.
About the Author