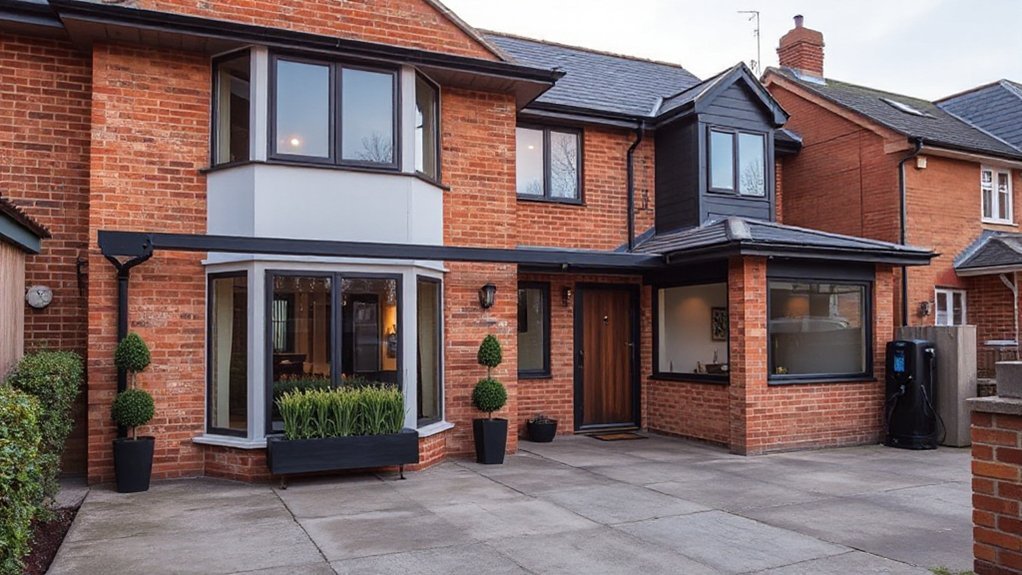
To modernise a 1970s UK property means evaluating your priorities, evaluating your budget, and evaluating the outcomes you want; you’ll focus on insulation, drafts, and ventilation, while reconfiguring layouts for better flow. You’ll balance light with darker periods, refresh kitchens and baths with period-faithful tones and modern finishes, and select lighting that nods to the era without feeling dated. It’s a careful, practical path that keeps your home livable today—and it’s the details that hint at what comes next.
Assess Your 1970s Home: Pinpoint Modernisation Priorities
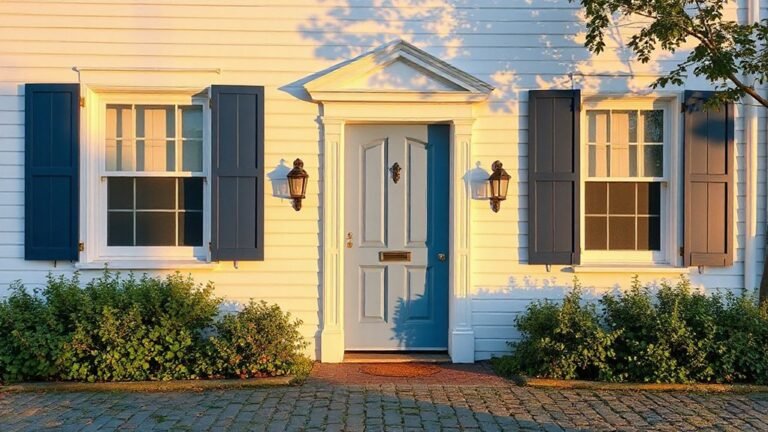
Start by taking a careful inventory of your 1970s home: note what works well, what feels dated, and where energy or maintenance costs bite the most. You’ll map architectural styles that shape layout, lighting, and rhythm, helping you see where changes matter most.
Consider the rooms’ flow, doors, and windows—where daylight lifts mood, where drafts drift, and which spaces invite gathering. Record features with historical significance that you might want to preserve, while noting elements you might modernise for comfort.
Priorities emerge: energy efficiency, safety, and usability, followed by aesthetics that honour the era without overpowering it. This mindful audit invites you to belong to a home that respects its past yet supports today’s living.
Budget Smart: Costs, Quick Wins, and Financing
Smart budgeting keeps your project achievable, so you’ll map costs, spot quick wins, and plan financing from the outset.
You’ll prioritise affordable upgrades that deliver noticeable impact, while keeping an eye on long‑term savings and resale value.
Let’s discuss practical costing methods, flexible financing options, and a few ready-to-implement quick wins that fit a UK 1970s home.
Budgeting Smartly For Projects
Budgeting smart for projects means setting a clear, realistic baseline before you pick up the tools. You’ll map costs with your lived context in mind, tying budgets to rooms you actually use and care about.
Start with a rough total, then break it into line items: materials, labour, permits, and contingency. Prioritise quick wins that deliver visible value without overextending funds, like draft-proofing or LED lighting upgrades, while keeping long-term goals in view.
Track changes in real time, and reallocate surplus to essential areas. When you weigh options, consider Historical preservation and Vintage restoration as anchors for value, ensuring choices respect character as well as cost.
Communicate openly with tradespeople and neighbours to protect your budget’s integrity and your sense of belonging.
Financing And Quick Wins
Now that you’ve set a practical budget and identified quick wins, it’s time to couple financing options with those immediate gains to keep momentum without slowing progress. You’ll assess costs against benefits, choosing funding that aligns with short-term wins like insulation or new lighting.
Consider low-interest loans, government grants, and homeowner schemes that recognise historic preservation values while supporting energy upgrades. Emphasise cash flow by staggering large tasks and prioritising quick returns, so repayments stay manageable.
Be mindful of legal considerations, such as planning permissions and listed-building constraints, which can affect funding eligibility. Engage local lenders who understand refurbishments, and document collaborations with tradespeople to build trust.
This approach nurtures belonging and confidence, ensuring budgets, financing, and careful project sequencing work in harmony.
Improve Insulation and Ventilation for Real Savings
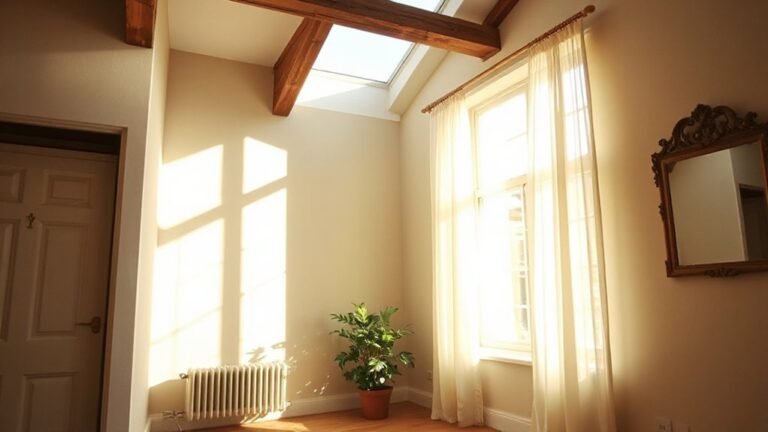
Improving insulation and ventilation isn’t glamorous, but it makes a real difference to comfort and running costs in a 1970s UK home. You’ll notice tighter warmth in winter and cooler, drier rooms after humid summers.
Start with a drafted plan: identify air leakage points around doors, loft hatches, and windows, then seal with appropriate cavity or draught-proofing.
Prioritise loft insulation and underfloor levels to reduce heat loss, choosing materials that fit the home’s fabric and your budget.
Ventilation matters too; install controlled extract fans in kitchens and bathrooms to support moisture control without wasting heat. Combine mechanical ventilation with heat recovery where possible for real savings.
Small, considerate changes foster a sense of belonging and care for your home’s future.
Maximise Light and Space: Layout Tweaks for Flow
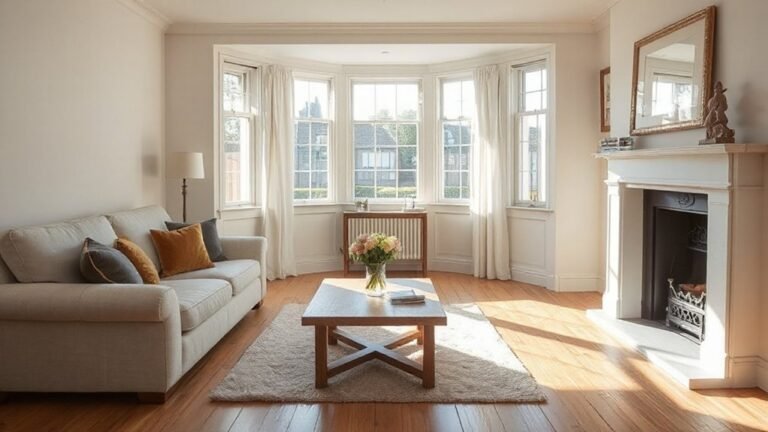
Natural light and a sense of space can transform a 1970s layout without major renovations. You can start by embracing an open plan approach where living, dining, and kitchen zones flow together, reducing barriers and creating a shared rhythm.
Use lighter tones on walls and flooring to reflect daylight deeper into rooms. Consider relocating or removing non-loadbearing walls to reveal sightlines that connect spaces, while keeping essentials anchored with defined zones via furniture placement and rugs.
Maximise natural light by positioning seating to face windows and using mirrors strategically to bounce light. Prioritise storage that’s recessed or built in to keep surfaces clear, preserving an airy feel.
Thoughtful circulation paths ensure easy movement and a welcoming, cohesive home. Open plan, natural light.
Era-Appropriate Kitchen and Bath Refreshes
Era-appropriate kitchen layouts and bath fixtures set the baseline for a 1970s vibe without feeling stuck in the past. You’ll see how cabinet arrangements, retro-style fittings, and timeless colour pairings work together to balance practicality and period charm.
Start by noting which cabinet configurations and fixtures can carry modern use while nodding to the era’s distinct character.
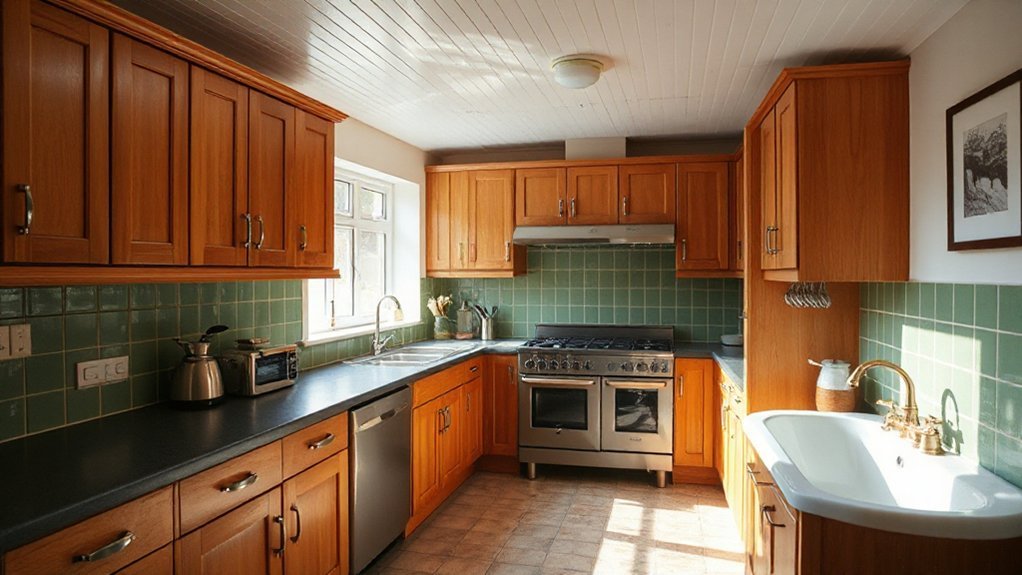
Era-Appropriate Cabinet Layouts
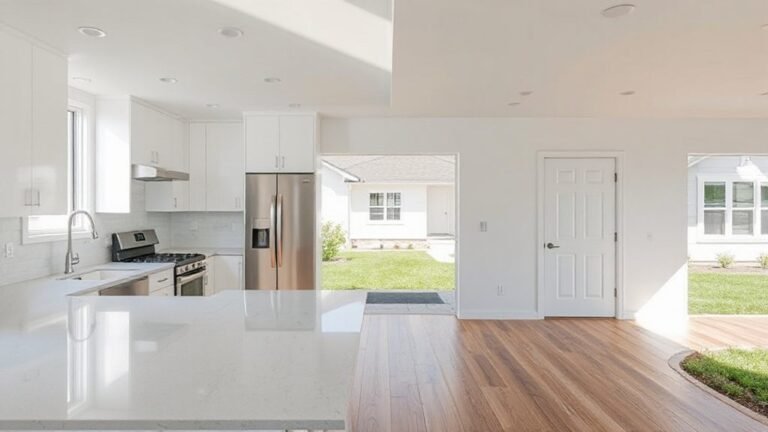
When modernising a 1970s UK property, start with the kitchen and bathroom layouts that kept those decades distinctive but can still work today. You want cabinet arrangements that feel intentional, not cramped, so map zones around usage patterns: prep, cooking, cleaning, and storage.
Favor vertical storage to maximise small footprints, using tall units and shallow pullouts to reduce reach, while maintaining flow between rooms. Custom cabinetry helps tailor proportions to odd corners and alcoves, preserving the era’s character with modern efficiency.
For baths, keep a linear run or a gentle L-shape that mirrors the period’s lines, reducing visual clutter. Incorporate vintage hardware as subtle anchors, and make certain doors and drawers operate smoothly for a sense of lasting quality and belonging.
Retro-Style Fixtures Refresh
Retro-style fixtures can refresh a 1970s UK property without betraying its character. You’ll notice how era-appropriate fixtures anchor the space, then lightly elevate it with modern practicality.
Think compact, efficient kitchens and baths where durable materials meet clean lines, minimizing disruption while maximizing flow. Choose vintage lighting that nods to the period but uses current LED tech for energy and longevity.
Simple metal finishes, brushed brass or matte nickel, pair well with warm timber and neutral counters. In bathrooms, swap out dominant chrome for softer tones and tactile textures, preserving the retro silhouette.
Add retro wallpaper as an accent—subtle patterns behind a mirror or on a single wall—so the room feels cohesive, not crowded. This approach honours memory while inviting everyday comfort.
Timeless Colour Pairings
A well-chosen color palette can harmonise the refreshed kitchen and bath while honouring the 1970s character. You’ll feel anchored when vintage palettes are thoughtfully balanced with modern pairings, so the spaces read calm rather than busy.
Begin with a warm base—creams, soft ochres, or dove greys—and let wood tones or brass accents ground the scheme. Introduce accent hues sparingly: mossy greens, burnt oranges, or teal for subtle nods to the era, avoiding overload.
Consider cabinet fronts and tiles in complementary finishes to keep cohesion across zones. Textures matter: matte surfaces reduce glare, while glossy highlights lift light.
Finally, test lighting at different times of day to confirm warmth and depth, ensuring a welcoming, timeless kitchen and bath that belong to today and yesterday.
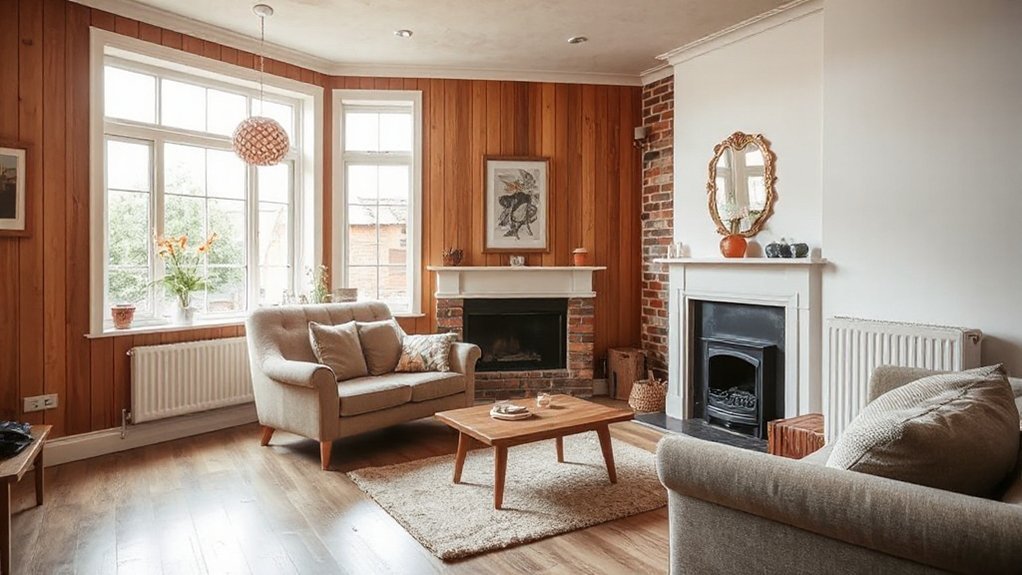
Finishes and Fixtures: Blend Retro Charm With Modern Comfort
If you’re updating finishes and fixtures, start by choosing a cohesive palette that nods to the 1970s while staying fresh today. You’ll blend retro character with modern practicality by selecting durable, easy-care materials that age gracefully.
In living rooms, pair warm woods and textured surfaces with clean-lined fittings to avoid heaviness. For finishes, consider satin chrome or brushed brass hardware that catches light without shouting.
Choose period-specific lighting to anchor the look—think warm glow from pendant lamps and wall sconces that echo the era but perform efficiently today. Integrate vintage fabrics in cushions or drapery to deepen the sense of belonging, while ensuring upholsteries are fire-tested and easy to clean.
Finish with a cohesive trim and you’ll invite comfort, not compromise.
Frequently Asked Questions
Will Retro Finishes Affect Property Resale Value?
Yes, retro finishes can boost resale if you balance vintage charm with modern compatibility; you’ll attract buyers who value character while ensuring practical updates, creating a welcoming, contextual space that feels like home and invites belonging.
Which Building Regulations Apply to 1970S Renovations?
Ever wondered which building regs apply to 1970s renovations? Historical compliance guides you, but preservation challenges demand careful interpretation yesterday through today. You’ll navigate allowances, adaptions, and permissions, feeling understood and supported as you plan compliant, neighbour-friendly improvements.
How to Integrate Smart Tech Without Clashing With Era?
Yes, you integrate smart tech by selecting discreet devices and wireless hubs, preserving Vintage charm while enabling Modern integration, so you feel at home; you’ll pair retro fixtures with muted finishes, conceal cables, and invite conversation with neighbours.
Are Listed or Conservation Restrictions a Concern?
Historic guidelines herald hurdles; you’ll need careful consideration. Listed or conservation restrictions can constrain changes, so you’ll navigate preservation challenges respectfully, consult consensus, and stay compliant, ensuring your restoration feels like belonging within a cherished community.
What Are Hidden Costs Not Covered in Budgets?
Hidden costs aren’t in the budget, you’ll face budget overruns and unexpected repairs that surprise you. You’ll prevent this by planning contingencies, tracking expenses daily, and sharing forecasts with the team so everyone feels included and prepared.
Conclusion
As you finish your refresh, imagine sunlight sealing the gaps with a warm, hopeful glow. Think of each upgraded wall as a quiet, breathable breeze guiding you through a brighter, calmer home. The kitchen hums with vintage charm and modern ease, while bathrooms sparkle with practical luxury. Your layout nudges flow gently, like a well-tuned instrument. With thoughtful finishes and textures, you’ve balanced old soul and new comfort, creating a timeless space that feels both comforting and alive.