
You’re likely weighing two rooms that happen to share a quiet corner just when you consider removing the wall, a coincidence you can’t ignore as you weigh structure, utilities, and daylight. You’ll need a precise plan for load, code, and coordination with trades, because a misstep here shifts more than sightlines. If you want predictable results, you’ll want to map the options, costs, and risks carefully before you commit to what comes next.
Assess Structural Feasibility and Code Compliance
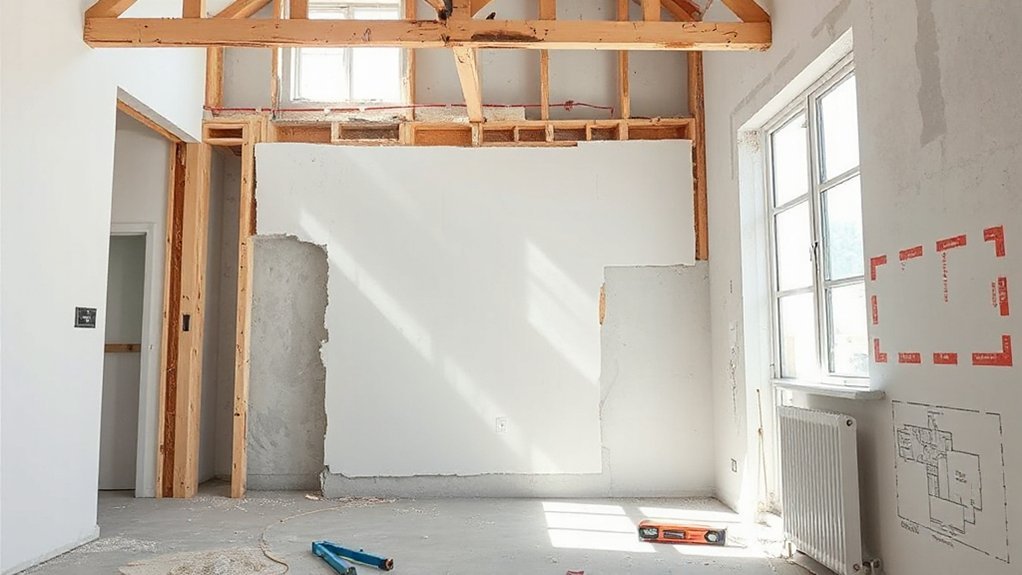
Evaluating structural feasibility and code compliance starts with verifying load paths and the wall’s role in the structure. You assess whether the wall is load-bearing, the span it supports, and how joists, beams, or concealed members transfer forces. You identify whether any structural interruptions, such as major supports or shear walls, would be compromised by removal. You examine framing details, dowel connections, and fastener schedules to understand potential reconfigurations. You review local Building codes for required headers, fire-rated assemblies, and insulation continuity to maintain safety and energy performance. You document remaining structural elements and propose alternatives if needed. You verify that the plan preserves Structural integrity while complying with code requirements, ensuring explicit permissions, approvals, and inspection milestones before construction starts.
Design the Open Plan: Lighting, Sightlines, and Flow
Focus on optimizing lighting not just for illumination but for spatial perception, ensuring each zone supports task-specific needs while preserving ambiance. Evaluate sightlines and connection to adjacent rooms so circulation remains intuitive and unobstructed, with deliberate alignment of openings, surfaces, and furniture. Consider how flow is influenced by load-bearing constraints, acoustic treatment, and daylight distribution to support an open plan that feels cohesive yet functionally distinct.
Lighting Flow Optimization
How can you guarantee lighting flow supports open-plan efficiency without creating glare or hotspots? You map luminance paths across the new plan, prioritizing gradual progressions between zones. Start with a layered lighting strategy: ambient, task, and accent components that respond to daylight shifts. Use wall-wash and cove fixtures to distribute light evenly without creating focal glare, and position sources to minimize cross-views between bright windows and interiors. Control zones with dimmers and sensors so output adapts to occupancy and natural light fluctuations, preserving ambient ambiance. Ascertain fixture spacing maintains sightlines while preventing dark pockets; model with photometric data to verify uniformity. Favor recessed or low-profile fittings to reduce visual clutter, and align electrical plans with future furniture layouts for consistent flow.
Sightlines And Connection
Sightlines and connection define how an open plan feels at a glance: you must align lighting, furniture, and movement to maintain clear views between zones while preserving privacy where needed. Visual connectivity hinges on deliberate sightline planning, ensuring key focal points remain legible from multiple angles without visual clutter. Use architectural cues—columns, changes in floor level, or shelving—to guide gaze and frame each functional area. Lighting should reinforce relationships: layered layers (ambient, task, accent) placed to avoid glare and shadowing that disrupts line of sight. In pursuing spatial harmony, minimize obstacles that interrupt flow; designate soft passages with rugs, low cabinetry, or shelving that subtly delineates zones. The result is a cohesive, integrated space where sightlines support function, not distraction.
Plan Your Budget and Timeline for Wall Removal
You should set a realistic budget by itemizing drywall, framing, wiring, and finishes, then add a contingency for hidden issues. Establish timeline milestones that align with permit checks, inspections, and procurement windows, so you can track progress against concrete dates. This approach keeps costs transparent and the project schedule measurable, reducing surprises later.
Plan Cost Realistically
Estimating the cost and timeline for wall removal requires a disciplined, data-driven approach. You’ll start with a detailed bill of materials, permitting, and equipment needs, then cross-check quotes from qualified contractors. Break costs into categories: structural assessment, removal, disposal, rewiring, plumbing, finishing, and inspection fees. Account for hidden items, like HVAC relocations or fire-rated assemblies, and build in a contingency—typically 10% to 15% of the subtotal. Schedule work to minimize disruption, aligning lead times for permits, inspections, and material deliveries. Track expenses against a baseline, updating forecasts as design decisions evolve. Consider how decorative accents and furniture placement influence finish requirements, such as paint, trim, and lighting, ensuring costs reflect final room aesthetics. Maintain clear documentation to avoid scope creep and miscommunication.
Timeline Milestones Clearly
With a detailed cost framework in place, you can anchor your wall-removal project around clear timeline milestones that align with permits, material lead times, and contractor availability. Establish a project calendar that marks permitting approvals, structural assessments, and utility checks as fixed anchors, then plan fabrication and demolition windows around these dates. Track interior acoustics implications early; even minor framing adjustments can alter sound transmission, so schedule testing after drywall installation. Align ordering schedules for studs, finishes, and acoustic products to avoid delays, ensuring revisions are minimized. Maintain aesthetic consistency by synchronizing trim, paint, and texture schedules across remaining spaces. Build buffers for weather, backorders, and inspection holds, and document phase shifts to facilitate accurate progress reporting and budget control.
Choose the Right Support: Beams, Posts, and Alternatives
Choosing the right support is critical for safely removing an interior wall, since the load path—from joists and overhead structure down to the foundation—must be maintained. You assess loads, span, and connections before selecting members. Beams resist bending and carry floor and roof loads, while posts transfer that load into the structure—both must be precisely sized and aligned. Consider support alternatives like lintels, steel wide-flange beams, or engineered wood products, evaluating deflection, ratio, and bearing. Guarantee accurate integration with existing framing, fasteners, and load paths. Beam installation requires temporary supports during removal and a fixed architectural plan to preserve height and enclosure. Document connections, anchorage, and inspections, so continuous load transfer remains uninterrupted and code-compliant throughout the alteration.
DIY vs. Hiring a Pro: What You Can Do Safely
When it comes to removing an interior wall, decide early whether you can safely handle it yourself or if you should hire a professional. You’ll assess load-bearing status, wall materials, and access to proper tools. If the wall is non-load-bearing, you may proceed with careful demolition, but verify behind-the-wall components and confirm temporary shoring is in place. For load-bearing walls, or if you’re unsure, hire a structural pro to prevent concealed failures. Safety considerations include dust control, electrical de-energizing, and compliant waste disposal. If you DIY, follow building codes, obtain necessary permits, and document wall material types, studs, and halts in the framing. Aesthetic considerations matter too: plan for finished surfaces, edge gradations, and consistent ceiling height. Choose options aligned with your risk tolerance and project scope.
Relocating Plumbing, Electrical, and HVAC
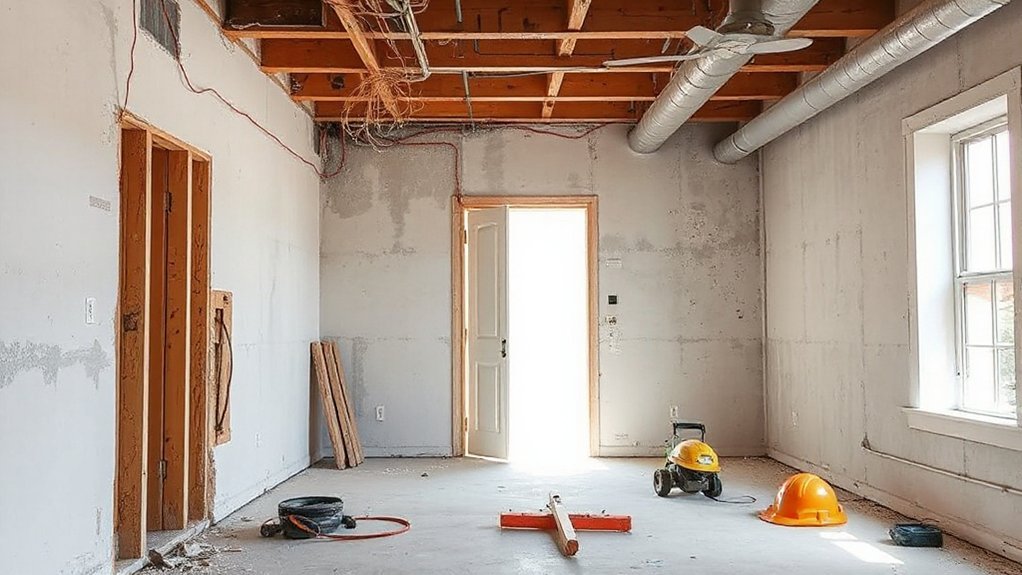
Relocating plumbing, electrical, and HVAC components requires careful planning to maintain system integrity and code compliance. You’ll map existing service routes, identify load and drainage implications, and forecast future access needs. Start with a detailed as-built of current runs, then determine new wall cavities that minimize destructive alterations while preserving unit performance. Electrical work should emphasize service capacity, conduit routing, and code-respecting box fill; andHVAC relocations require continuity of airflow, proper duct sizing, and pressure balance. Plumbing adjustments demand slope, venting, and freeze protection considerations. Plan for access panels and cleanouts to simplify maintenance. Consider decorative wall accents that align with concealed penetrations, and address privacy considerations when relocating utilities near bedrooms or baths. Document changes for permits, inspections, and future renovations.
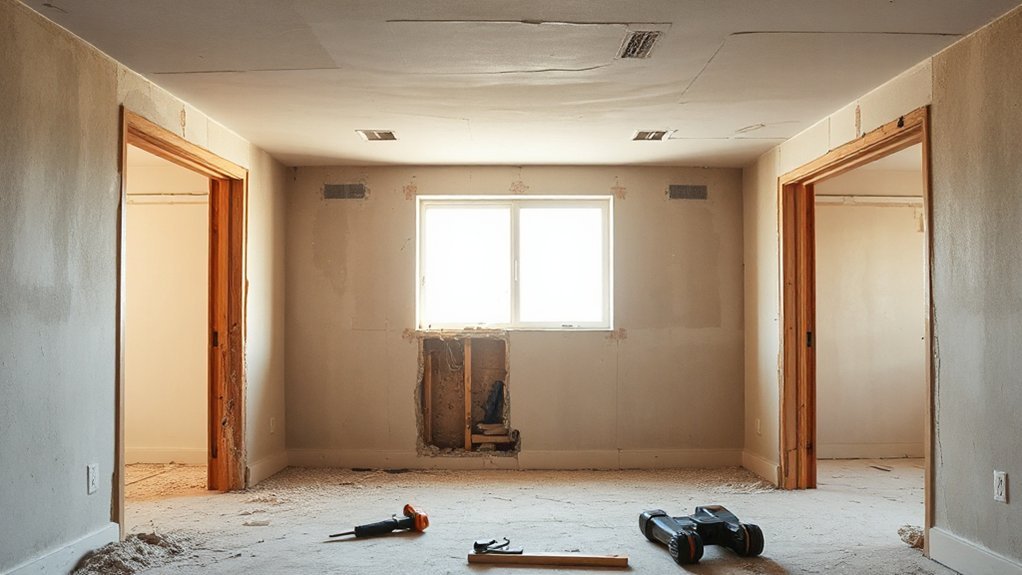
Finishes and Transitions: Coherence Across the Space
Achieving coherence across a space hinges on deliberate alignment of finishes and shifts, guaranteeing color, texture, and scale move seamlessly from one area to the next. You’ll synchronize material families (stone, wood, tile) and guarantee edge details, profiles, and grout lines read consistently. Start with a single architectural language for ceilings, walls, and floors, then layer accent and task finishes in controlled doses. Transition elements—thresholds, cabinetry, and trim—should reinforce the overall rhythm, not compete with it. Use a restrained palette to avoid visual jolts at the junctions between original rooms and the enlarged area. Acoustic treatment, lighting finishes, and hardware should follow the same logic, preserving harmony. Document tolerances early to prevent misalignment and guarantee finishes harmony across all zones.
Common Renovation Pitfalls and How to Fix Them
Common renovation pitfall: scope creep. You’ll tighten control by defining objective milestones early and keeping a written change log. When scope expands, you risk budget overruns and schedule delays that ripple into structural and finish work. Map dependencies: electrical, plumbing, HVAC, and load-bearing considerations determine sequencing and access. Address hidden conditions with a contingency buffer, not vague promises. Misjudging decorative accents and trim can create mismatches; lock finish levels before wall removal proceeds. Plan furniture placement in the new layout to verify circulation paths, sightlines, and anchoring needs. Use mock-ups or scaled sketches to test furniture flow and ensure rooms read as a single space. Document decisions, approve deviations, and maintain strict oversight to finish on schedule and within budget.
Final Pre-Start Checklist: What to Confirm Before You Begin
Before you remove any wall, you must lock in scope, schedule, and safety criteria. You’ll verify load-bearing status, utility locations, and permit requirements, then confirm temporary shoring, dust control, and access routes. Create a stepwise plan that prioritizes structural assessment, utility de-energization, and debris containment to minimize disruption. Document decisions on decorative accents removal and furniture placement to anticipate future layout needs without compromising safety. Check sprinkler, electrical, and HVAC impacts, and guarantee coordination with trades for sequencing. Confirm contingency options, waste disposal, and inspection milestones. Establish communication protocols for daily briefings and change orders, and sign off on a final pre-start checklist before any cut begins. This clarity reduces rework, maintains project pace, and preserves aesthetic intent.
Frequently Asked Questions
Can I Remove a Wall Without Permits and Inspections?
No, you shouldn’t remove a wall without permits and inspections. Building codes require approvals to verify structural integrity; bypassing them risks unsafe changes, potential fines, and failed resale. Always consult a licensed pro before making any structural adjustments to guarantee compliance.
How Will Removing a Wall Affect Home Resale Value?
Removing a wall can raise resale appeal if it enhances flow, but seek expert input on Design aesthetics and Structural integrity; done right, it boosts space perception, otherwise it may deter buyers due to risk or compliance concerns.
What Invisible Costs Could Surprise Me During Removal?
Be aware of invisible costs like structural assessments, permits, and potential wiring upgrades; you’ll want cost effective alternatives if setbacks arise, and you should weigh aesthetic considerations against structural feasibility before proceeding with removal.
Can I Keep Existing Electrical Outlets in the New Space?
Yes, you can keep outlets; plan around existing circuits. Coincidentally, electrical wiring and outlet placement must be analyzed together to avoid overloads, mismatches, or code issues. You’ll relocate or reface outlets precisely as required for the new space.
What Are Hidden Hazards Inside Wall Cavities to Watch For?
Hidden mold and pest infestations can lurk in wall cavities; you’ll want to inspect for musty odors, moisture stains, droppings, and frass, using a moisture meter and infrared scan, then remediate promptly to prevent spread and structural damage.
Conclusion
You’re transforming two rooms into one cohesive space, but precision wins here. Confirm structural feasibility, load paths, and code compliance before you cut. Plan lighting, sightlines, and flow to prevent dead zones. Budget realistically, schedule buffer time, and choose proper supports. Decide between DIY and pro help based on risk. Coordinate plumbing, electrical, and HVAC early. Finish with seamless passages and consistent materials. Think of the project as unifying a chorus into one harmonious, well-tuned instrument.