You might think permits slow you down, but understanding what counts as a garage and where permitted development applies can save time and money. You’ll need clear guidance on size, height, and boundary rules, plus a realistic budget that covers foundations, materials, and possible utilities. With local rules and fees in play, a precise plan helps you avoid delays and hidden costs. There’s more to map out before you start; the next steps will tighten your project scope and timelines.
What Counts as a Garage for Planning
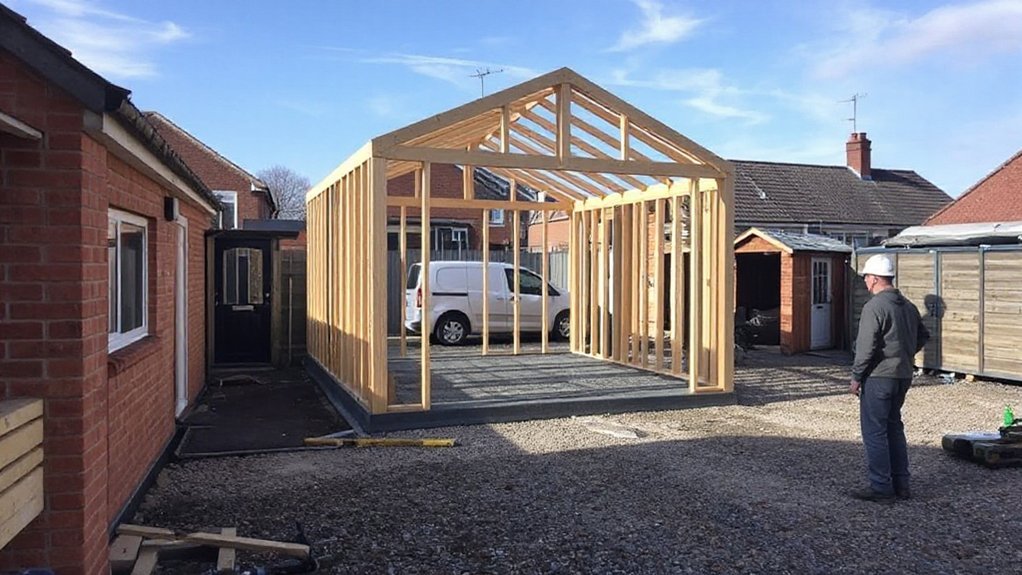
Determining what qualifies as a garage for planning purposes hinges on its primary function and access. You assess structures by intended use, not just size, ensuring the space serves vehicle storage, workshop tasks, or related functions rather than ancillary storage.
Access points, headroom, and ceiling clearance influence classification, as do entry doors, driveways, and connection to the principal dwelling. You’ll consider whether the space is habitable or insulated, and if it maintains vehicle-related activities distinct from outbuildings or sheds.
In this framework, Garage aesthetics informs appearance standards during planning reviews, while garage automation features may affect integration with home systems but don’t redefine use. You document purpose, access, and occupancy to determine planning eligibility and compliance.
Decide Your Garage Size and Style
How big should your garage be, and what style fits your property and needs? Start with clear constraints: determine vehicle counts, anticipated storage, and workspace requirements. Use a practical footprint to optimize land use while meeting local setbacks and height limits.
Standard single-car garages run roughly 9×18 feet, while double-car configurations approach 20×20 feet or larger, depending on planned storage and operations. Consider future-proofing for electric charging, shelving, and workshop zones.
This is where garage design aligns with site geometry, drainage, and access. Style options should reflect architecture compatibility and utility cost, not just appearance.
Document load-bearing needs, door widths, and window placement, then compare construction costs against long-term usage. Choose a size and style that maximize usability without overextension.
Do You Need Planning Permission for a Garage?
Yes—planning permissions often hinge on local rules, not universal standards. For a garage, you’ll typically assess whether your project qualifies as permitted development or requires a formal application.
In many areas, simple detached outbuildings below specific height and size limits can proceed without full planning, provided they don’t encroach on boundaries or exceed designated setbacks. If you’re altering the structure considerably, adding living space, or changing the building’s use, planning permission is more likely to be required.
You should consult your local planning authority to confirm thresholds, windows, and access rules. Focus on garage aesthetics and interior design implications within permitted dimensions, ensuring materials, finishes, and layout comply with regulations and avoid roadblocks later in construction.
Permitted Development vs Full Planning: What Fits You?
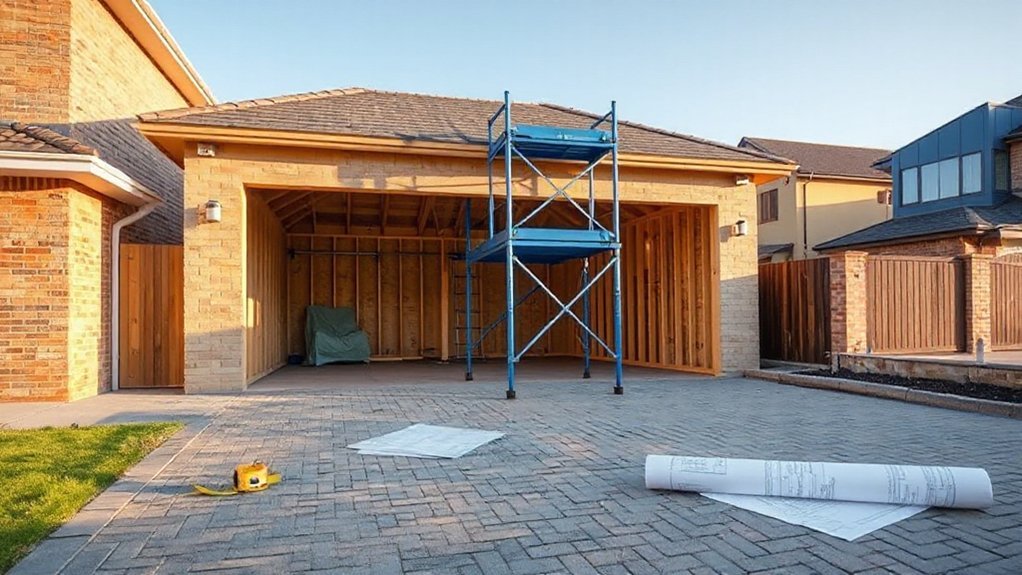
Permitted Development sets clear size and use limits, so you can gauge early whether your garage qualifies without full planning.
If your project triggers extra considerations—like height, plot ratio, or conditions—you’ll need to pursue full planning permission.
This initial check helps you choose the most efficient path and avoid costly mistakes.
Permitted Development Limits
Guiding permitted development limits requires a clear distinction between what you can build without full planning consent and what mandates a formal application.
This section outlines thresholds, scope, and height ceilings that define permitted development for a typical domestic garage. You must assess ground-coverage, eaves height, and overall mass against regional allowances, as these vary by locality and protected status.
If your design stays within prescribed footprint and height limits, you qualify for permitted development, enabling faster construction with fewer formalities. Deviations—extensions, integral living space, or non-standard materials—trigger planning requirements.
Consider construction methods that comply with envelope and boundary rules to maintain garage aesthetics while meeting durability standards.
Material durability influences long-term compliance, maintenance needs, and potential future alterations, so plan for robust, code-compliant choices.
Planning Permission Triggers
When determining whether you need permitted development or full planning, start by mapping your garage against local thresholds for footprint, height, and distance from boundaries.
Planning permission triggers hinge on whether your proposal stays within PD limits or crosses them, and whether you meet constraints like listed status, protected trees, or conservation areas.
If you exceed footprint or height, or encroach on a neighboring boundary, you’ll likely require full planning.
If you remain inside limits, permitted development may apply, though prior notification or consultation could still be prudent.
Evaluate materials, access, and potential biodiversity impacts, since these factors influence outcomes.
Garage aesthetics and color schemes matter only insofar as they affect design compatibility with adjacent buildings or local guidelines.
Decide before you design, to avoid later redesign and costs.
Local Rules and Height Limits for Garages
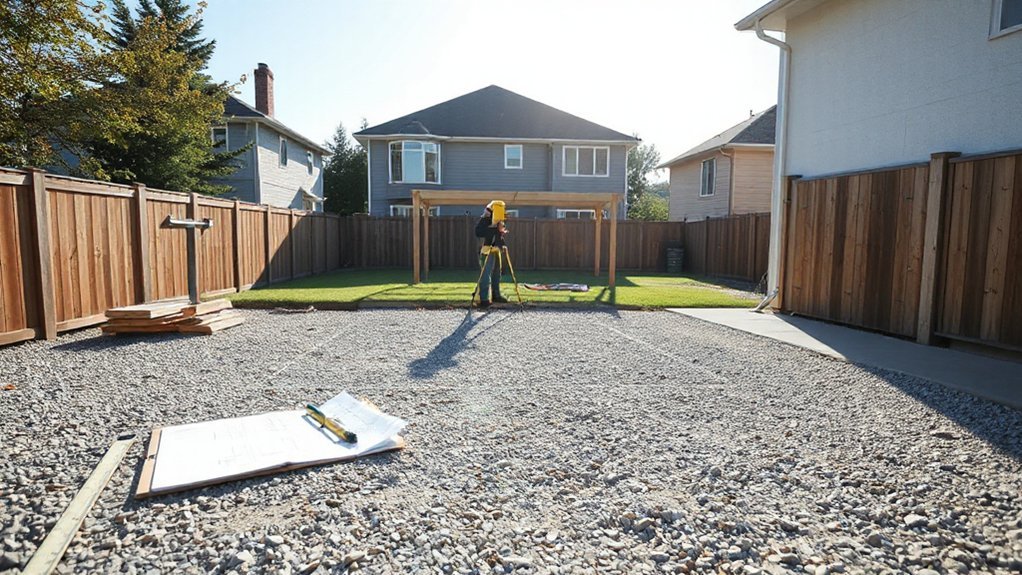
In most municipalities, garages must meet local zoning, building, and fire-safety codes before you can start construction or add a new structure. You’ll find height limits defined by zoning districts and setback requirements that protect sight lines, drainage, and neighbor access.
Check maximum ridge, wall, and overall envelope heights, plus allowable story counts and curb cuts. Some jurisdictions impose similar constraints on accessory structures, separate from primary residences, with deadlines for completion and occupancy.
Material sustainability and Garage aesthetics interplay in code interpretations, especially for exterior finishes, roof slopes, and energy efficiency standards. Guarantee your plan aligns with permitted encroachments, building permit documentation, and required inspections.
Document compliance early to avoid redesigns, delays, or penalties during approval and construction.
Check Underground Utilities and Easements
Before you start digging or planning, verify utility lines and easements to prevent outages or legal issues. You’ll perform a structured check of underground utilities before any trenching or foundation layout.
Begin with utility mapping sourced from your local authority, utility companies, and site records to identify gas, water, electric, and telecom conduits.
Confirm existing easements on the property deed and any shared access rights that affect setback or trench routes.
Mark boundaries clearly and coordinate with relevant providers to arrange safe clearance or temporary shutoffs.
Document access routes for repair crews and ensure clearance around vegetation, driveways, and future expansions.
Maintain an auditable trail of permits, correspondence, and marking notes to support compliance and risk mitigation.
Easement clearance and accurate mapping assure reduction of disruption and liability.
Garage Foundations: Options and Groundwork
Understanding your site’s soil type, along with appropriate foundation type choices, sets the base for a stable garage. You’ll assess soil bearing capacity, frost depth, and drainage.
Then, select a foundation that matches load, local codes, and intended use.
Finally, you’ll execute ground preparation steps—grading, compaction, and proper moisture control—to guarantee a durable, level slab or footings.
Soil Type Considerations
What soil type best supports a garage foundation, and how does it influence your options? You assess bearing capacity, drainage, and compressibility to determine foundation strategy.
For stable clay and granular soils, expect minimal excavation depth if bearing pressures align with soil stability limits.
In cohesive soils with low CBR, you’ll require improved subgrade or foundational reinforcement.
Sandy loams offer good drainage but may need compaction to achieve target density.
Record soil moisture and seasonal variation; wet conditions degrade stability and elevate risk of settlement.
Your plan should specify appropriate excavation techniques, including careful trenching, shoring where applicable, and moisture control during earthworks.
Guarantee testing, documentation, and coordination with utility surveys to avoid differential movement and assure consistent loads across the garage footprint.
Foundation Type Choices
Foundation types for a garage must align with soil, load, and drainage realities to guarantee long-term stability and cost efficiency. You must evaluate slab-on-grade, monolithic concrete, and beam-and-block options against expected loads, vehicle weight, and potential frost action.
Slab-on-grade provides simplicity and quick completion but requires proper subgrade compaction and a moisture barrier.
Monolithic slabs reduce joints but demand precise thickness and reinforcement placement.
Beam-and-block systems suit uneven soils and heavy equipment, yet involve formwork and higher labor costs.
Access for utilities, drainage slope, and ventilation influence foundation selection.
Confirm bearing capacity meets code and consider future expansion.
Include garage lighting and durable finishes in the design to minimize retrofits.
Clear sightlines and cohesive garage decor support enduring usability and value.
Ground Preparation Steps
Ground preparation for garage foundations sets the stage for long-term stability and cost efficiency; you’ll guarantee the subgrade supports the chosen system and mitigates moisture and frost risks.
Begin with subgrade assessment: confirm soil bearing capacity, drainage patterns, and compaction requirements.
Excavate to the design depth, remove organics, and establish a uniform moisture condition.
Install a tamped granular base or engineered fill, ensuring compaction in lifts per spec.
Add a damp-proof barrier where required, followed by a rigid insulation layer if frost protection governs design.
Install control joints and drainage provisions to prevent water ingress, and ensure forms align with foundation plan tolerances.
Verify site drainage, provide proper backfill around edges, and plan for garage decor and storage solutions without compromising structural integrity or future access needs.
Materials That Balance Cost and Longevity
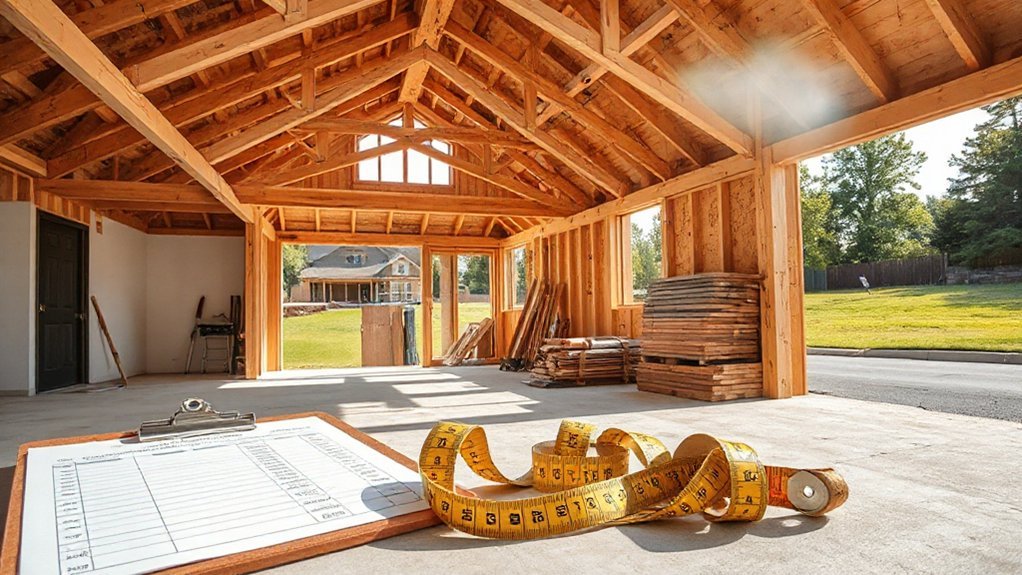
Choosing the right materials for a garage project requires balancing upfront cost with long-term durability. You should select substrates and finishes that resist weather, moisture intrusion, and temperature variance while minimizing maintenance.
Prioritize units with proven performance: steel or engineered wood framing, corrosion-resistant fasteners, and high-grade sheathing with appropriate vapor barriers.
For cladding, opt for durable, low-maintenance options such as fiber-cement, insulated metal panels, or treated timber that meet local standards.
Insulation choices impact energy use and climate control, so align R-values with your region.
Pay attention to detailing around doors and foundations to prevent leaks and pest ingress.
Consider garage security and aesthetic appeal in tandem with material selections, ensuring joints are sealed and finishes are consistent with the structure’s appearance.
Cost Breakdown: Concrete, Framing, Roofing, Cladding
Cost breakdown for a garage hinges on four primary elements: concrete, framing, roofing, and cladding. You’ll assess material quality, labor rates, and safety considerations to predict total costs with accuracy. The emphasis is on structural integrity, long-term maintenance, and functional benefits like garage security and lighting integration.
Use precise quantity takeoffs to minimize waste and schedule disruptions. Plan for moisture control, thermal performance, and accessory provisions during each phase. Consider how each component interacts with electrical and lighting layouts to support garage security systems and efficient garage lighting.
- Concrete: grade selection, slab thickness, reinforcement, curing
- Framing: timber vs steel, connection details, insulation compatibility, load paths
- Roofing: membrane or panels, insulation, drainage, fasteners
- Cladding: material taxonomy, weather tightness, ventilation, finish durability
How to Choose a Builder: Credentials and Process
Selecting a builder requires verifying credentials and understanding the construction process to guarantee quality and accountability. You should assess licenses, insurance, bonding, and trade certifications relevant to garage construction.
Check past projects, references, and any available inspection records to confirm consistent performance.
Demand a detailed scope, milestones, and a written change-order protocol to prevent scope creep.
Demand compliance with local codes, structural calculations, and environmental requirements, ensuring a competent site supervisor oversees daily work.
Evaluate the contractor’s approach to garage security, detailing door and window strategies, locking systems, and load paths for framing.
Clarify material warranties and expected timelines, along with penalties for delays.
Finally, review the interior design implications early, so wiring, lighting, and finishes integrate with your overall plan without compromising safety.
A Step-by-Step Garage Building Timeline
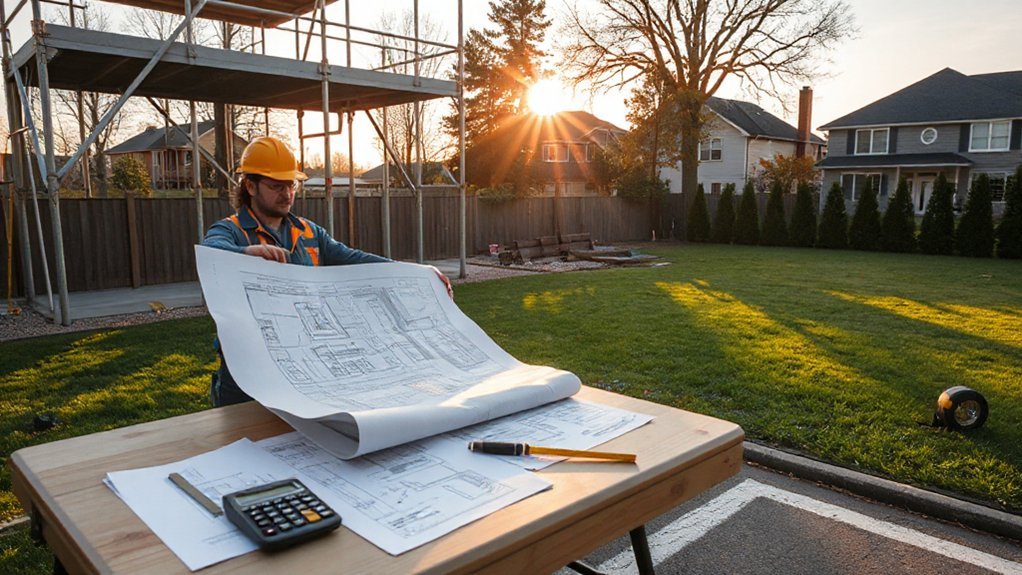
You’ll start with a clear Planning Milestones Timeline to map major tasks, durations, and dependencies.
Next, you’ll outline the Permit and Permit Process steps, from pre-submittal to final approvals, so timelines stay compliant and predictable.
This section sets a precise framework for sequencing activities and aligning approvals with construction milestones.
Planning Milestones Timeline
A clear planning milestones timeline lays out the sequential tasks, deadlines, and dependencies required to complete garage construction on schedule. You’ll map design, approvals, and construction phases into a deterministic flow, tying decision points to measurable outcomes.
This timeline guarantees accountability, minimizes delays, and supports cost control.
- Define scope and site constraints, finalize architectural intent, and lock base dimensions.
- Secure planning permission (where required), select contractor, and finalize procurement schedule.
- Complete structural and electrical design, obtain permits, and schedule inspections.
- Initiate construction, implement quality gates, and align commissioning with handover and warranty checks, incorporating Garage aesthetics and sustainability features.
Permit and Permit Process
Before starting construction, you must understand the permit process and the sequence of approvals required for a garage project. You’ll map regulatory steps, identify governing authorities, and confirm submittal requirements before fabrication or site work begins.
Begin with a formal plan package: site plan, elevations, floor plan, and structural notes. Then compile calculations for load, wind, and seismic considerations.
Review setbacks, drainage, and utility access to avoid rework. Submit to the jurisdictional authority and monitor review cycles, responding promptly to plan checks or conditions.
Upon approval, secure all permits, then schedule inspections at critical milestones: pre-foundation, framing, and final occupancy.
Ensure garage aesthetics and landscaping integration are reflected in the permit set, preventing later modifications and ensuring compliance with local design guidelines.
Designing for Access, Ventilation, and Lighting
Access to the garage should be intuitive and unobstructed, with doors and pathways sized to accommodate frequent use while minimizing bottlenecks. You design for safe, efficient operation by prioritizing clear sightlines, appropriate thresholds, and accessible controls.
Guarantee ventilation serves both fumes and humidity without drafts, and install lighting that covers work zones with minimal glare. Choose materials and finishes that resist staining and provide durability under typical workshop conditions.
- Layout ensures cross-ventilation routes and doesn’t obstruct primary movement
- Vent placement balances exhaust and intake without creating dead zones
- Lighting targets work areas, storage, and entry points with redundancy
- Color schemes and material options optimize visibility, safety, and maintenance
Color schemes and material options influence perception, safety, and longevity.
Insulation, Heating, and Year-Round Use
Insulation, heating, and year-round usability require a system that minimizes heat loss while maximizing comfort and energy efficiency. You should select enclosure specifications that minimize thermal bridges, specify appropriate insulation levels for walls, floors, and ceilings, and guarantee airtight detailing around penetrations.
Garage insulation must balance cost, performance, and practicality, favoring continuous insulation with vapor management and a robust air barrier.
For heating options, choose a system compatible with your climate, space, and electrical capacity, prioritizing controllability, rapid response, and safety.
Pair a well-insulated envelope with a suitable heat source—consider electric heat pumps or high-efficiency radiant heaters for interim comfort.
Integrate programmable thermostats and zoning if you plan workbench spaces; avoid oversized equipment to prevent energy waste.
Waterproofing and Drainage for Garages
Water sealing hinges on selecting continuous barrier methods and joining details that prevent water intrusion at joints, penetrations, and slab edges.
You’ll need to address drainage slope to guarantee moisture moves away from the foundation, while managing ground moisture to prevent capillary rise and hydrostatic pressure.
Consider how these principles—water sealing, slope considerations, and ground moisture control—work together to protect the structure and maintain a dry, durable garage interior.
Water Sealing Principles
To protect a garage from moisture ingress, implement a cohesive water sealing strategy that integrates waterproofing, drainage, and proper surface preparation. You’ll deploy tested waterproof membranes and rigorous sealing techniques to guarantee long-term performance, without relying on superficial coatings.
- Assess substrate moisture and choose compatible waterproof membranes.
- Prepare surfaces with substrate cleaning, repair, and priming for ideal adhesion.
- Apply continuous, gap-free seals at joints, penetrations, and shifts.
- Protect assemblies from hydrostatic pressure with properly detailed terminations and drainage considerations.
This approach minimizes capillary rise, reduces air leakage paths, and maintains structural integrity.
Maintain compliance with manufacturer guidelines, environmental conditions, and cure times to meet performance targets.
Drainage Slope Considerations
What drainage slope is required to guarantee effective waterproofing in garages, and how should you implement it to minimize hydrostatic pressure and standing water? You determine a positive, continuous fall toward the exterior or a designated drainage point.
Specify a minimum fall of 1.5% (1.5 cm per meter) for slabs, increasing to 2% where heavy loads, vehicle traffic, or freeze-thaw cycles occur.
Ensure separation between the slab and walls with a continuous screed edge to prevent splash-back. Install a small chamfer or broom finish to promote water runoff without creating ponding zones.
Use appropriate perimeter drainage or internal channels tied to a sump and pump if subsurface elevation limits exist.
Seal penetrations with compatible joints, and verify with water testing to confirm effective drainage slope.
Ground Moisture Management
- Assess soil moisture and groundwater gradients to tailor barrier depth and materials.
- Specify a continuous moisture barrier beneath slabs, extending up walls where feasible.
- Select drainage solutions that route water away from foundations with proper slopes and outlet points.
- Integrate a perimeter drainage plan with sump options and trenching for future maintenance.
Ensure joints, penetrations, and connections are sealed with compatible, tested products.
Schedule inspection during backfill and after final compaction to verify integrity and performance.
Permitting Fees and Hidden Costs to Expect
Permitting fees and hidden costs can surprise homeowners, so it’s essential to plan for them upfront. You’ll encounter application fees, plan-review charges, inspection levies, and potential impact or connection fees that can scale with project size and locality. Expect variability by jurisdiction, and verify whether you must submit multiple revision sets, engineering stamps, or specialty permits for electrical, plumbing, and drainage.
Hidden costs include soil testing, site surveying, and temporary utilities during construction, plus costs for materials delays, weather contingencies, and permit renewals. When estimating, factor in garage aesthetics and material durability to avoid chasing aesthetic-only savings that backfire on longevity.
Maintain a detailed ledger, track permit timelines, and align expectations with code-compliance requirements to minimize overruns.
How to Budget a Garage Project Effectively
You’ve identified the permitting and hidden-cost landscape, and now you’ll translate that awareness into a tight budget that keeps the garage project on track. To budget effectively, quantify every cost category, prioritize essentials, and establish a firm contingency.
The following elements guide disciplined spending:
1) Accurate area measurements and material units
2) Itemized labor versus self-performed tasks
3) Clear specifications for garage insulation and garage lighting
4) Scheduled milestones with staged payments and change-tracking
Implementing a top-down and bottom-up estimate reduces overruns. Track equipment rentals, waste disposal, and permit-expiration risks, adjusting as scopes evolve.
Include insulation R-values and lighting lumen targets in your baseline to avoid redesigns.
Finally, build a living budget workbook, updating every cost delta, so you maintain control from permit submission through project closeout.
Common Pitfalls and How to Avoid Them
You’ll want to anticipate common planning missteps, budget blind spots, and permit process pitfalls as you map your project.
By identifying these areas upfront, you’ll reduce change orders, cost overruns, and delays.
Stay methodical: document assumptions, confirm permits early, and align budget with a clear contingency plan.
Common Planning Missteps
Planning missteps can derail a garage project long before you break ground, so identify and address them upfront. You’ll avoid costly delays and guarantee compliant construction by targeting the core planning failures early.
- Overlooking setbacks and easements, leading to encroachment risks and permit refusals.
- Ignoring site drainage and grading, creating long-term waterproofing and foundation issues.
- Underestimating load-bearing requirements and service clearances, triggering structural retrofits.
- Neglecting integration of garage accessories with interior design, reducing usable space and aesthetics.
Address each item with precise measurements, documented approvals, and a written adverse-weather contingency. Verify design codes, setback calculations, and utility access before submission.
Align your plan with interior design concepts to maximize flow and storage, while keeping the space technically robust. This assures a compliant, efficient, and durable structure.
Budget Blind Spots
Build a robust contingency—typically 10–15%—and document it in the budget workbook. Account for maintenance cycles, like door hardware, seals, and weatherproofing, to prevent escalating costs after completion.
Evaluate energy, insulation, and ventilation needs to avoid future retrofits. Plan for garage maintenance, detailing schedules and responsible parties.
Assess security considerations early: door mechanics, locking hardware, and alarm integration, and embed them in the purchase order.
Finally, implement a change-control process to capture scope shifts, avoid scope creep, and preserve your baseline cost.
Permit Process Pitfalls
Permit processes can derail timelines if you don’t anticipate common snags. You’ll reduce risk by mapping approvals to a concrete schedule and confirming scope with authorities early.
Common pitfalls include scope creep, misaligned plans, and incomplete documentation that trigger back-and-forth. Prioritize a complete package that reflects Garage aesthetics and interior design intents to avoid redesigns later.
- Align site plans, elevations, and utility annotations before submission.
- Verify local code references and permit type match your project scope.
- Attach a detailed interior design layout to prevent changes post-approval.
- Schedule timely reviews with planning staff and address comments in a structured response.
Final Checklist: From Permission to Completion
The final checklist guarantees you move smoothly from permission to completion by confirming regulatory approvals, securing materials, and scheduling trades in a logical sequence. Begin with final plan verification, ensuring permits, inspections, and utility connections are in place.
Confirm site access, contractor credentials, and insurance coverage before work begins.
Create a phased timeline that aligns pouring, framing, roofing, and electrical milestones with critical inspection windows.
Coordinate deliveries to minimize on-site congestion and protect materials from weather.
Track changes via a formal change order process to preserve budget integrity.
Schedule garage ornamentation and aesthetic enhancements after structural components are verified, avoiding rework.
Maintain rigorous safety and quality audits, documenting deviations and resolutions.
Closeout with commissioning, warranty files, and a finalized occupancy submission.
Frequently Asked Questions
Will a Garage Affect Home Insurance Premiums?
Installing robust Garage security can lower premiums, but it isn’t guaranteed; discuss with your insurer. If you upgrade security, you may obtain insurance discounts, while other factors still influence rates. Proactive protections influence your policy positively.
How Long Does the Entire Process Typically Take?
The construction timeline typically spans several weeks to a few months, depending on design complexity and permits. You’ll finalize garage design, obtain approvals, and complete site work, framing, and finishes within this coordinated schedule.
Can You Convert a Garage After-Building Permits Expire?
Yes, you can convert a garage after permits expire, but you must restart with a new plan, obtain updated Building permits, and guarantee compliance. Garage conversions require renewed approvals, inspections, and documentation to avoid penalties and code violations.
Are Solar Panels on Garages Allowed Under Rules?
Yes, you can install solar panels on a garage, but check local rules; guarantee proper ventilation and fire safety. Prioritize Garage lighting and Garage insulation while meeting setbacks, roof load, and electrical connections to comply with codes.
What Maintenance Costs Recur Yearly After Build?
Yes, you’ll face yearly Garage upkeep costs varying by climate and materials. Expect Yearly expenses for inspections, roof, gutters, door motors, heating, insulation, and preventive maintenance budgets to guarantee long-term structural integrity.
Conclusion
Construct your garage like a secure vault: the door snaps shut on risk only after permission is granted, foundations are solid, and plans are precise. Let your budget be the frame, drawing lines that keep costs in check without sacrificing function. Permits are the hinges; inspections confirm integrity. When you map every step—from size and style to local limits—you seal the project with confidence, ensuring a durable, compliant workspace that stands the test of time.
About the Author