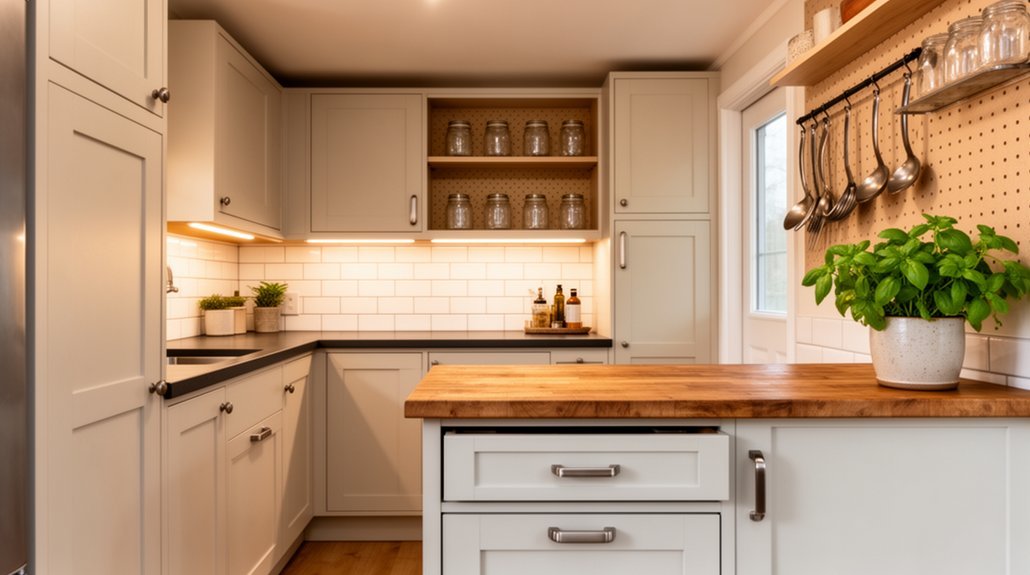
A budget-friendly kitchen makeover for a small home focuses on non-structural tweaks that boost light, storage, and efficiency. Start with a realistic budget and map your space into zones—prep, cook, clean, and store—so frequent tools stay within reach. Try quick wins like light-reflective paint, updated hardware, under-cabinet lighting, peel-and-stick backsplashes, and open storage. Repaint cabinets, add modular organizers, and choose compact, energy-efficient appliances. Small changes add up—and you’ll uncover smart, long-lasting improvements as you continue.
The Budget Kitchen Makeover: What It Can and Cannot Do
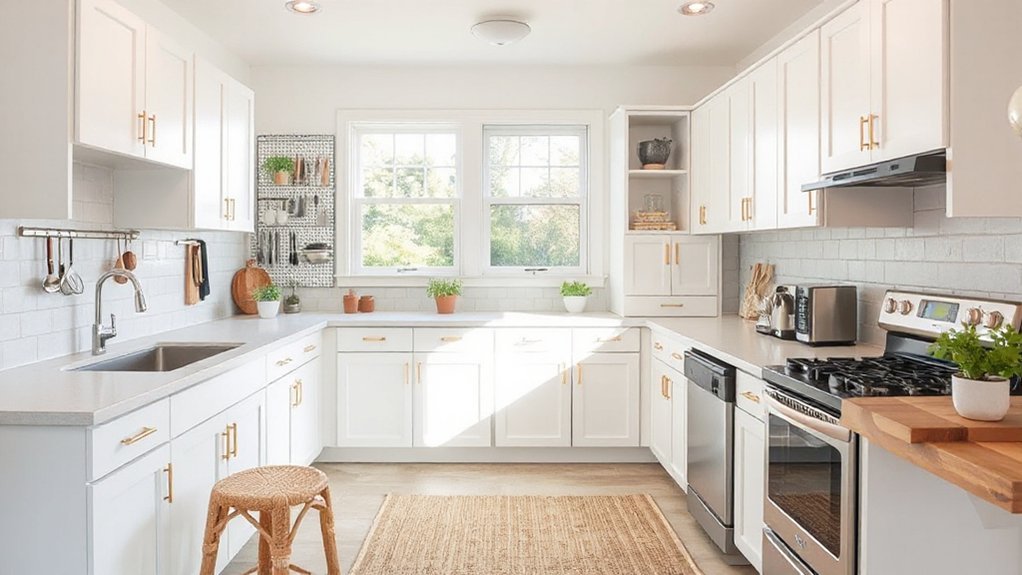
A budget kitchen makeover can dramatically refresh a small space, but it has limits. You’ll gain noticeable changes in function and vibe without a full rebuild, yet you won’t achieve extreme overhauls or permanent architectural shifts.
Prioritize high-impact, low-cost moves that deliver the most return: fresh color on walls, updated cabinet hardware, and better lighting. You can refresh the look with strategic accents, but major layout changes remain impractical on tight budgets.
Kitchen decor choices matter: choose cohesive tones, durable finishes, and simple patterns that extend the space visually. Appliance upgrades, when affordable, offer efficiency gains and modern appeal without requiring a full purchase plan.
Set realistic expectations, test ideas on a small scale, and avoid chasing trendy fads that won’t endure.
Set a Realistic Budget for Your Small Kitchen
Before you pull out your calculator, set a realistic budget for your small kitchen by defining what you can afford up front and what you can stretch over time. Start with a hard cap for major investments, like cabinets or appliances, and earmark a separate fund for essentials you’ll upgrade later.
Prioritize must-haves over nice-to-haves, and seek flexible options—paint, fixtures, and hardware can refresh a look without breaking the bank.
Break the total into categories: labor, materials, and contingency. Reserve a small percentage for unexpected costs; it keeps projects moving without debt.
Plan around practical constraints—compact storage, efficient layouts, and solid resale value.
Finally, tie your spending to daily goals: cooking techniques and food presentation matter most when you can execute them within budget.
Map Your Kitchen by Zone and Priorities
Start by mapping your kitchen into zones based on core activities: prep, cooking, cleanup, and storage.
Prioritize by how often you use each area and the flow between them, so errands and movements stay efficient.
Keep it practical: place frequently used tools and staples near their work zones to boost speed and reduce clutter.
Map Zones Efficiently
Curious how to organize a small kitchen for maximum efficiency? Map zones by task flow and storage constraints, then label each area for quick access.
Start with a cooking zone near prep space, sink, and stove, so cleanup mirrors action. Place frequently used tools at elbow height, rare items higher or lower, and store similar items together to reduce hunting.
Create defined zones: prep, cooking, cleaning, and storage, with clear borders to minimize cross-traffic.
Use vertical space: wall racks, magnetic strips, and pegboards to free counter space.
Prioritize high‑use items in close reach, and rotate seasonal gear to the periphery.
Regularly audit zones for clutter and adjust as your routines shift. This improves kitchen organization and cooking efficiency in compact layouts.
Prioritize By Activity
To maximize efficiency, map your kitchen by activity and assign zones around what you do most. Start with a cooking zone near the prep area, a cleaning zone by the sink, and a storage zone that places daily staples within reach.
Group tools and containers by task to cut trips and time. Label zones clearly and keep only what you use there visible; move rarely used items to secondary storage.
Plan a dedicated coffee or beverage nook if space allows, reducing laddering through the main work triangle.
Use vertical storage, hooks, and modular organizers to maintain order. This approach informs Kitchen decor choices and reduces decision fatigue, while practical Cooking tips keep traffic flowing and your small kitchen focused.
Quick Wins: Paint Tricks That Make a Small Kitchen Feel Bigger
Light-reflective white paint brightens walls, cabinets, and surfaces to open up tight spaces.
Pair it with ceiling and trim in the same or a lighter shade to create seamless lines that visually extend the room.
Keep fixtures and hardware minimal to maximize the reflective effect and perceived openness.
Light Reflective White Paint
White walls bounce more light around a small kitchen, so opting for a light, reflective white can make the space feel instantly brighter and larger. You’ll maximize perceived space by choosing a pure or soft white with minimal undertones, avoiding creams that absorb warmth.
This approach supports color psychology goals: calmer, cleaner vibes that read larger on camera and at a glance. Apply the paint to walls and kitchen cabinets if you want a cohesive, airy backdrop; reuse glossy or satin finishes to enhance light bounce.
Consider paint durability; pick a washable, stain-resistant formula for busy areas and frequent wipe‑downs. Light reflectivity also helps under cabinet lighting, reducing required brightness.
Keep hardware and fixtures streamlined to preserve the sleek, open feel.
Ceiling and Trim Brightening
Ceiling and trim brighten quickly by embracing the same light-reflective mindset you used on walls. You’ll gain perceived space by selecting high-gloss or satin finishes that bounce light without glare. Keep ceilings visually clean and uniform to avoid breaking the line of sight.
Treat trim as intentional framing rather than decoration. Consider color, contrast, and proportion to improve Ceiling height perception and streamline the kitchen’s silhouette. Opt for white or pale neutrals on trim to mirror walls, then reserve bold colors for accents if you want depth without crowding.
A tight color story makes cabinets feel taller and floors appear further away, reinforcing a spacious, functional vibe.
- Reflective trim design enhances light distribution
- High-gloss ceilings amplify Ceiling height perception
- Consistent trim color anchors a clean, roomy look
Refresh Cabinets on a Budget (Affordable Makeovers)
Refresh cabinets on a budget by choosing a simple, high-impact approach: repaint or refinish the doors and frames, replace hardware, and add a fresh topcoat for durability. You’ll see a transform with minimal disruption, so plan a weekend project and work methodically.
Begin by cleaning surfaces to remove grease and grime, then sand lightly to promote adhesion. Pick a durable, washable finish in a color that complements your kitchen decor and lighting.
Swap out pulls and handles for a cohesive, updated look; consider matte black, brushed nickel, or brass accents to elevate the space.
Apply even coats, allowing adequate drying time between steps. Finish with a sealer or topcoat for protection.
This approach supports practical cooking techniques and creates a refreshed, affordable kitchen focal point.
Storage Hacks to Free Counter Space
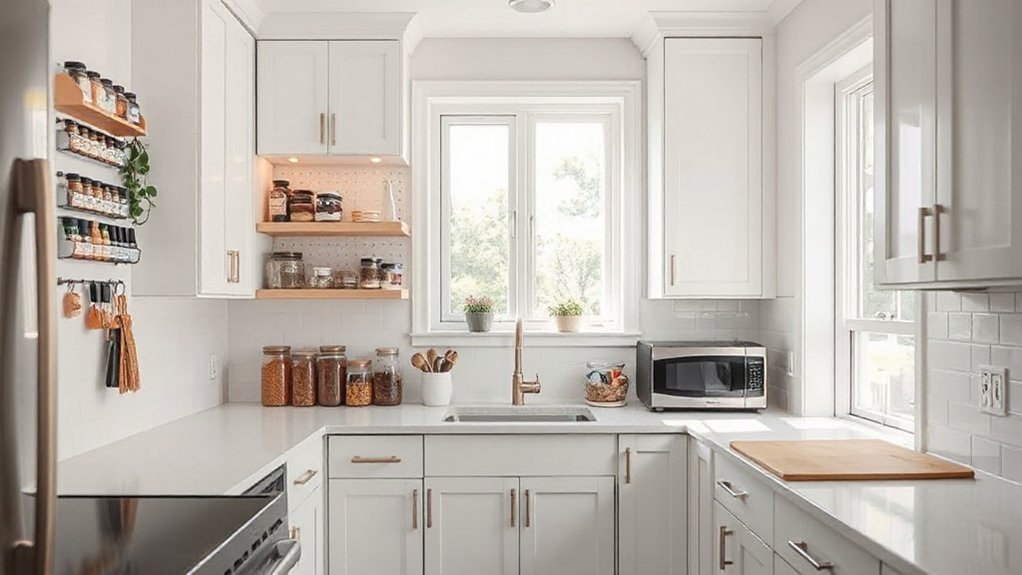
Maximize your counter space with practical under-sink organizers that keep cleaning supplies tidy and accessible.
Add vertical wall storage to free horizontal real estate by turning unused wall area into a place for frequently used items.
Start by evaluating what you reach for daily and choose compact, durable solutions that integrate with your kitchen workflow.
Under-Sink Organizers
- Use organizational tools to define zones and simplify access
- Opt for stackable storage containers to maximize vertical space
- Install pull-out baskets or slim trolleys for easy reach and cleanup
These tweaks deliver durable, affordable gains without sacrificing cabinet depth or reliability.
Vertical Wall Storage
Prioritize vertical shelving that fits your kitchen’s measurements and traffic flow. Install open racks for frequently used items, and use magnetic strips for knives and metal tools to declutter drawers.
Add pegboards above prep zones to rearrange utensils as your habits change. Include labeled bins or baskets to corral dry goods or snack packs, enhancing wall organization without crowding counter space.
Choose modular components that can grow with you, so you’re not redoing the setup soon.
Keep cords and charging devices off the wall with cord clips to maintain a tidy, efficient workspace.
DIY Backsplash Ideas That Save Time and Money
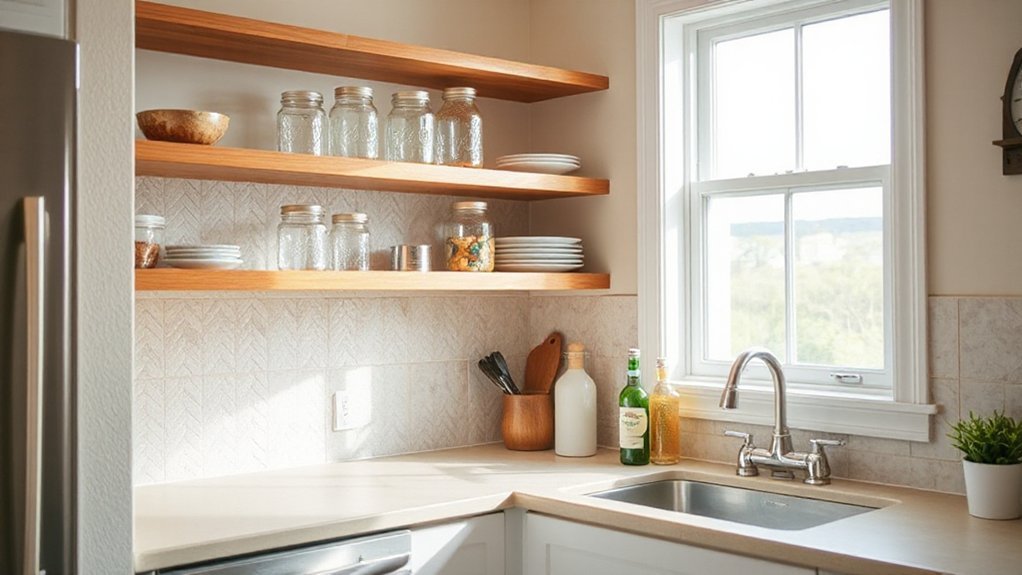
Looking for a quick, budget-friendly backsplash? You can transform your wall with simple, practical options that save time and money. Choose peel-and-stick tiles for a DIY install without grout mess, or use beadboard panels painted to match your cabinetry for a clean, classic look.
Consider recycled glass, cork, or ceramic tiles from bargain bins to tread lightly on your budget and the planet. Keep it simple: measure precisely, cut once, install confidently, and seal along the edges to prevent moisture.
This approach fits kitchen decor goals while leaning toward eco friendly materials. Commit to a short project window and reuse leftover pieces for future updates.
- Peel-and-stick tiles offer quick success and minimal tools
- Reclaimed or salvaged tiles reduce waste and costs
- Beadboard or paneling delivers texture with minimal labor
Lighting on a Budget: Brighten Up Without Breaking the Bank
Brighten your kitchen on a budget with practical lighting upgrades that deliver impact without a big price tag. Start with a plan: map lighting needs by task, ambiance, and glare reduction, then total costs to guide decisions.
Prioritize single, high-output lighting fixtures over multiple dim options to maximize efficiency. Choose LED bulbs for longevity and lower running costs, and swap in dimmable switches to adjust mood without adding fixtures.
Reuse existing profiles by updating shades or housings instead of full fixtures, and consider under-cabinet lighting to illuminate work zones without overhauling ceilings.
Layer light with a mix of ambient, task, and accent tones, focusing on function first.
Budget planning includes comparing outlet access, fixture placement, and potential rebates, ensuring upgrades stay affordable and effective.
Flooring Ideas for Small Spaces That Save Money
When you’re revamping small kitchens on a budget, flooring can make a bigger impact than you’d expect. Opt for durable, low-cost options that survive traffic and spills, like vinyl sheets or luxury vinyl planks. Choose a light, cohesive tone to visually expand the space and simplify cleaning. Consider patterns that hide wear and seams that mimic real materials, reducing maintenance over time.
Plan around key functions, ensuring appliance placement remains efficient and accessible. A simple floor that complements your Kitchen garden-inspired touches boosts mood while keeping costs down. Prioritize water resistance in kitchens and seal gaps to prevent moisture damage.
- Durable vinyl that mimics wood
- Seamless installation for quick updates
- Damage‑concealing patterns and color tones
Luxe Feel, Low Cost: Hardware Updates That Move the Needle
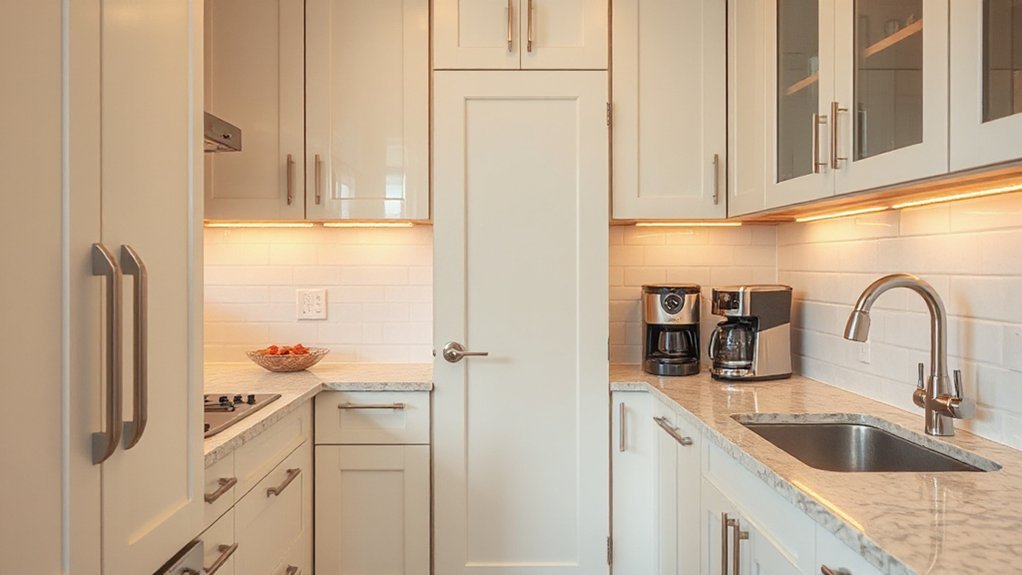
Small changes to hardware can make a big impression without breaking the bank. You can elevate your kitchen’s feel with strategic updates that read as premium without the price tag. Begin with cabinet knobs and pulls in a cohesive finish—brushed nickel, matte black, or antique brass—then extend the look to drawer fronts and open shelves. Choose simple, high-contrast hardware to create visual focus without clutter.
Upgrade hinges for smoother operation, and consider soft-close mechanisms to reduce everyday wear. Lighting hardware matters too: fixture shapes that echo cabinet lines sharpen the overall feel. These updates support budget cooking by reducing perceived cost through style consistency, while improving usability.
They also boost appliance efficiency perception—sleek hardware signals quality and care throughout your small space.
Budget-Friendly Appliance Substitutions for Tiny Kitchens
Could you cut costs without sacrificing function by swapping in budget-friendly appliance substitutions for tiny kitchens? You can maximize space and performance with compact, efficient options that don’t break the bank. Look for appliances labeled as energy efficient, size-appropriate, and feature-rich enough for daily tasks.
Prioritize units that share common controls or compatibility to minimize wiring and plumbing changes. Think modular, stackable, or multi-use pieces to reduce clutter while keeping capability high. Focus on energy efficiency to lower long-term costs and environmental impact.
By choosing affordable appliance upgrades with smart design, you preserve function without premium price tags, and you free up budget for other upgrades.
- Choose energy-efficient compact appliances
- Prioritize multi-use, space-saving designs
- Verify compatibility to avoid costly retrofits
Non-Permanent Upgrades That Deliver Real Impact
Non-permanent upgrades can deliver real impact without tying up your budget. You’ll swap in temporary finishes, hardware, and textiles that refresh the space without committing long term.
Focus on three areas: Seasonal decor that reflects current trends or seasonal rhythms, adjustable lighting to improve mood and task visibility, and ergonomic tweaks to improve Kitchen ergonomics without major renovation. If you have the budget and space, then consider an AGA instead of an electric oven.
Use removable backsplash decals or peel-and-stick tiles for a quick focal point, then update cabinet pulls and faucet handles for a refreshed look.
Optimize workflow by relocating frequently used items within easy reach and labeling storage so you don’t waste time.
Choose mobile plants, washable rugs, and linen window treatments for texture.
These small, reversible changes deliver meaningful everyday usability.
Real-World Before-and-After: Budget Case Studies
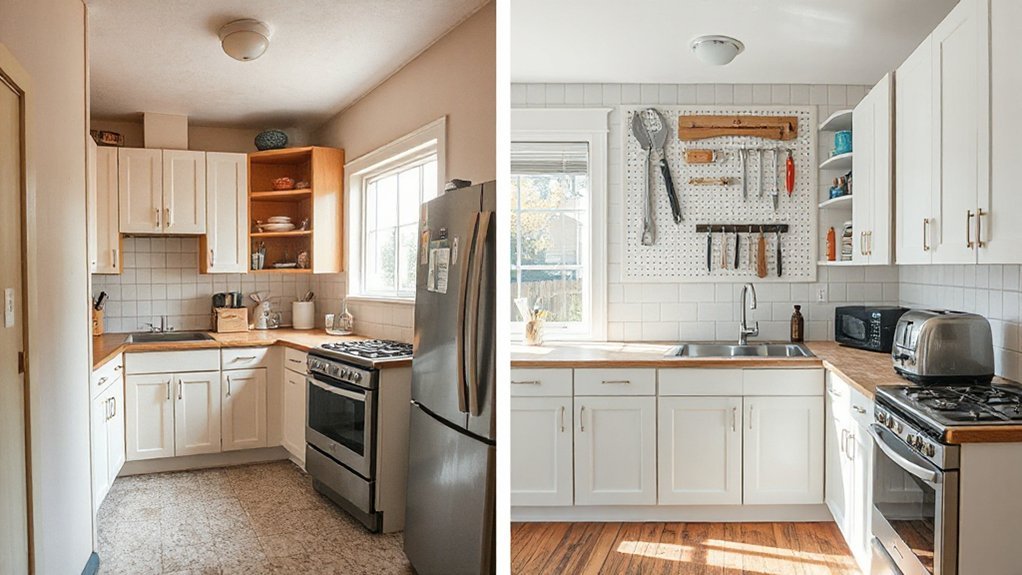
Real-world budget case studies prove that thoughtful changes, not costly overhauls, deliver big results. You’ll see how small, well-planned tweaks create noticeable upgrades without draining your wallet.
In practice, kitchen organization shines when every shelf and drawer has a purpose, and budget planning keeps you from impulse buys. These case studies show gains from simple swaps, countertop decluttering, and smart hardware choices that feel expensive but aren’t.
You’ll compare timelines, costs, and outcomes to guide your own makeover with clarity and restraint. Focus on what matters: storage efficiency, durable materials, and cohesive style that stays within limit.
- Prioritize organization by assigning each item a dedicated spot
- Budget for durable, low-maintenance finishes
- Track costs and results to refine future steps
Maintenance Habits to Preserve Your Makeover
Maintenance habits are the backbone of a successful, budget-friendly makeover. You keep the look and function intact by establishing simple, repeatable routines.
Create a daily wipe-down protocol for counters and surfaces to prevent grime buildup and extend finish life.
Schedule weekly tasks like sink care, grout quick-clean, and cabinet wipe-through to avoid stubborn staining.
Implement a monthly inspection to catch loose hardware, sealant gaps, and edge wear before costs escalate.
Prioritize cleaning routines that fit your cadence, not your calendar.
For durability, pair cleaning with proactive appliance maintenance: vacuum coils, test seals, and replace filters as recommended.
Document the schedule, so future occupants know what to maintain.
With consistent effort, your savings multiply and your makeover endures.
Frequently Asked Questions
How Long Does a Budget Kitchen Makeover Typically Take?
A budget kitchen makeover typically takes 1–2 weeks, depending on scope. You plan efficiently, you’ll tackle prep first, then install. You’ll decide color schemes early and optimize appliance placement, minimizing downtime while keeping costs in check.
What Are the Most Cost-Effective Countertop Options?
You’ll love real costs: quartz solids are pricey, but 70% of homeowners report durable satisfaction with budget friendly surfaces. For countertop materials, choose laminate or butcher block, known for affordability and easy maintenance—practical, cost-conscious options you can trust.
Can Small Kitchens Be Functional With Limited Lighting?
Yes, you can. Use natural lighting by enlarging windows or adding skylights, and bolster with artificial illumination—bright task lights, under-cabinet LEDs, and layered glow. Optimize color, contrast, and layout to keep the space functional and inviting.
Do DIY Upgrades Require Permits or Professional Help?
Satire first: you’ll love DIY fame, but permit requirements demand respect. You’ll likely need professional assistance for electrical or plumbing. Stay compliant, obtain permits, and hire pros when in doubt to avoid costly, risky mistakes.
Which Upgrades Yield the Biggest Return on Investment?
Upgrading appliances and choosing a stylish backsplash yield the biggest ROI. You’ll see quicker resale appeal and perceived value by upgrading energy-efficient appliances and selecting a durable, timeless backsplash that complements cabinets, flooring, and lighting for lasting impact.
Conclusion
You can transform a tiny kitchen without draining your bank account. Picture your space as a blank canvas, then brush on color, smart lighting, and fresh hardware to reveal a brighter, bolder workflow. Think zones, not chaos, and quick wins that multiply end results. Don’t chase perfection—opt for practical upgrades, reversible tweaks, and steady maintenance. With purpose, your small kitchen becomes a calm, efficient command center you’ll actually enjoy using every day.
About the Author