Think of your floor as a quiet archive waiting to be restored. You’ll start by evaluating condition, moisture, and support, then clean and smooth the surface to remove old finish. If joints squeak or gaps appear, address them with selective repairs before choosing between sanding or screening. Pick a finish that matches your wood and climate, apply in thin coats, and control the room as it dries. There’s more to optimize—techniques, timing, and cost—so you’ll want to see what fits your space.
Assess Your Old Floor: Is a Refresh Feasible?
Evaluating whether a refresh is feasible starts with a quick inventory of the floor’s condition. You’ll assess surface wear, board stability, and nail pops, noting any cupping or gaps. Check for water damage, staining, or finish delamination, since these indicate deeper issues.
Consider subfloor integrity and moisture levels; elevated moisture undermines long-term durability. Evaluate floor durability by testing for springiness and hollow spots, which signal compromised support. Inspect board patterns for widespread warping, checking to see if radiant heat or humidity changes drove deformation.
Weigh the historical value of the wood—are you preserving character or masking age? Decide if refinishing, filling, or partial board replacement aligns with your goals.
If the floor’s condition aligns with your target durability and aesthetic, a refresh is worth proceeding.
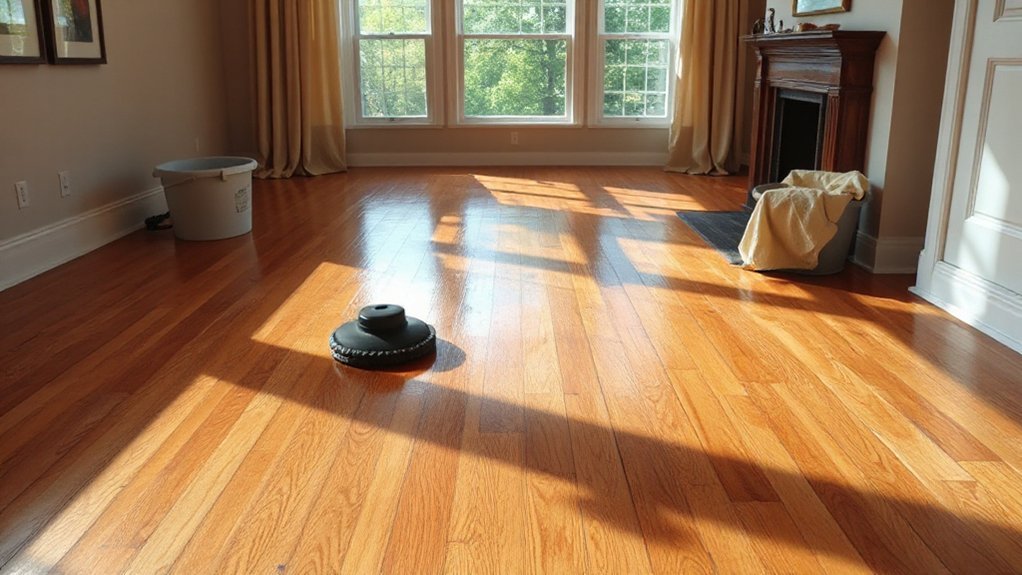
Clean and Repair: Quick Refresh Tactics That Work
You’ve determined a refresh is feasible, so start with a clean slate and targeted repairs that deliver quick gains. Begin by addressing visible damage: fill gaps and minor gouges with matched filler, then wipe dust from edges and corners.
Prioritize stain or finish touch-ups on high-traffic zones to restore uniform tone without full resurfacing. Use microfiber cloths and a tack cloth to remove residues before any product application.
Opt for Eco friendly products to minimize odor and environmental impact, especially on living spaces. For larger defects, consider a light screen or buff to even sheen, then recoat with a compatible finish.
When you’re ready for lasting results, plan professional refinishing to achieve durable protection and a seamless look.
Sand vs. Screen: Which Technique Fits Your Floor?
When deciding between sanding and screening, start by evaluating the floor’s current finish and the depth of damage. Sanding removes material aggressively, leveling pits and deep scratches, but can blur wood grain if overdone.
Screening is gentler, using a coarse abrasive to abrade the top layer while preserving more of the original wood grain and floor texture. Use screening when damage is light to moderate, the finish is relatively intact, and you want minimal dust and downtime.
Sanding is preferable for uneven surfaces, severe wear, or when you plan a dramatic color or stain shift.
Consider equipment: drum sanders for removal, floor buffers with screen disks for refinement.
Match the technique to the finish type, expected progress, and your tolerance for dust, noise, and maintenance.
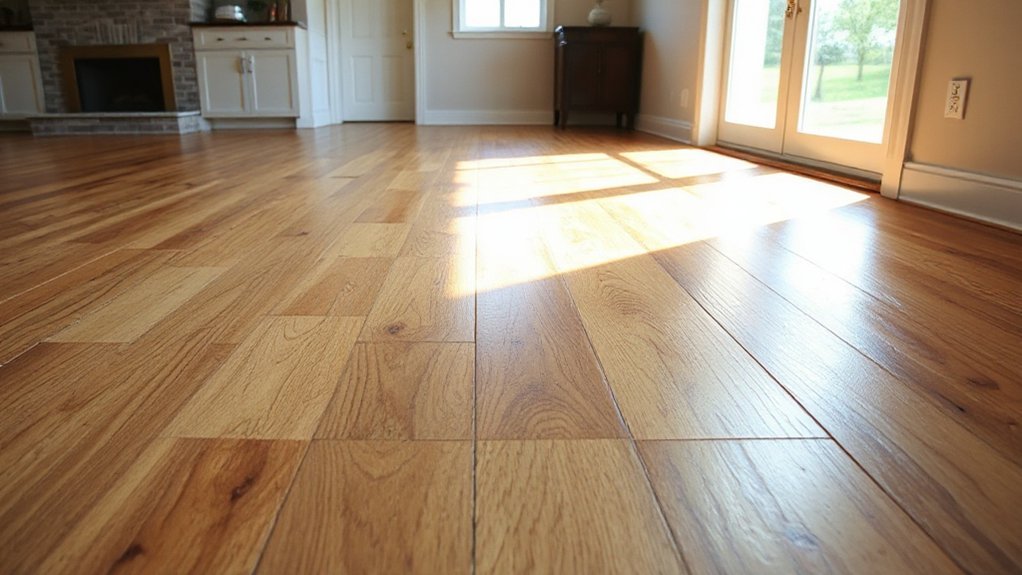
Pick the Right Finish to Brighten Aging Wood
To brighten aging wood, choose a finish that enhances color without masking grain or highlighting wear. You’ll want a product that deepens natural tones while revealing wood grain, not obscuring it.
Consider polyurethane or a penetrating oil with a balanced gloss; high-build options can look plastic if overdone. For a brighter result, pick a mid-sheen finish rather than high gloss, which emphasizes scratches and prior wear.
Test on a small area to confirm color fidelity and finish sheen under your lighting. Apply thin, even coats, following manufacturer directions, and sand lightly between coats for adhesion.
Maintain even coverage to avoid lap marks. Remember, the goal is clarity and warmth, not over-saturation or uniform flatness.
Match Color and Tone to Your Grain
Match color and tone to your grain by selecting stains and finishes that enhance natural variation rather than blanket it. You’ll want to identify the species and grade of your boards, then choose colors that align with inherent contrast instead of muting it.
Start with grain matching goals: contrast highlights, uniform warmth, or a blended look. Test samples on small areas to verify how the grain responds under your lighting and sheen choice.
Use color coordination to balance boards across the room, avoiding abrupt shifts between planks. Consider two-tone strategies if your floor shows distinct heartwood and sapwood; apply a lighter topcoat to preserve depth.
Finally, document your chosen stain sequence and finish, ensuring consistency in application thickness and drying times for even results.
Squeaks, Dents, and Scuffs: Fast Fixes You Can Try
Squeaks, dents, and scuffs are common with aging hardwood, but you don’t need a full redo to fix them. First, identify movement sources by pressing on floorboards near joists; if creaking stops when you shift weight, a shim can secure loose boards.
Lightly drive hidden nails or use a nail-set to tighten squeaks without visible damage. For dents, lightly heat the area with a hair dryer and fill with wax or color-matched wood filler, then buff smooth.
Scuffs respond to non-greasy cleaner or a matching touch-up pen; test in a hidden spot first. Consider furniture rearrangement to prevent recurring dents, and place decorative rugs over high-traffic zones to distribute load.
Reassess after a day to confirm improvements and avoid new damage.
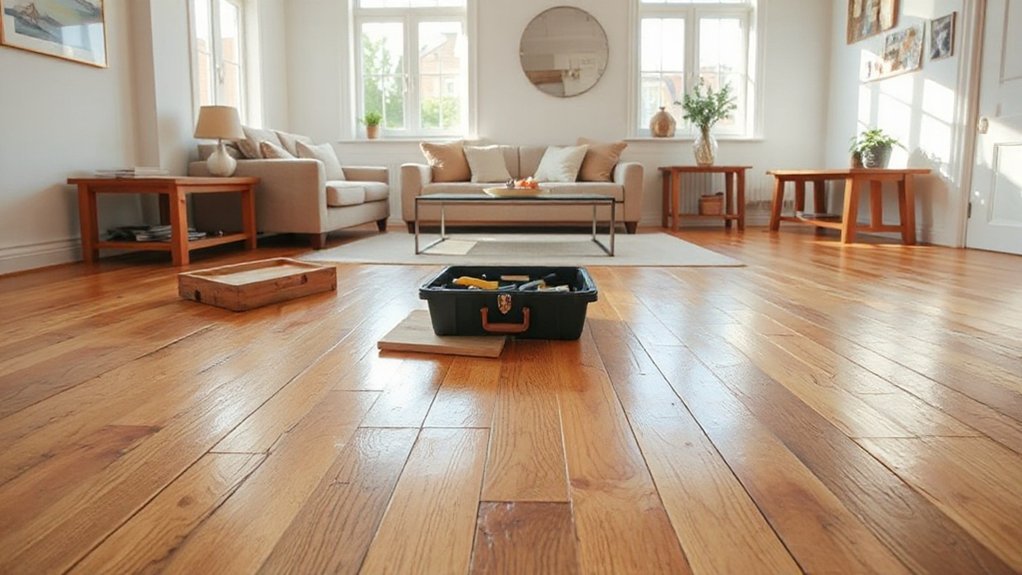
Budget, Downtime, and DIY Tips for a Clean Finish
You’ll balance budget-friendly downtime with practical DIY finishing tips to get clean, even results. We’ll keep the process tight: plan cost-effective steps, minimize disruption, and aim for a durable, professional-looking finish.
You’ll learn how to optimize materials, timing, and technique for reliable results without unnecessary extras.
Budget-Friendly Downtime Strategies
Wondering how to refresh hardwood floors without breaking the bank? You’ll optimize downtime with practical, budget-friendly steps that keep results crisp.
Start by evaluating wear patterns to prioritize tasks, avoiding unnecessary sanding. Use spot-cleaning and routine dusting to reduce grime that clouds finish.
When refinishing, choose reusable tools and low-cost, durable materials; consider water-based finishes for faster cure times and fewer fumes.
Schedule projects during off-peak hours to minimize labor costs and disruption.
Emphasize historical preservation by preserving original character where possible, such as retaining authentic patina on select boards.
Eco-friendly methods include low-VOC finishes, energy-efficient sanding, and proper waste disposal.
Plan a phased approach: repair, clean, protect, then monitor wear. This keeps downtime short and the outcome balanced, durable, and affordable.
DIY Finishing Tips
After evaluating wear patterns and choosing smart, budget-friendly refinishing steps, you can approach the finish with a focus on control and efficiency. Begin with surface prep: dust, clean, and verify flatness so you don’t trap debris under coating.
Choose a compatible finish and apply thin, even coats; avoid overworking to reduce lap marks. For stain, assess wood grain and color goals, test on scraps, and pick stain selection that enhances contrast without oversaturation.
Use between-coat sanding only as needed to maintain bite, not remove transparency. Maintain stable temperature and humidity to prevent rapid drying or gapping.
Work methodically in small sections, wiping excess and feathering edges to blend. Record product brands, times, and outcomes for repeatable results. Your results hinge on consistency, timing, and attention to wood grain consistency.
Clean, Even Results Outcomes
To get clean, even results on a budget, keep downtime minimal by planning around drying times and using efficient workflows. You’ll optimize coating application with uniform rolls or brushes, ensuring consistent coverage without heavy build-up.
Pre-clean the surface, patch gaps, and sand for a smooth base so finish layers bond reliably. Use a quality, fast-drying polyurethane to shorten cure windows while preserving durability, then apply a light, even second coat if warranted by abrasion risk.
Maintain controlled environmental conditions to limit dust settling and maximize coating durability. Track process times and ventilate between coats to reduce fumes and environmental impact.
Test a small area first to confirm color and sheen, adjusting technique if grain highlight or blotching appears. Finish with minimal traffic until fully cured.
Frequently Asked Questions
How Long Does a Floor Refresh Typically Take per Room?
A typical floor refresh takes about 1 to 2 days per room, depending on size and setup. You’ll plan floor sanding, stain selection, and curing time, then sand again lightly and seal for durability.
Can Color Matching Hide Repairs on Worn Planks?
Color matching can temporarily hide repairs, but it won’t fully conceal deep wear. You’ll need precise color matching and proper finish, yet repair concealment remains limited, so you should plan for matching tones and potential plank replacement.
Is Professional Refinishing Better Than DIY for Oak Floors?
Yes, professional refinishing is often better for oak floors. You’ll avoid DIY pitfalls and gain professional benefits like uniform grind, proper finish, and durable protection, though it costs more and requires scheduling around contractors.
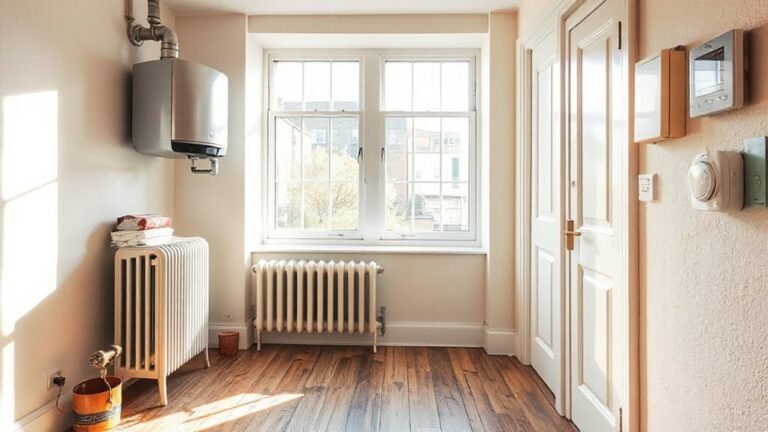
Will Refreshing Floors Affect Existing Floor Vents and Radiators?
Yes, invigorating can affect vents and radiators if you block or misalign them. Check vent placement and maintain clearance, and guarantee radiator coverage isn’t altered by floor work. Re-seal edges carefully to avoid airflow restrictions and heat buildup.
How Durable Is a Refreshed Finish Against Pets and Spills?
Pet proof coatings and spill resistant finishes considerably improve durability; you’ll enjoy less worry from claws and accidents. You’ll notice tougher protection, easier cleanup, and longer life when you choose these options for your refreshed floors.
Conclusion
You’re almost there. With a careful plan, your floor sheds its old coat and finds new life beneath your steps. Assess, repair, and sand or screen with steady hands, then lay on a finish that suits your wood and climate. Keep humidity steady, coats thin, and cures patient. A bright grain, a quiet squeak, a room that feels refreshed—your work paying you back in warmth and durability. Your refreshed hardwood walks back into time with you.