You seal gaps, you upgrade doors, you add insulation, you decouple surfaces, you isolate vibrations. You’ll want to assess where noise leaks occur, choose materials with appropriate density and mass, and account for budget and space constraints. You’ll also balance performance with practicality in high-traffic or sensitive areas. If you push forward with a plan, you’ll uncover the best combination of tactics to quiet your home, and you’ll find where to start first.
What Makes a Room Sound-Insulated
Sound insulation hinges on preventing sound transmission through building assemblies and reducing noise within the room. You assess enclosure quality by analyzing wall, floor, and ceiling interfaces, plus door and window treatments.
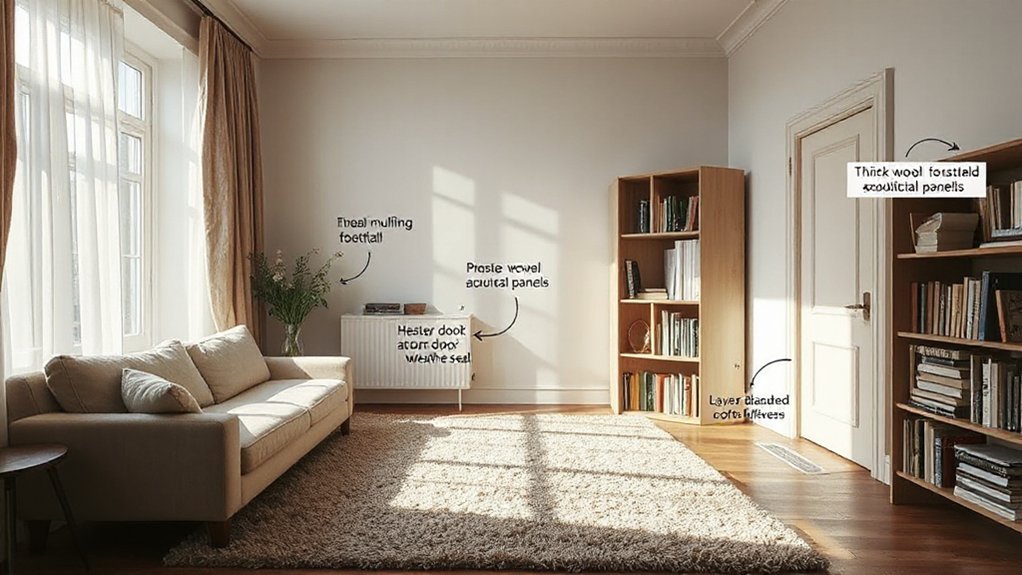
Effective sound insulation relies on mass, damping, and impedance mismatches that obstruct airborne and structure-borne paths. Acoustic panels absorb mid- to high-frequency energy, lowering reflectance and room resonance, while maintaining usable space.
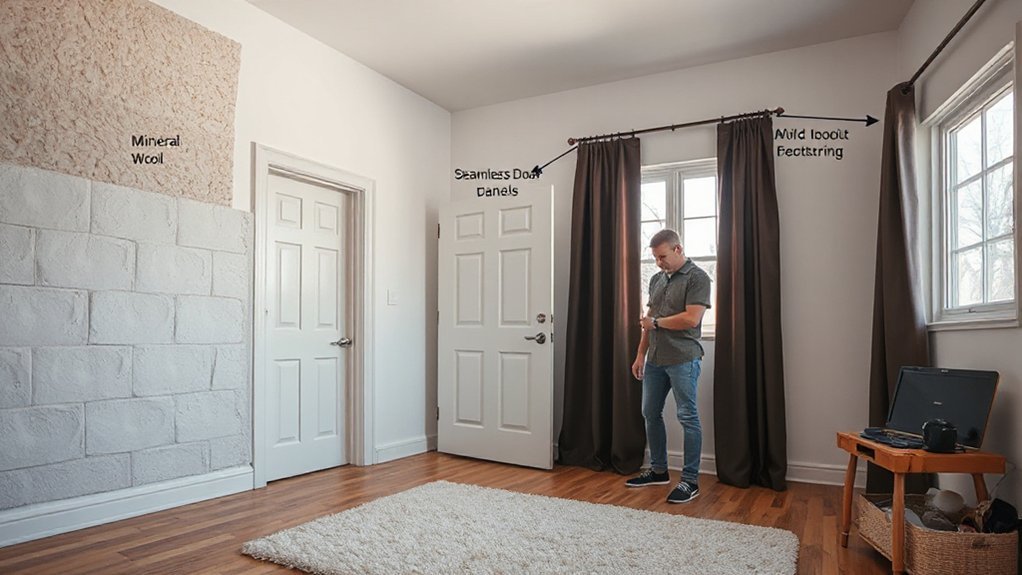
Soundproof curtains add decoupled, layered control for window openings, reducing direct transmission without invasive renovations. You should consider mineral wool or similar infill for cavity walls to enhance mass and damping without excessive thickness.
Avoid leaks, guarantee tight seals around penetrations, and verify substantial isolation at interfaces. Combined, these elements create an acoustically balanced space with predictable, measurable performance.
Seal Gaps and Upgrade Doors for Quick Quiet
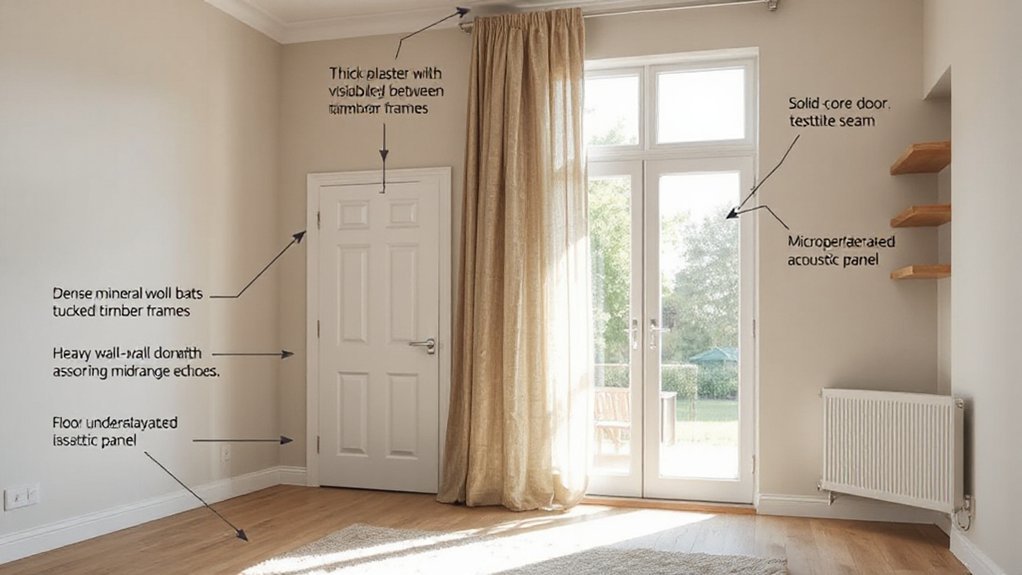
Gaps around doors and along window frames are common weak points that let noise bypass more substantial barriers, so address them first for rapid quiet. You should inspect all perimeter gaps and seal with acoustical caulk, weatherstripping, or door sweeps where appropriate.
Prioritize door bottoms, threshold gaps, and frame joints, since these transmit continuous noise paths. Where doors are hollow or poorly fitted, upgrade to solid-core doors with weatherstripping and automatic door bottoms to reduce leakage.
Complement gaps with absorption at the boundary: acoustic panels mounted adjacent walls can lower reflective noise, while soundproof curtains over openings dampen mid-to-high frequencies and reduce transmission.
Verify door seals regularly; signs of wear or compression warrant replacement to maintain effective isolation. Avoid oversized additions that alter function or fire clearance.
Insulate Floors, Walls, and Ceilings
To improve overall isolation, focus on insulating the building envelope: floors, walls, and ceilings should minimize flanking noise and airborne transmission. You’ll optimize this by addressing assembly interfaces, selecting dual‑density insulations, and ensuring continuous coverage without gaps.
On floors, install resilient channels or staggered studs to decouple surfaces and reduce impact transmission; pair with beneath-floor insulation where accessible.
In walls, use staggered‑stud or double‑stud constructions, supplemented by mineral wool or high‑density batts to curb airborne sound.
Ceilings benefit from acoustic insulation and precise framing to maintain mass‑sound coupling avoidance.
Complement with Acoustic panels in affected rooms and Soundproof curtains over openings to further attenuate reflections.
Verify workmanship with airtight detailing and consistent mineral wool integrity throughout all cavities.
Choose Insulation by Space and Budget
You should match insulation choices to the space you’re treating and your budget, starting with space-based options that fit room geometry and noise targets.
Consider budget-friendly solutions that reduce impact on structure while delivering measurable sound reduction, and prioritize rooms where sound transfer is most problematic.
Rank by room type to allocate materials and methods where they yield the greatest benefit per cost.
Space-Based Insulation Options
Space-based insulation options vary by the space available in your home and your budget, guiding choices from thin, high-R foil-faced blankets for compact areas to thicker batts or foam boards for larger cavities.
When considering walls, ceilings, and utility voids, assess thickness limits, installation access, and potential thermal bridging.
For small gaps or enclosures, compact forms like foil-faced blankets provide immediate attenuation with minimal bulk.
In medium cavities, fiberglass or mineral wool batts balance density and ease of handling, while foam boards deliver rigid consistency for perimeter lines.
For larger assemblies, consider multi-foil systems or high-density panels, ensuring proper backing and vapor control.
Integrate acoustic panels and soundproof windows where structural constraints permit, matching mass, diffusion, and seal quality to expected gains.
Budget-Friendly Noise Solutions
Selecting insulation that fits both space and budget starts with a clear mapping of available cavities to cost-effective materials. You assess wall, ceiling, and floor assemblies, cataloging cavity dimensions and access constraints, then match each with a mid- or high-density option that delivers required STC/DRC targets without oversizing.
Prioritize materials that combine ease of installation with proven performance in common junctions, avoiding unnecessary layers. For exterior exposure, consider Outdoor barriers as a budget-conscious addition where applicable to curb airborne sound ingress without reworking structural elements.
In interior plans, deploy Acoustic panels selectively in high-reflection zones, focusing on rooms with hard surfaces and dwell-time issues. Document material costs, installation time, and expected decibel reductions to enable objective comparison and scalable expansion.
Prioritize by Room Type
When choosing insulation by room type, start by aligning space characteristics with budget constraints and performance targets established earlier.
Prioritize rooms where sound transmission matters most, such as living areas and bedrooms, by matching material properties to noise sources and occupancy patterns.
Use a cost-performance framework to compare options and avoid over-specifying low-traffic spaces.
For rooms where reflection dominates, incorporate acoustic panels to absorb mid- and high-frequency energy without bulk.
In transmission-prone zones, pair bulkier insulation with sealed enclosures and resilient channels for structure-born sound reduction.
For visual-impact-sensitive rooms, combine Soundproof curtains with targeted sealing to achieve practical performance gains while maintaining aesthetics.
Document expected decibel improvements per room and revisit allocations as needs evolve.
Decor and Layout Tricks That Reduce Noise
Decor and layout choices can considerably cut noise transmission at the source and along paths, so start by zoning rooms to minimize shared walls with noisy spaces and by placing soft-use areas away from bedrooms or work zones.
You should use targeted decor and spatial planning to interrupt transmission paths, not just seal gaps. Employ decor accents that absorb sound without sacrificing function, such as soft textiles, upholstered furniture, and perforated panels with acoustic backing.
Plan layout arrangements to favor decoupling where possible, pairing media zones with absorbing partitions and aligning walls to disrupt direct paths. Avoid long sightlines and rigid materials in central corridors.
Measure room volumes and adjust furnishings to maintain active surface absorption, optimizing comfort without compromising usability.
When to Call a Pro and What to Expect
If you’re dealing with persistent noise issues despite basic measures, calling a pro is warranted when measurements show decibel levels remain outside acceptable ranges or when standard improvements fail to yield perceptible relief.
A professional will conduct a targeted assessment, isolating dominant sound paths and testing for airborne versus structure-borne transmission. Expect a written plan outlining feasible interventions, timelines, and costs, plus a clear rationale for proposed treatments.
Typical recommendations include installing soundproof curtains to reduce window transmissions and mounting acoustic panels to absorb mid- and high-frequency energy in critical rooms. For retrofit, you may receive guidance on sealant upgrades, door and window modifications, and vibration isolation where applicable.
You should verify credentials, warranties, and post-installation performance guarantees before authorizing any work.
Frequently Asked Questions
How Effective Are Soundproof Windows Compared to Walls?
You’ll find soundproof windows generally outperform walls at mid-to-high frequencies, though effectiveness depends on seals and glass thickness. Use tight window seals and increased glass thickness to maximize isolation, noting walls may outperform single-pane options.
Can Rugs Alone Significantly Reduce Room Echo or Noise?
Your echoes drop only modestly with rugs; they’re not a full solution. You’ll see improvement if you combine carpet installation with strategic furniture placement to disrupt sound paths and absorb higher frequencies.
Do Ceiling Tiles Help With Residential Sound Insulation?
Ceiling tiles can improve residential sound insulation modestly, depending on density and installation. You should consider ceiling aesthetics and seamless tile installation to minimize gaps, reduce flutter, and optimize absorption without sacrificing structure or aesthetics.
Is DIY Acoustic Paneling Worth the Effort?
Yes, you should consider it; DIY installation can be cost-effective and customizable. You’ll evaluate acoustic materials, assemble panels, and measure results, while maintaining precision and consistency, ensuring performance targets are met and installation quality remains high.
Will Relocating Outlets Improve Sound Isolation?
Relocating outlets can improve isolation if you implement electrical upgrades and thorough decoupling. You’ll reduce structure-borne noise, but only when outlet repositioning uses clips, resilient channels, or staggered stud layouts, plus gas or mineral wool between compartments.
Conclusion
To finish, think of your home as a tuned instrument: gaps are detuned strings, failed seals, and rattling floors. By sealing, upgrading doors, and layering dense insulation, you dampen unwanted noise; by decoupling and using absorbent finishes, you tame mid- to high-frequency chatter. When you balance budget with space, you create a deliberate acoustic envelope. Like a well-crafted choir, each element must align—precision in detail yields quiet, lasting clarity throughout your home.