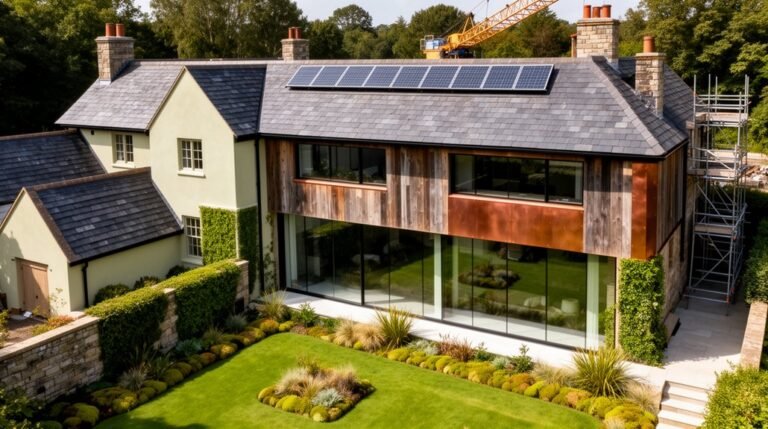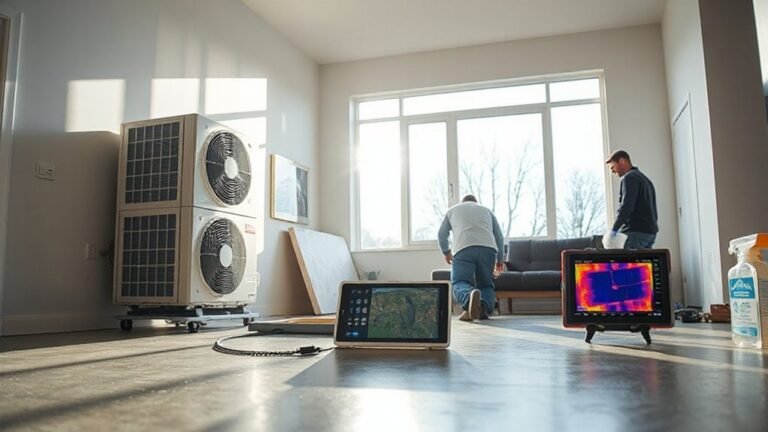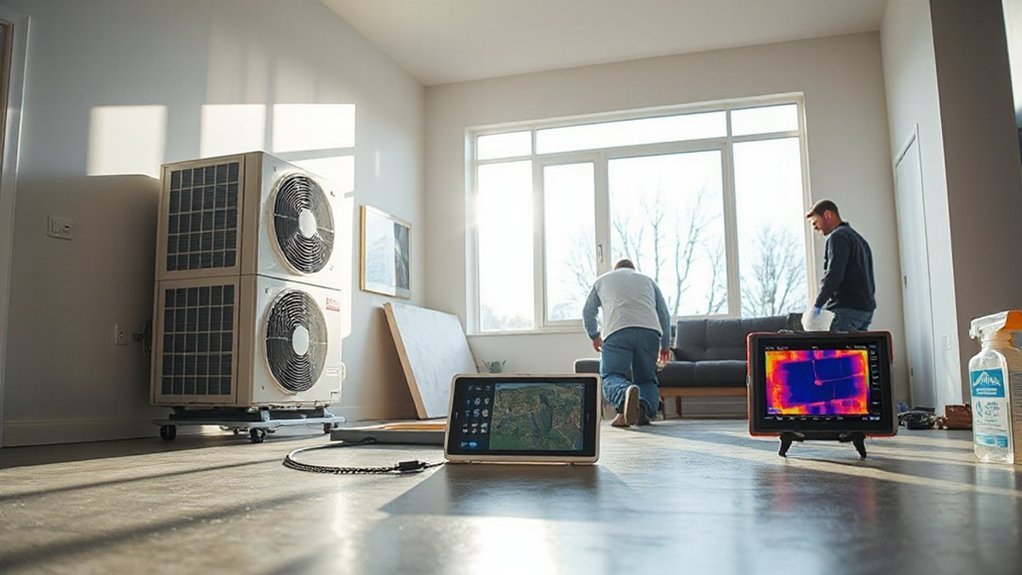
Homeowners save up to 30% on energy bills after thoughtful renovations, yet many miss simple steps at the start. You’ll want a clear baseline, measurable targets, and a plan that prioritizes airtight sealing, insulation, and efficient HVAC performance. From there, you’ll evaluate windows, doors, and appliances and consider renewables where practical. As you phase upgrades, you’ll need professional testing to verify gains and a tracking method to prevent backsliding. The path you choose now determines long-term comfort and costs.
Kickoff Steps: Define Energy Goals and Baseline
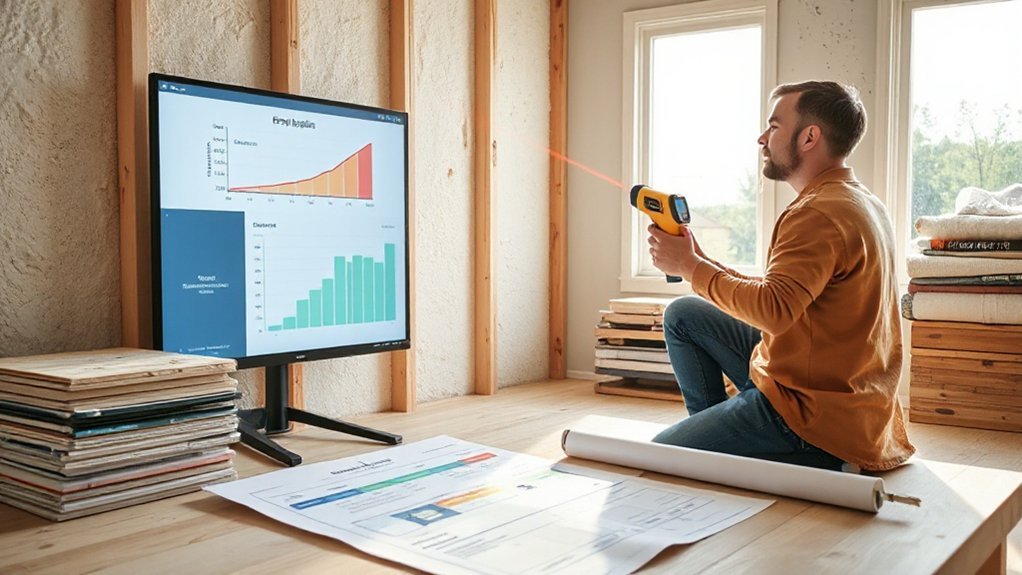
Before you start any renovations, define clear energy goals and establish a baseline. You’ll begin by auditing current consumption: collect 12 months of utility bills, calculate average monthly usage, and note peak demand periods.
Translate these figures into targets, such as a 15% reduction in total site energy or a 0.8 year payback on efficiency upgrades.
Map all major loads—lighting, HVAC, water heating, appliances—and assign owner- or room-level baselines.
Identify constraints and opportunities, including potential for Home automation to optimize behavior and scheduling.
Document assumed operating hours, occupancy patterns, and climate data.
Research Renewable incentives available locally to guide prioritization and cost recovery.
Establish a reporting cadence, with quarterly reviews to adjust actions and track progress toward the defined energy goals.
Set Measurable Targets for Energy Savings
With your baseline in hand, set specific, measurable targets that align with your energy goals. Define targets across key benchmarks: annual energy use, peak demand, and system performance.
Tie each target to a timeline, such as reducing site energy by 20% within 18 months or cutting peak load by 15% during the next heating season.
Use verifiable metrics: kWh, therms, or BTU reductions, plus CO2 intensity, and track progress quarterly.
Incorporate Energy audits to inform target realism and identify high-impact measures, like heat loss reductions or efficient equipment replacements.
Include renewable integration milestones, such as a solar-ready design or solar PV capacity by project phase.
Guarantee targets remain adjustable as you validate results and iterate based on measured performance.
Prioritize Airtight Sealing: Identify Leaks and Seal
Where are the biggest heat losses in your home? Start with a quick audit to quantify gaps, then map results to actionable fixes.
Use a blower door or DIY pressure test to identify air leaks, recording CFM50 changes as you seal.
Focus on airtight barriers around windows, doors, electrical outlets, and flue penetrations, prioritizing high-traffic joints first.
Seal leaks with approved materials: high-quality caulk for gaps, foam sealants for larger openings, and weatherstripping for sash seams.
After each fix, re-test to confirm improvements and log the new leakage rate.
Maintain consistent attention to the building envelope, not just visible cracks.
Pair sealing with proper ventilation planning to prevent moisture buildup while maximizing energy savings via effective Leak detection.
Targeted Insulation: Where to Add and Why It Matters
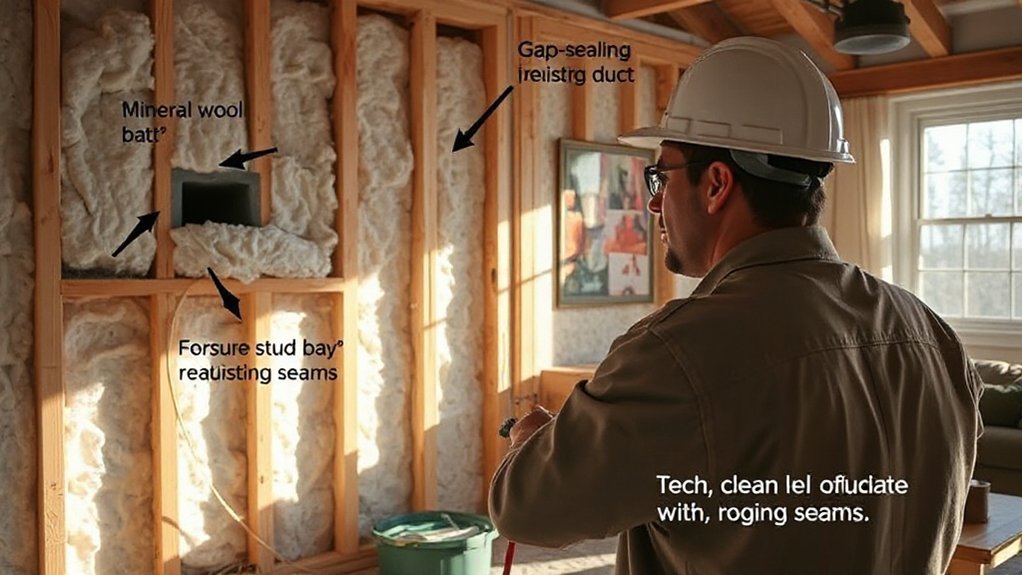
Targeted insulation starts with placing material where it stops the most heat flow, like attic hatches, exterior walls, and rim joists. Then it fills cavities based on climate data and existing framing.
Choose materials with proven R-values and debris-free installation, comparing cost per square foot and long-term energy savings to decide between batt, spray foam, or blown-in options.
Use measurable goals—air changes per hour, heat loss per room, and payback period—to guide where and why you upgrade insulation.
Insulation Placement Strategies
Strategic insulation placement focuses on sealing the gaps where heat loss or gain most often occurs, so you get the biggest payoff from every inch. You’ll maximize comfort by targeting high-traffic paths and air leaks first, then fill cavities strategically to maintain continuous layers.
Prioritize ceiling insulation where attic drafts rise and warm air escapes; gaps around joists and vents deserve attention to prevent convection loops. For walls, guarantee solid coverage behind outlets, in exterior wall cavities, and at corners where studs interrupt continuous insulation.
Use modeled heat-flow data to confirm thickness needs by area, then verify with blower-door or infrared scanning. This approach keeps energy use predictable, reduces drafts, and supports stable temperatures, without overbuilding.
Ceiling insulation and Wall insulation remain the foundational targets for efficiency gains.
Material Choices For Efficiency
Choosing materials that optimize thermal performance and durability makes targeted insulation more effective. You’ll want to prioritize materials with high R-values per inch and low permeability for walls, roofs, and crawl spaces, then balance cost and installability.
Compare fiberglass, mineral wool, cellulose, and foam based on performance data, fire safety, and environmental impact.
Assess material durability to reduce long-term maintenance and replacement cycles, especially in moisture-prone areas.
Consider airtightness compatibility: vapor retarders, seam tapes, and panel interfaces affect overall gains.
Factor aesthetic appeal where finishes reveal or conceal insulation, choosing products that align with interior design without compromising performance.
Map installation details to retrofit steps, budget, and expected energy savings, then monitor results to confirm targeted insulation benefits.
Choose High-Performance Windows and Doors
Wondering how to cut heat loss while boosting comfort? Focus on high-performance windows and doors with proven U-values, air leakage targets, and solar gains. Start by selecting double- or triple-glazed units with low-emissivity coatings and gas fills for minimal conduction.
Guaranteeframes are well insulated and rated for airtight seals; compare thermal breaks and material performance (vinyl, composite, wood-aluminum). Prioritize doors with insulated cores and continuous thresholds to reduce drafts.
Install properly designed flashing, shims, and weatherstripping to minimize gaps around operable units. Verify performance claims with third-party testing and in-situ blower-door results.
Consider window aesthetics to balance style with efficiency, and evaluate door hardware for secure, airtight operation. Your goal: durable performance that lowers energy use without sacrificing usability.
Upgrade Heating and Cooling Efficiently
To upgrade your heating and cooling efficiently, start by improving insulation to reduce loads and smooth out temperature swings.
Guarantee sealed duct work to prevent losses and verify system sizing matches your home’s load with a professional assessment.
Use data-driven targets to compare efficiency gains from upgrading to a high SEER/AFUE rating and adjusting equipment accordingly.
Upgrade Insulation Here
If you’re upgrading heating and cooling efficiently, start with insulation. You’ll quantify performance by R-values, air-permeance, and spectral heat gain.
Compare insulation types—cellulose, mineral wool, fiberglass, spray foams—based on thermal resistance, moisture handling, and emissions.
Measure airtightness targets for the building envelope and plan retrofit steps accordingly.
Identify critical thermal bridging points at corners, wall-to-ceiling junctions, and window assemblies, then choose continuous insulation strategies to minimize heat flow paths.
Prioritize installer quality and material continuity to avoid gaps that compromise while you’re retrofitting.
Use cost-per-R and payback models to guide material selection and thickness.
Track progress with pre/post blower-door tests, and document thermal performance improvements to finalize your insulation plan.
Sealed Duct Work
Conduct a thorough duct leakage test to establish baseline and post-seal improvements, aiming for under 10% total airflow loss. After sealing, insulate exposed ducts in unconditioned spaces to minimize heat transfer and condensation risks.
Document current airflow measurements and compare demand before and after sealing to quantify energy savings. Prioritize ducts in crawlspaces, attics, and garages where air leaks are most common.
Maintain accessible access panels and schedules for future inspections to sustain efficiency gains.
Efficient System Sizing
Eschew oversized or undersized units, as both waste energy and shorten equipment life. Use zone-by-zone load analysis to account for occupancy, solar gains, and insulation gaps, updating for renovation changes.
Consider renewable integration options that offset peak loads, like heat pumps paired with solar, to reduce utility bills and emissions. Choose high-efficiency equipment with a sensible-to-total COP ratio aligned to real usage patterns.
Implement smart controls that automate setpoints by occupancy and weather, ensuring consistent comfort without excess cycling. Validate with post-install commissioning and performance monitoring.
Improve Ventilation for Comfort and Health
To improve comfort and health, prioritize ventilation as you plan and execute your renovation timeline. You’ll reduce contaminants, control humidity, and boost occupant well‑being by pairing quantified targets with practical steps.
Measure baseline air quality, set VOC and PM thresholds, and schedule balance tests after major changes.
Use continuous mechanical ventilation with heat recovery where possible, ensuring fresh air inflow exceeds exhaust by 15–25% during upgrades.
Optimize filtration MERV ratings for your use case and reseal rough openings to minimize leakage.
Consider simple, proven add‑ons to support air quality: indoor plants, air purifiers, and localized exhaust at bathrooms and kitchens.
Implement a post‑work clearance window to verify performance before occupancy.
- Baseline air quality checks
- Balanced ventilation targets
- Filtration and sealing specifics
- Post‑work validation
- Maintenance scheduling
Select Energy-Efficient Appliances and Lighting
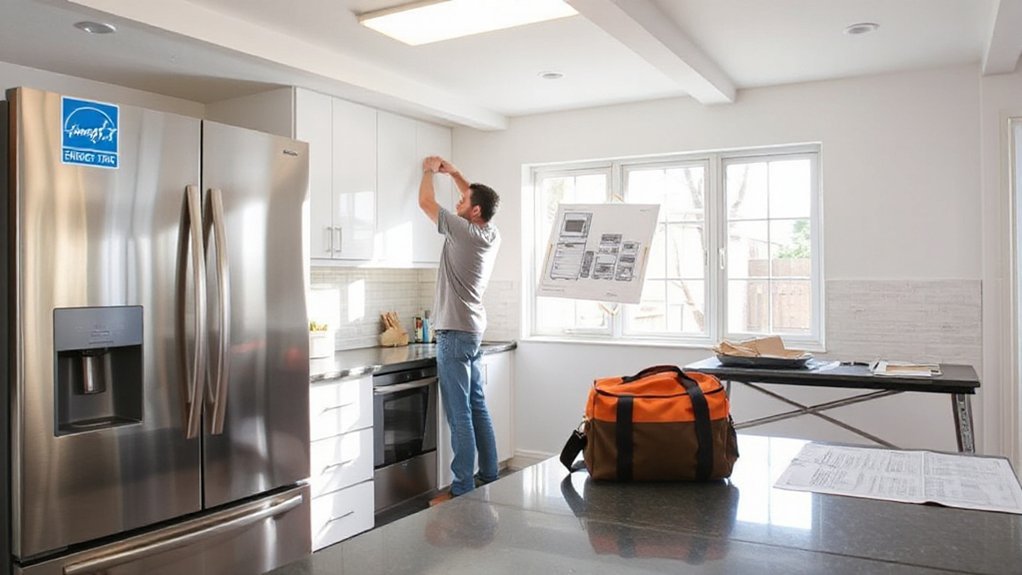
When selecting appliances and lighting, align choices with energy targets established during ventilation planning. You should prioritize models with verified efficiency ratings and real-world performance data. Compare Energy Star or equivalent certifications, annual energy consumption, and standby draws across categories to minimize phantom loads.
For refrigerators, dishwashers, washers, and dryers, target top efficiency tiers, and prefer inverter compressors or heat-pump technologies where available.
For lighting, select LED fixtures with high lumen-per-watt efficacy, low flicker, and long rated lifespans. Plan dimmable options for zones to reduce usage without sacrificing comfort.
Integrate Smart thermostats to optimize schedules and occupancy-based control, and guarantee compatibility with existing systems.
Document energy savings projections and track post-install performance to validate targets.
Plan for Renewables: Solar Readiness and Incentives
Planning for renewables starts with solar readiness and incentives: assess roof orientation, shading, and structural capacity early, then map permitting timelines, interconnection processes, and utility incentive programs to avoid delays.
- Evaluate roof slope, material, and load limits to support solar panels
- Check shading from trees and nearby structures across peak sun months
- Confirm electrical panel capacity and grid interconnection feasibility
- Catalog local incentive programs, rebates, and tax credits
- Align timeline with permitting, inspections, and utility approval deadlines
This approach grounds your project in data: quantify sun hours, program eligibility, and expected payback to prioritize placements and equipment.
Use this framework to screen options, estimate production, and minimize risk while maximizing long‑term savings with robust solar panels and clear incentive programs support.
Budget Wisely: Cost Vs Long-Term Savings
Budget wisely by weighing upfront costs against long-term energy and maintenance savings, so you prioritize investments with the fastest payback and strongest durability.
You should quantify energy savings, maintenance reductions, and lifespan for each option, then compare to total installed cost to compute payback periods.
Build a simple financial model: capex, opex, project timeline, and discount rate.
Prioritize high-impact upgrades—insulation, sealed ducts, efficient HVAC, and LED lighting—with documented performance.
Document expected annual savings and noise or comfort gains to justify spend.
In contractor negotiations, request itemized proposals, warrantied components, and tested performance data.
Use financial planning to set a maximum annualized expenditure and align it with your home’s expected resale value.
Track results post-installation to validate the realized savings and adjust future decisions.
Control Moisture and Maintain Indoor Air Quality
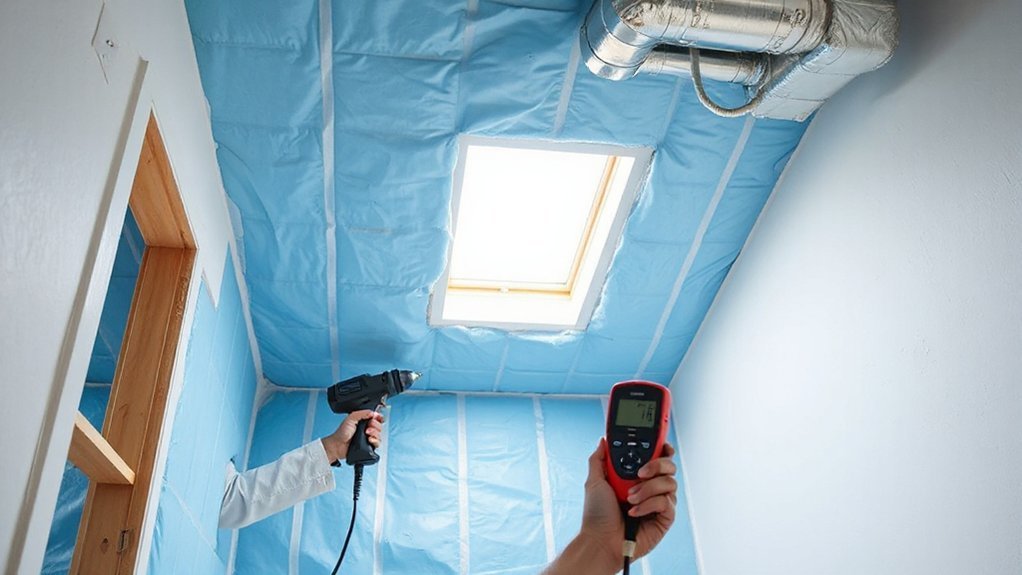
Moisture control and indoor air quality (IAQ) directly affect comfort, health, and long-term durability after any renovation. You’ll safeguard both by dense airtight envelopes, proper vapor barriers, and controlled humidity.
Use continuous insulation and sealed joints to reduce condensation risk, and select materials with low off‑gassing.
Operate exhaust fans during and after activities that create moisture, and install a dedicated exhaust for bathrooms and kitchens.
Monitor IAQ with CO2 and VOC sensors to detect stale air or emissions, and vent appropriately.
Schedule post-renovation air flushing to meet target air changes per hour.
- Measure baseline moisture and IAQ levels
- Seal penetrations and manage vapor barriers
- Optimize ventilation during all trades
- Use low-emission materials
- Track improvements with sensors and corrective actions
Budget-Friendly Retrofit Tips for Existing Homes
If you’re renovating on a tight budget, start with high-impact, low-cost retrofits that improve comfort and efficiency without major overhauls. Begin with a professional energy audit to identify the top payback measures, then prioritize air sealing, attic insulation, and efficient windows or ducts with minimal disruption.
Seal gaps around doors, outlets, and attic hatches to reduce infiltration by up to 30% in many homes, and add insulation to the top three most problematic areas based on measured R-values.
Select double-glazed or low-e windows only where heat loss is significant, and target ductwork leaks first to improve furnace and AC efficiency by 15–25%.
Consider renewable options, such as compact solar thermal or heat pumps, if your climate and budget permit, and verify rebates and incentives.
Monitor bill trends to validate savings.
Design Without Energy Trade-Offs: Stylish, Efficient Choices
You’ll prioritize Efficient Materials Choices that pair high performance with cost-effectiveness, using data like R-values and embodied carbon to guide selection.
Balance Aesthetic-Energy goals by evaluating finishes and facade details that meet both style benchmarks and measurable heat-loss reductions.
Build an Insulation-Driven Design foundation early, coordinating assemblies and air-sealing strategies to maximize comfort, minimize energy use, and support long-term durability.
Efficient Materials Choices
- Insulation type and thickness by climate zone
- Window frame and glass U-factors, solar gain
- Air-sealing methods and quantified leakage targets
- Material durability and warranty terms
- Cost considerations and payback estimates
Aesthetic-Energy Balance
After selecting efficient materials, you’ll now optimize aesthetics and energy together, so the design looks great without sacrificing performance. You’ll quantify trade-offs with simple metrics: window-to-wall ratio, daylight factor, and U-values, then map on a grid for visual planning.
Prioritize aesthetic harmony by aligning materials and colors with energy goals—cool-light surfaces boost daylighting, warm tones reduce perceived temperature swings, and reflective finishes reduce cooling loads.
Choose appliances and fixtures with high efficiency, then match their finishes to your palette to preserve visual continuity.
Use layering: combine natural light, task lighting, and ambient glow to reduce artificial demand while maintaining style.
Document outcomes: compare projected versus actual energy use, and adjust until performance and visual appeal converge.
Insulation-Driven Design
Could you design without energy trade-offs? When you adopt insulation-driven design, you optimize comfort and cost with precise material choices and placement. Start with continuous insulation to minimize thermal bridging and maintain consistent resonance across walls, roofs, and foundations.
Use high-performance batts, spray foams, or aerated fills aligned to cavity geometry, prioritizing density and low emissions. Pair this with effective vapor barriers to control moisture, preventing mold and degradation.
Integrate airtightness strategies at joints, corners, and penetrations to reduce leakage. Track metrics like R-values, U-factors, and heat‑loss tests to validate performance. Practical steps keep aesthetics intact while cutting bills over time.
- Identify thermal bridging hotspots and bridge them with continuous insulation
- Select low-VOC insulation products meeting local codes
- Seal joints, seams, and penetrations for airtightness
- Match vapor barriers to climate and moisture risk
- Verify performance with blower-door and thermal imaging
Phase Upgrades to Minimize Disruption
Phase upgrades are planned in sequence to minimize downtime and keep your project on track. You map dependencies so trades don’t block each other, reducing idle time by 15–25%.
Prioritize high-impact, energy-saving installations first, such as insulation enhancements, air sealing, and efficient HVAC retrofits. Then phase in finish work.
Use a calendar-based Gantt view to time slip-prone tasks around weather windows, minimizing rework.
Track energy metrics at each phase: blower-door results, SEER ratings, and LED lighting density.
Coordinate subcontractors with a single daily briefing to avoid duplicate trips and material misreturns.
Integrate energy-efficient landscaping where possible to cut cooling loads organically.
Plan for smart home automation pilot zones to validate savings before full-scale rollout, ensuring compatibility with future upgrades.
Maintain clear, measurable milestones and rigorous change control.
Get Professional Assessments: What to Test and Who to Hire
To start, you’ll want qualified auditors who specialize in energy efficiency and building envelopes.
Rely on data from targeted tests—blower door tests to assess air leakage and thermographic scans to locate heat loss—so you know exactly where to improve.
Hire decisions should prioritize certified professionals with relevant track records and clear, written test protocols and cost estimates.
Hire Qualified Auditors
Hiring qualified auditors is essential to accurately identify where your home wastes energy and to prioritize improvements. You’ll work with energy audits professionals who translate data into concrete actions, objectives, and cost savings.
Efficiency consultants bring tested methods, compare baseline performance, and map improvements to your budget. Before you hire, request credentials, recent job results, and a clear scope of work. Align expectations on deliverables, timelines, and follow-up testing to verify savings.
- Verify licenses, certifications, and references from past projects
- Ask for a detailed testing plan and data reporting format
- Confirm post‑audits follow-up and re‑test options
- Compare multiple auditors’ cost per avoided kilowatt-hour
- Check how they handle insulation, air leakage, and HVAC evaluations
Select Targeted Tests
You’ve already lined up qualified auditors, so now pinpoint the tests that’ll give you the clearest, most cost-effective path to energy savings. Begin with a baseline energy survey to quantify utility loads, then target leaks with a blower door test and infrared thermography.
For comfort and IAQ, include a combustion safety check and a smoke/CO test, plus a dedicated ventilations assessment. Measure ventilation rates, humidity, and draft risk to evaluate occupant health implications.
Assess insulation continuity at penetrations and testing of windows and doors for thermal efficiency. Prioritize tests that map directly to retrofit costs, return on investment, and Sustainable building goals.
Use results to compile a prioritized action list, aligning remediation with indoor air quality improvements and long-term energy-performance gains.
Common Renovation Pitfalls and How to Avoid Them
Common renovation pitfalls can quietly derail energy-efficiency goals, so spotting them early matters. You’ll reduce wasted effort by recognizing patterns like overpromising results, misaligned budgets, and overlooked envelopes.
Below are concrete traps and fixes grounded in data and practice.
- Underestimate energy loads during design, leading to oversized systems
- Trusting outdated insulation tables or DIY air-sealing without testing
- Skipping blower-door or thermography assessments before, during, or after work
- Rushing contractor selections due to price, ignoring warranty and performance specs
- Failing to verify material R-values and thermal bridging implications
Awareness of renovation myths and contractor pitfalls helps you demand performance data, third-party testing, and clear milestones.
Use measurable goals, request performance commitments, and document changes to stay on track throughout your project.
Measure and Track Savings After Upgrades
To quantify the savings from your upgrades, start with a baseline—document existing energy use and system performance before any work, then establish clear, measurable targets for after the renovations.
During the process, implement energy monitoring at key points: whole‑house usage, heating and cooling loads, and major appliances. Collect hourly data to capture diurnal and seasonal patterns, not just monthly averages.
Compare post‑upgrade readings against targets, calculating percent changes and payback timelines. Use savings visualization tools to translate numbers into dashboards, charts, and alerts that flag deviations.
Track maintenance effects, such as filter changes or thermostat programming, to avoid skewed results. Regularly review results with your team, iterating targets as you tighten efficiency and validate actual performance against projected gains.
Frequently Asked Questions
How Quick Are Energy Savings Visible After Renovations?
Energy savings can appear within days to weeks after upgrades, especially with insulation and HVAC improvements. You’ll track with energy monitoring, and align results to your renovation timeline for precise, data-driven adjustments and ongoing optimization.
What Is the Best Financing Option for Efficiency Projects?
Financing hinges on you choosing a loan option with favorable rates and terms. You should compare grants and tax incentives, plus available financial incentives, then select a loan option that minimizes upfront costs while maximizing long-term energy savings.
Do Windows Pay Back Faster Than Insulation Upgrades?
Windows often pay back faster when you prioritize tight sealing and energy-efficient double panes; insulation upgrades boost lifetime savings, too. You’ll see better window durability and longer insulation lifespan, but precise payback depends on climate, heating costs, and home size.
How Often Should I Retest for Air Leaks Post-Reno?
You should retest for air leaks annually after a renovation. Use air leak detection tools, focusing on doors, windows, and ducts. Maintain a log documenting detected leaks, repairs, and retesting frequency to track improvements and guide future adjustments.
Which Certifications Prove a Retrofit’s Efficiency Value?
“Trust the seal.” Certifications like ENERGY STAR, LEED for Homes, and BREEAM prove retrofit efficiency. You’ll document appliance upgrades and solar panel integration, compare HERS index, and pass data-driven audits to substantiate measured savings and performance targets.
Conclusion
In your renovation, treat energy as a project metric you must dominate. Start with baselines, set targets, and verify progress with before/after data. Picture your home as a thermos: every crack leaks warmth, every well-sealed seam preserves energy. When you seal gaps, insulate thoughtfully, and upgrade HVAC controls, you’ll see concrete savings in bills and comfort. Don’t skip professional tests or follow-up measurements; track results, adjust as needed, and keep the momentum until efficiency becomes habit.
About the Author