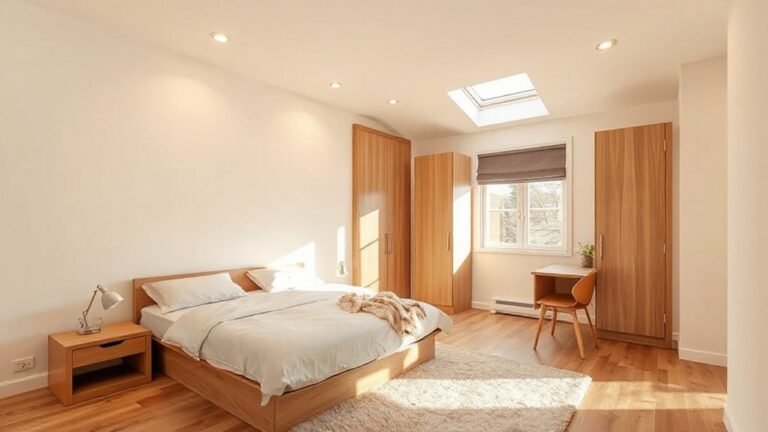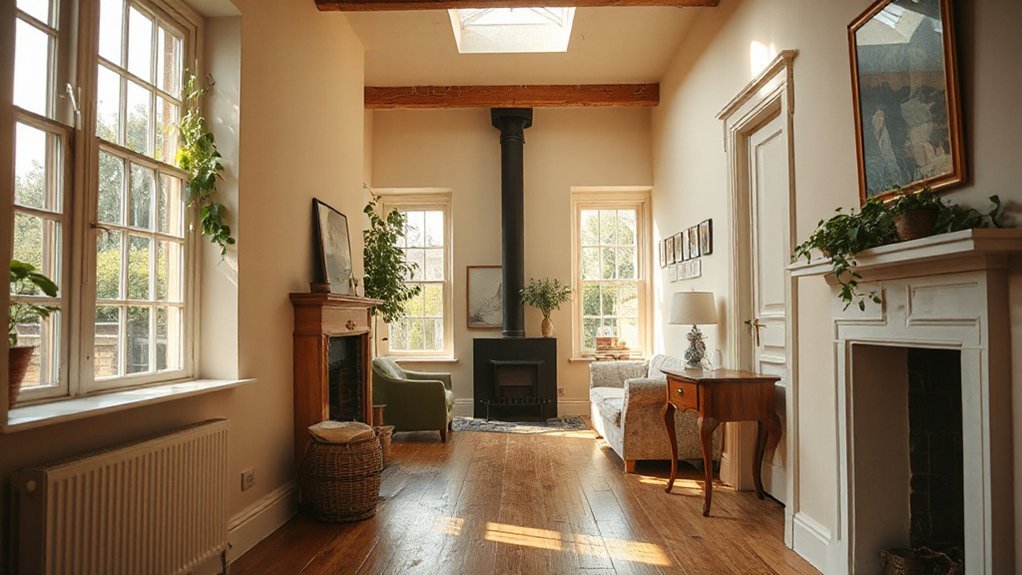
Natural light in older UK properties often hinges on thoughtful, restrained changes rather than bold renovations. You’ll weigh existing window positions, consider heritage-friendly enlargements, and test daylight behavior with simple additions like reflective surfaces and light paints. Each adjustment should balance brightness with character, offering reversible options when possible. Ready to map gaps, evaluate glazing choices, and try a measured sequence that could redefine how you experience a timeless interior—but you’ll want to see what comes next.
Identify Your Lighting Gaps in an Historic UK Home
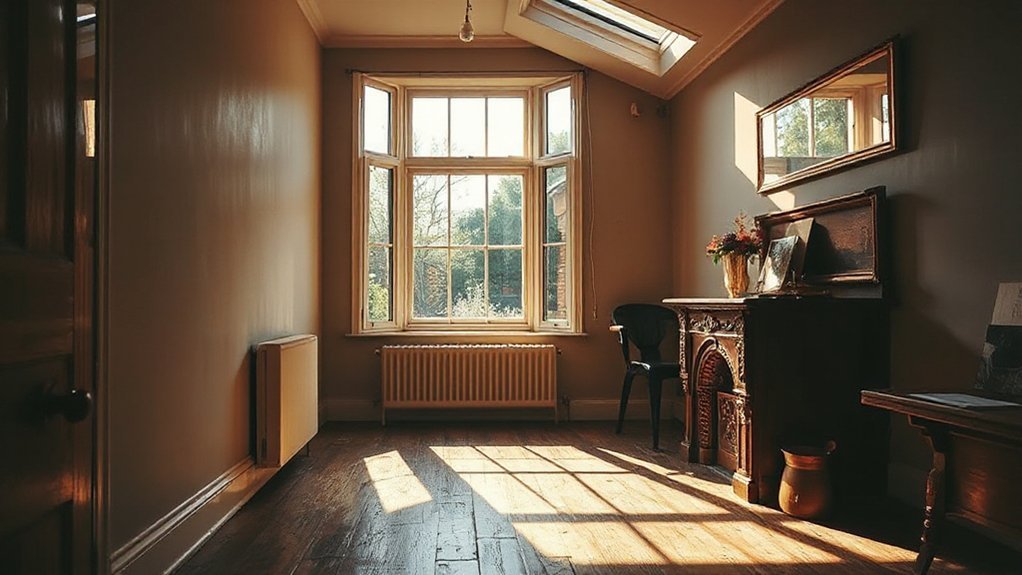
Identifying lighting gaps starts with a quick, practical survey of how daylight moves through your historic UK home. You map windows, doors, and overlooked nacelles, noting orientations, roof angles, and internal partitions that cast shadows or block sources.
You assess glazing conditions, frame materials, and any sash efficiencies, distinguishing between intrinsic daylight loss and architectural restrictions.
You evaluate external obstructions, such as adjacent buildings or trees, and how seasonal sun paths alter interior brightness.
You record room by room how daylight arrives, where it fades, and where glare emerges.
This process supports historical preservation goals while prioritizing energy efficiency, as you identify gaps that cause over-reliance on artificial lighting.
Your findings guide targeted, respectful interventions that respect heritage values.
Quick, Heritage-Friendly Window Tweaks to Brighten Rooms
With your lighting gaps in mind, quick, heritage-friendly window tweaks focus on practical, non-invasive changes that brighten rooms without compromising period features. You’ll optimize natural glow through targeted interventions that respect architecture.
Start with Window shutters, chosen to regulate light without altering profiles or mouldings; keep operable louvered or board-and-batten styles to preserve period cadence while enabling daylight control.
Consider Skylight installation where roof angles permit, prioritizing low-profile, discrete units that align with rooflines and insulation standards.
Select glazing with high light transmittance and low emissivity to reduce heat loss without dulling tone.
Frame refurbishments should use period-appropriate materials and finishes, ensuring sash mechanics remain functional.
Finally, emphasize proportional window sizing and clever placement to maximize reflections from pale walls, avoiding over-lighting sensitive spaces.
Layout and Décor Moves That Bounce Daylight Around
To bounce daylight effectively, align furniture and decor so light travels deeper into rooms rather than stopping at the near wall. You optimize sightlines with mirrors and reflective surfaces, placed strategically to channel daylight from source to alcove and hallway intersections.
Keep seating away from windows to prevent shadowed blocks, and choose low-profile, pale upholstery that minimizes contrast and disperses glow evenly. Architectural ornamentation should be leveraged to guide perception—use shallow cornices, molding, and panel details that refract light without creating glare, preserving historical accuracy.
Arrange shelving and cabinetry to avoid obstructing central light paths, and layer textures that enhance brightness at different times of day. Precision in placement matters: deliberate, measured moves sustain a cohesive, luminous interior that respects heritage.
Materials, Glass, and Color Choices for Brighter Interiors
Different glass types determine how much light you receive and how it travels through rooms, so you should weigh transparency, diffusion, and thermal performance when selecting glazing.
Pair light-reflective wall and ceiling finishes with high-reflectance glass and frame colors to minimize dark corners and maximize daylight reach.
Consider color and material choices that boost brightness without sacrificing warmth, using Reflectivity and material properties as your guiding metrics.
Glass Types and Light
Glass choices dramatically affect interior brightness by controlling light transmission, glare, and heat. You evaluate glass types by transmission curves and shading behavior, not just appearance.
Low-emissivity coatings reduce infrared transfer, helping keep rooms comfortable without obscuring daylight. You’ll notice that clear, high-transmission glass elevates brightness in deep or north-facing spaces, but may increase glare; in those cases, selective tints distribute daylight more evenly.
Consider tempered or laminated variants for safety in high-traffic areas and near openings. Think about the integration with window frames, where frame depth and glazing bead placement influence visible light entering the room.
You should also assess coating durability and cleaning practicality for UK climates. Glass coatings and window frames together determine performance, maintenance needs, and the long-term brightness you experience daily.
Color and Reflectivity Choices
Color and reflectivity choices shape how daylight behaves inside. You assess materials, finishes, and colors by their light-handling properties, then align them with room use and orientation.
Begin with color palettes that maximize brightness without washing out hallmarks of character; pale neutrals, soft whites, and cool tones reflect more light while preserving warmth. Evaluate paint sheens and wallpaper textures; matte surfaces absorb glare, while satin or gloss amplifies reflected daylight in corridors and living rooms.
Consider reflective surfaces strategically—mirror-backed cabinetry, glass tiles, polished stone, and metallic trims—to redirect light toward darker zones. Glass and glazing frames influence color perception and glare, so choose low-iron or lightly tinted variants to preserve true hues.
Balance contrast to sustain depth without reducing perceived luminance.
A Reversible Plan: Test, Measure, and Tweak Daylight Gains
A reversible plan starts with small, repeatable steps: test the current daylight performance, measure the results, and then tweak to improve gains. You begin by establishing a baseline: map light levels at different times, note shadows, and log room by room where daylight wanes or excels.
Next, implement controlled changes—adjust window treatments, relocate furniture, or modify landscaping to reveal how daylight shifts with garden landscaping and outdoor shading. Track each modification’s impact using simple metrics: intensity, duration, and distribution of light.
Compare against the baseline to confirm improvement or reveal trade-offs. Document the sequence so you can reverse any change if it underperforms. Rigorously separate daylight gains from aesthetic preferences to preserve balance and future flexibility.
Verify Daylight Improvements Without Compromising Charm
To verify daylight improvements without sacrificing charm, you’ll compare measurable gains against the house’s character and atmosphere. Begin by cataloging light metrics (room illuminance, glare incidence, usable daylight hours) alongside architectural details (period trims, plasterwork, ceiling heights).
Assess how changes affect interior color perception; guarantee color choices enhance brightness without washing out historic features. Use external shading thoughtfully: screens, blinds, or lattice to control glare while preserving exterior silhouette and curb appeal.
Document before-and-after comparisons with photos and notes on mood and proportion. Validate compatibility with original materials and textures, confirming that added light doesn’t convert a Rooms-to-Coomport feel or compromise acoustic rhythm.
Finally, cross-check with building regulations and energy targets to sustain authenticity and daylight efficiency.
Frequently Asked Questions
How Can I Measure Natural Light Levels Accurately at Different Times of Day?
You measure natural light by using light measurement devices at multiple times daily, documenting illuminance levels and sky conditions, then compare against daylight simulation results. This analytical approach guarantees precision, repeatability, and insight into dynamic daylight performance across scenarios.
Which UK Planning Rules Affect Daylight Improvements in Heritage Homes?
You must consider heritage conservation constraints and local planning policies, as daylight improvements in heritage homes may require planning permissions. You assess proportional impact on character, balancing openness with preservation, ensuring compliance with relevant heritage and planning regulations.
Are There Affordable, Non-Permanent Options to Increase Light in Period Rooms?
You can use window film strategically and install light shelves to boost brightness without permanence; these options are affordable, non-invasive, and adaptable, letting you reflect daylight deeper into rooms while preserving historic character and avoiding major alterations.
How Do I Balance Daylight With Privacy in Historic Interiors?
You balance daylight and privacy by careful interior architecture choices and selective window treatments, imagining the room as a stage. You assess sightlines, glare, and texture, then deploy shutters, frosted glass, or Roman shades to harmonize light.
What Color Temperatures Work Best for Victorian or Georgian Interiors?
You’ll find warm-to-neutral temperatures, around 2700–3200K, suit Victorian or Georgian interiors best. Use lighting fixtures that emphasize soft diffusion, and pair with color schemes featuring cream, ivory, and muted earth tones to preserve period feel with clarity.
Conclusion
You’ve mapped the light landscape of your historic home and tested practical tweaks that stay true to its character. An interesting stat: homes with thoughtfully placed reflectors and lighter schemes can boost perceived brightness by up to 20–30%, reducing artificial lighting needs. By combining heritage-friendly glazing, reversible tweaks, and strategic color and layout choices, you’ll brighten rooms without compromising charm. Then measure, iterate, and refine, ensuring every daylight moment serves both function and history.
About the Author