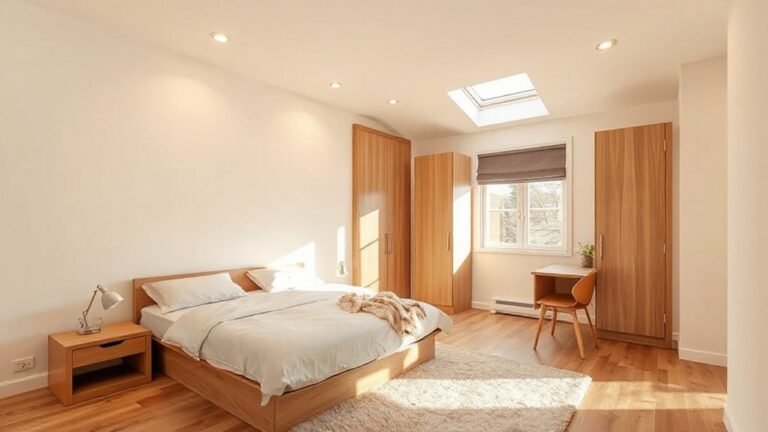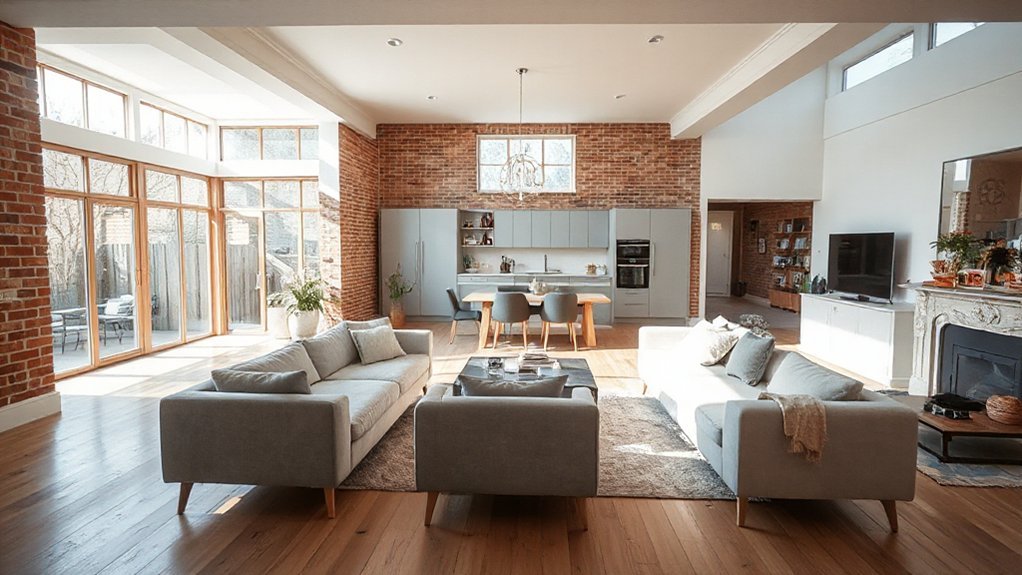
Take, for example, a kitchen-dining-living area opened up by removing a non-load-bearing wall, creating a single, flowing space that shifts light and sightlines through the home. You’ll weigh structural feasibility, stability, and services, then consider how to balance openness with acoustics and privacy. It’s a technical choice with design implications, and the next steps hinge on planning, regulatory checks, and careful detailing—details that determine whether the benefit feels seamless or disruptive, especially as you plan a future-ready layout.
Open Plan Living in UK Homes: What It Is and Why It Works
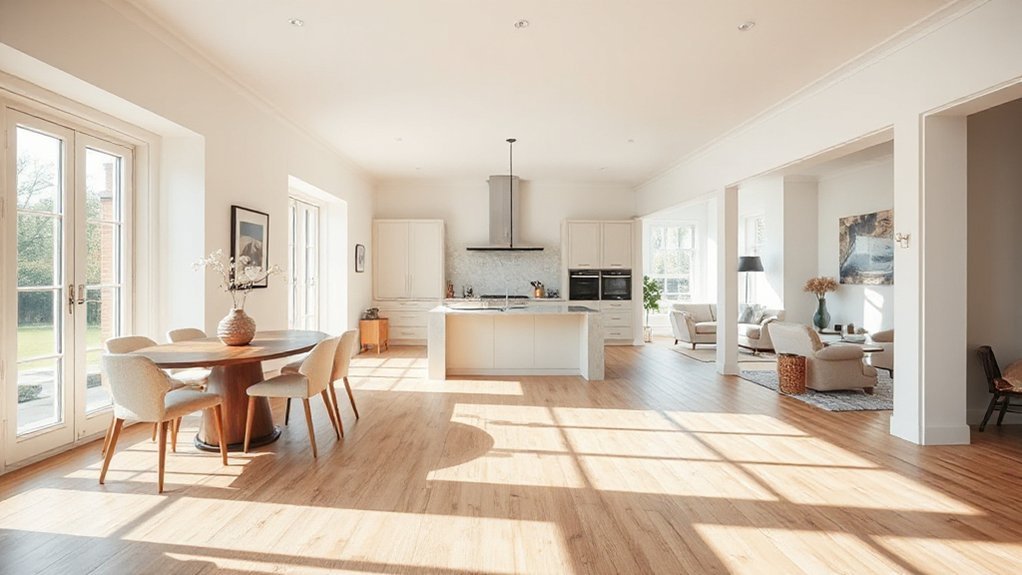
Open plan living in UK homes combines previously separate spaces—usually the kitchen, dining, and living areas—into a single, flowing space. You adopt a functional mindset, evaluating how layout impacts movement, sightlines, and acoustics.
The design integrates zones through shared surfaces, minimizing barriers while preserving distinct functions. You consider circulation patterns, furniture scale, and finishes that reduce visual clutter, supporting a cohesive environment.
Energy performance enters the calculation via insulation, glazing choices, and controlled air exchange, ensuring comfort without excessive heating loads.
Garden fencing, while external, influences boundary perception and security, subtly shaping how you experience the yard from the open interior. You balance openness with privacy, using architectural cues to guide occupancy, lighting, and thermal management toward consistent energy efficiency.
This approach yields a flexible, observable, and efficient living space.
Why Knock-Through Walls Is Gaining Popularity Now
You’re seeing a rising demand for open plan layouts that maximize space and light, and knocking through walls is a practical, budget-conscious way to achieve it.
As layouts evolve, you can expect more flexible zones that support both living and working needs without a costly rebuild. This trend signals a focused shift toward efficiency, simplicity, and streamlined renovations that deliver tangible value.
Rising Demand for Open Plan
For many homeowners, the appeal of knock-through walls lies in how quickly an aging layout can evolve into a flexible, social hub. Rising demand for open plan spaces reflects practical needs: improved family interaction, adaptable entertaining areas, and efficient circulation between cooking, dining, and living zones.
You’ll notice buyers prioritise cohesive flow over compartmentalization, valuing uninterrupted sightlines and centralized utilities. Technical considerations drive decisions: structural integrity, load paths, and fire safety remain constant, while finishes and acoustics shape comfort.
As you plan, the choice of garden privacy and paint color becomes strategic, signaling boundaries within an open scheme without isolating activities. The trend is data-driven and user-centric, aligning design potential with real-life rhythms, rather than chasing momentary aesthetics.
Space and Light Gains
In practice, this translates to better functional zones for living, dining, and work, while preserving defined boundaries through strategic furniture placement and lighting. The resulting brightness reduces reliance on artificial lighting, supporting energy efficiency goals and lowering utility costs.
You’ll also see how garden landscaping can be integrated with indoor flows, extending sight and activity to external spaces, creating seamless passages. Space optimization supports sustainable design by maximizing natural daylight, reducing heat gain peaks, and enabling smarter, energy-conscious renovations.
Budget-Friendly Renovation Options
Budget-friendly reno options are gaining traction because knocking through walls often delivers the biggest return on investment with the least disruption. You’ll plan around structural realities, not dreams, prioritising options that maximise space without costly extensions.
Start with a feasibility check: load-bearing status, lintel needs, and potential fire-rating implications. When budgets constrain, choose non-load-bearing partitions or doorways that reconfigure zones without heavy reconstruction.
DIY tips emphasize preparation, measurement accuracy, and safety—masking, wiring checks, and dust containment. Opt for prefinished panels, economical plasterboard, and standard-sized doors to cut waste.
Consider phased renovations: open one area now, finish utilities later. Lighting, ventilation, and acoustics should be foregrounded to preserve comfort.
With careful sequencing, you preserve value while minimizing disruption. Budget constraints guiding, you transform spaces efficiently.
Assess Structural Feasibility for Open Plans
You’ll start by verifying structural feasibility, outlining how loads transfer once walls come down. Consider load-bearing paths and the need for beams or lintels to maintain stability.
Noting where joists, studs, and floors interact. This sets the stage for precise feasibility checks and practical design decisions that keep open plans safe and clear.
Structural Feasibility Checks
How feasible is an open-plan layout for your structure? You’ll assess structural constraints early, focusing on feasibility rather than final design. This step blends engineering checks with practical planning, ensuring safety and compliance before any wall removal.
You examine existing frames, junctions, and load paths to determine if temporary supports or reinforcement are needed. You’ll also verify service routes, headroom, and fire compartment integrity, since open plans can alter risk profiles.
Throughout, you document findings to guide decisions on restraint, continuity, and future upgrades while respecting insulation performance and enclosure details. Consider how home insulation and window replacement options fit into the remediation plan, ensuring airtight performance remains achievable.
- Structural path analysis informs every decision
- Temporary supports and reinforcement requirements are identified
- Coordination with services and enclosure improvements is documented
Load Bearing Considerations
To determine open-plan feasibility, you must start with a clear assessment of load paths and bearing elements, identifying which members carry gravity and lateral loads across the space. You’ll map where beams, joists, and walls transfer weight, noting redundancy and potential pinch points.
Prioritize main support lines, then verify alternative routes for temporary removal during work. Check existing connections, fixings, and any soffit or concealed members that influence stiffness.
Consider how openings will modify shear transfers, ensuring lintels or beams are sized to carry anticipated loads without excessive deflection. Plan for service routes that won’t undermine stability, and anticipate future refinements like decorative accents or wall textures that could alter loading subtly.
Document findings, highlight critical constraints, and propose feasible reinforcement options before detailing any design changes.
Planning Permissions and Building Regs: What You Must Know
Managing planning permissions and building regulations is a critical first step before any extension or renovation. You’ll need to identify whether you require Planning Permission or if Permitted Development suffices, and whether Building Regulations approval is mandatory for structural work, fire safety, or damp proofing.
You’re responsible for compiling drawings, elevations, and spec details that demonstrate compliance with energy efficiency, fire safety, and sound insulation standards. Expect potential constraints from party walls, crown limits, and listed status.
Interior acoustics and furniture placement should be considered within approved designs to ensure performance goals remain achievable. Consultation with a local planning authority and Building Control is essential to avoid delays.
- Define scope and timelines early to align permissions with construction phases
- Prepare technical drawings showing structural changes and compliance
- Plan acoustics-aware furniture placement and materials within approved schemes
Decide Which Walls to Remove for Maximum Benefit
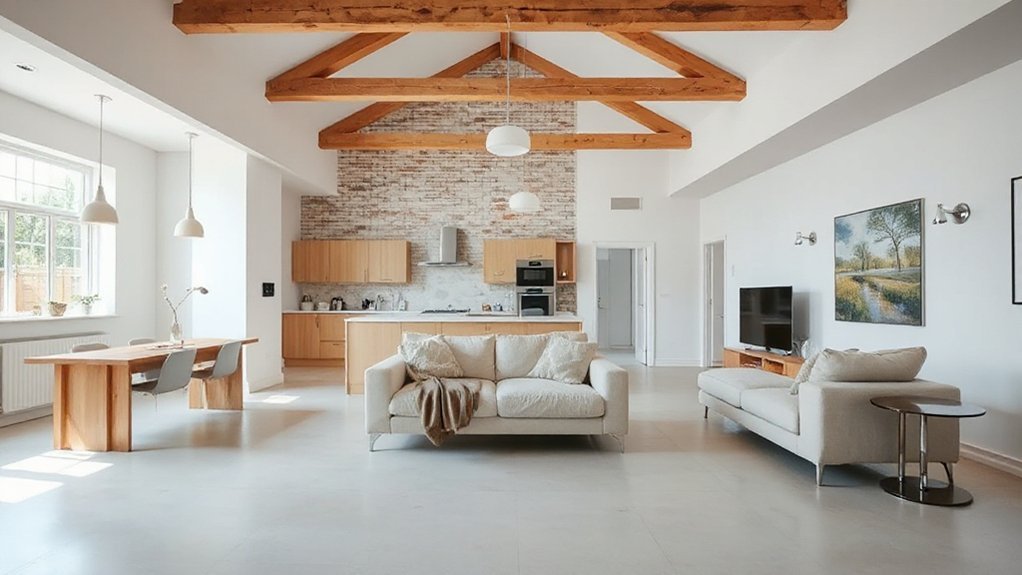
Start by identifying load-bearing walls and the core structural elements that keep your space stable, so you don’t compromise safety or code compliance.
Then weigh how removing or modifying walls affects functionality and flow, balancing open sightlines with room definitions.
Use practical checks—consult structure notes, test for hidden services, and map how the layout will carry previously supported loads as you plan the open plan.
Structural Wall Considerations
Which walls truly hold back your open-plan vision, and which can be safely removed or altered to maximize space and light?
You assess structural walls with a pragmatic eye, balancing aesthetics and safety. Structural integrity guides every decision, so you target non-loadbearing candidates first, while planning for temporary support during works.
You’ll account for wall reinforcement needs, ensuring any alteration preserves stiffness and flooring continuity. Insurance implications shape your process, prompting professional drawings, compliance checks, and documented workmanship to avoid gaps in cover.
You want a future-proof plan that resists settlement risks and preserves resale value.
- Non-loadbearing candidates with planned reinforcement strategies
- Temporary propping and permanent tie-ins to maintain stiffness
- Documentation, approvals, and insurance-ready records
Load-Bearing Identification Tips
To identify load-bearing walls effectively, start by mapping the building’s structural system: locate the primary beams, columns, and any transfer or shear walls that bear vertical loads and resist lateral forces. You’ll confirm wall lines align with these elements, not just with cosmetic features.
Look for continuous masonry or stud partitions beneath upper floors, ceilings, or roofs, and check for signs like doweled joints, awkward floor joist intersections, or marked ceiling lines.
Use plans, then verify in situ with a laser scanner or careful probing, avoiding guesswork.
If removing, reinforce with steel post or beam, and plan supports before demolition.
Consider garden landscaping implications and Smart home integration needs, ensuring electrical, data, and climate controls stay uninterrupted.
Functionality and Flow Impact
When deciding which walls to remove, focus on how each change will improve movement, sightlines, and functional zones across the plan. You’ll gauge impact by how furniture placement directs circulation, how sightlines connect key spaces, and how zones like cooking, dining, and lounging relate without obstruction.
Prioritise load-bearing considerations, doorway widths, and potential for flexible use. Aim for openings that preserve natural light, reduce travel distances, and maintain acoustical comfort. Consider wall decoration opportunities—profiles, finishes, and integrated storage—that enhance cohesion without clutter.
Plan progressions that support task-oriented flows and quick reconfiguration for entertaining or family life. Balance structural safety with everyday usage, ensuring every removal adds purposeful, scalable utility for future needs.
- Furniture placement alignment across zones
- Wall decoration to unify spaces
- Flow-driven doorway and opening sizing
Layout Principles for Bright, Sociable Open Spaces
In open-plan layouts, you maximize light and sociability by prioritizing clear sightlines, consistent ceiling heights, and a unified flooring plane that runs uninterrupted across zones. You balance color temperature and saturation to reinforce zones without walls, selecting color schemes that support both activity and flow.
Spatial rhythm stems from deliberate furniture placement, anchor points, and measured gaps that keep walkways clear while inviting conversation. You define focal nodes—kitchen islands, dining alcoves, and seating clusters—so related activities flow logically, with sightlines uninterrupted across zones.
Scale and proportion matter: choose furniture that respects room dimensions, avoiding oversized pieces that fragment the plan. Material transitions remain seamless, with complementary textures and edges that reduce visual clutter while maintaining a coherent, bright, sociable environment.
Lighting and Acoustics in Open Plan Rooms
You’ll balance Lighting Layering Techniques to create zones that read as one space yet respond to activity, with layered ambient, task, and accent light that can be adjusted on demand.
Acoustic Zoning Strategies guide soundscapes so conversations stay clear in social areas while reducing spill into work zones.
Natural Light Optimization leverages orientation, glazing, and shading to maintain comfort, reduce energy use, and shape the room’s rhythm.
Lighting Layering Techniques
Lighting layering in open plan spaces hinges on balancing ambient, task, and accent illumination to shape mood and function without clutter. You’ll align fixtures to zones, ensuring seamless progression between spaces while preserving daylight.
Use dimmable ambient light to set a base level, layer task light at desks and counters, and highlight architectural features with accents. The rhythm comes from fixture heights and beam angles that prevent glare yet reveal texture.
Consider furniture arrangement and color schemes as guiding design cues for light placement, not afterthoughts. Control zones with smart switches to adapt scenes for dining, socialising, or work.
Precision wiring and discreet fittings keep the room cohesive, practical, and visually calm.
- Ambient, task, and accent integration
- Furniture arrangement and color schemes guiding placement
- Dimmable controls for adaptable scenes
Acoustic Zoning Strategies
Acoustic zoning in open-plan rooms combines sound management with spatial design to prevent noise spillover while preserving daylight and sightlines. You implement distinct zones by treating floors, ceilings, and partitions as acoustic envelopes that guide sound paths.
Start with passive separation: low-profile screens, half-height shelves, or timber screens create soft boundaries without visually boxing spaces.
Then layer active damping: decoupled ceilings, resilient underlays, and wall mass reduce transmission between cooking, living, and study zones.
Specify soundproofing techniques that target common flaws—gaps around doors, outlets, and service voids—using seals, gaskets, and concealed barriers.
Align ceiling geometry with furniture placement to reflect rather than trap noise.
Finally, test with quick, practical checks to confirm effective zoning without sacrificing openness or daylight.
Natural Light Optimization
Think about furnishing styles that don’t obstruct sightlines or trap shadowed corners, and interior colors that reflect and distribute light evenly across surfaces. Efficient daylighting combines high-reflectance finishes with carefully positioned skylights or light tubes to illuminate work zones and social hubs alike.
Use acoustic zoning as a guide to place light sources without introducing noise disruption, keeping dining, living, and study areas visually connected yet quietly defined. The result is breathable brightness that supports function, comfort, and cohesion.
- Strategic glazing and shading
- Reflective finishes and light-toned palettes
- Proportional furniture and soft, neutral cues
Structural Options: Beams, Slabs, and Support in Open Plans
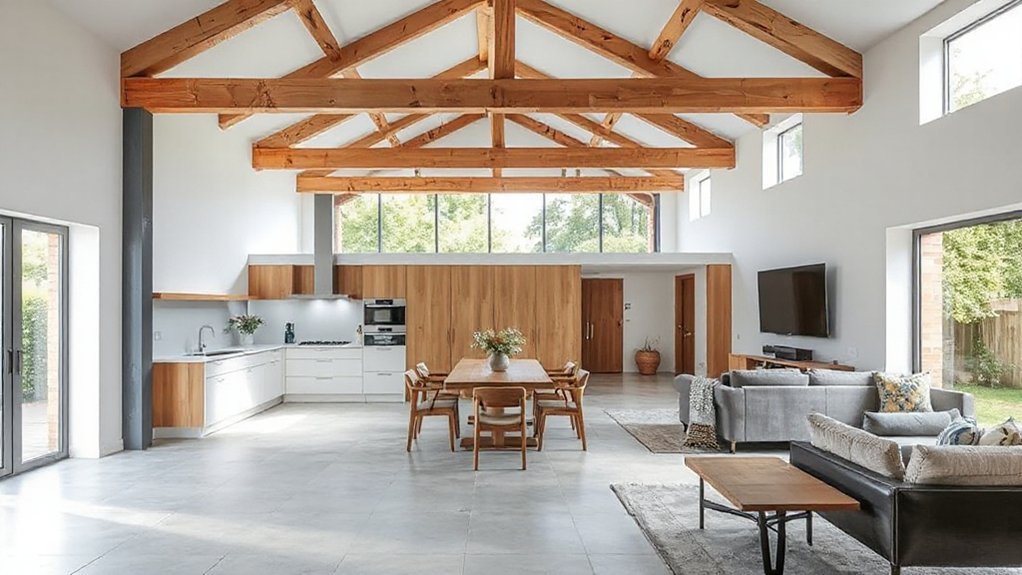
In open-plan living, selecting your structural approach matters as much as the layout itself. You balance load paths, spans, and future flexibility when choosing beams, slabs, and supports.
Steel or engineered timber beams open generous, column-free spaces, while solid slabs offer tight integration with services and acoustic performance. Consider span limitations, deflection criteria, and vibration concerns to avoid future interruptions.
You’ll often hide structure behind decorative finishes, yet structural choices set ceiling heights and row alignments that affect furniture planning and light diffusion.
Integrate Decorative partitions to segment zones without breaking openness, and Acoustic panels to dampen impact and airborne sound across the plan.
Ensure installation tolerances align with wall finishes, floor levels, and service routes for a clean, efficient result.
Open Plan Kitchen-Dining Layouts That Work
Open plan kitchen-dining layouts excel when the workflow mirrors how you cook and socialize, so group the main work zones around the kitchen’s core activities and allow gentle sightlines into dining and living areas. You design with zones: prep, cooking, cleaning, and service, then stitch in dining for flow.
Visual cues—color schemes and furniture placement—clarify function without shouting, keeping sightlines clean and doors optional. You’ll want integrated islands or peninsulas that anchor tasks and seating, while concealment hides clutter from guests.
End-user accessibility matters, with reach ranges considered for every appliance. Lighting layers—task, ambient, and accent—support mood shifts during meals and chats. Use durable finishes to balance style with daily use.
- Clear zones guide movement and reduce cross-traffic
- Color schemes tie kitchen and dining into one rhythm
- Furniture placement preserves sightlines while maximizing seating
Living Area Transitions: Hallways to Lounges
Hallways to lounges shape how guests shift from entry to relaxation, so design shifts that feel seamless and purposeful. You approach progressions with a technical mindset: measure sightlines, traffic flow, and acoustic performance as you collapse barriers. Use consistent ceiling heights and floor materials to reduce stops in movement, guiding eye and step from entrance to gathering space.
Integrate storage and display in corridor alcoves to minimize clutter without breaking continuity. Lighting layers—ambient, task, and accent—accentuate the pivot point between hall and lounge, while soft transitions in color and texture prevent jarring changes.
Consider garden landscaping cues near thresholds to blur exterior and interior, reinforcing permeability. In interior decor, align furniture scale and rug placement to maintain hierarchy and invite lingering.
Budgeting Smartly for Knock-Through Projects
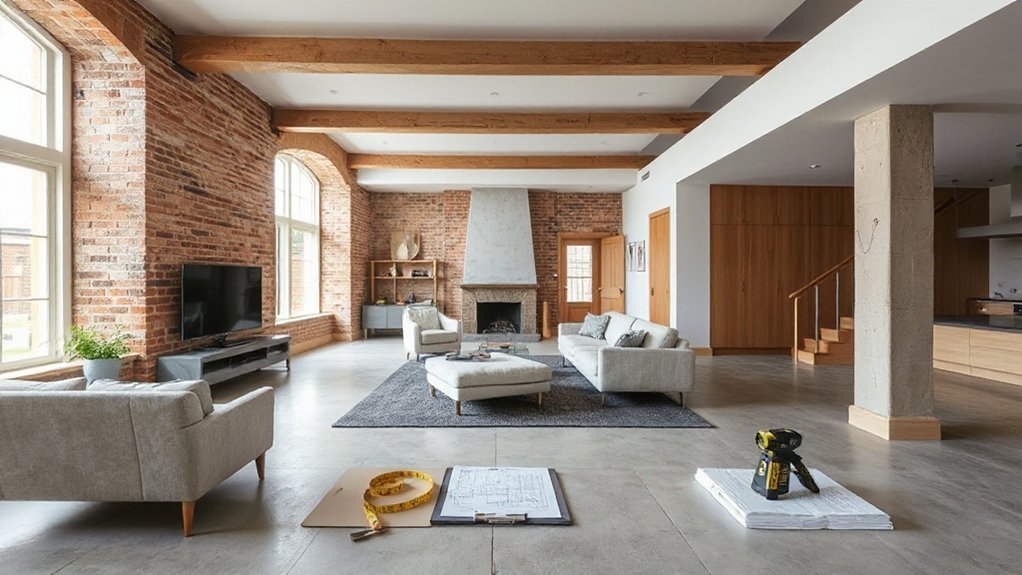
- Define non-negotiables and flexible elements, with a 10–20% contingency baked in.
- Align trades to a phased schedule, minimizing site downtime and waste.
- Assess external impacts, like garden landscaping access and energy efficiency upgrades, for cohesive results.
Hiring the Right Trades: Questions to Ask Pros
To hire the right trades, you need a clear set of questions that reveal competence, reliability, and fit for your project. You’ll assess credentials, licenses, and recent similar work—ask for case studies, photos, and client references you can contact directly.
Probe project management approach, scheduling buffers, and how they handle permits and inspections. Confirm insurance coverage, subcontractor use, and safety records, including risk assessments and method statements where applicable.
Demand detailed quotes with itemized line items, material specs, and contingency plans, plus a clear payment schedule tied to milestones. For garden landscaping and home automation aspects, request integration experience, supplier warranties, and aftercare support.
Finally, observe communication style, responsiveness, and problem-solving tone—misalignments here foreshadow friction during open-plan execution.
From Plan to Finish: Realistic Timelines for Open Plan Work
Planning open-plan work requires aligning expectations with reality, so you understand what to expect at every stage. You’ll translate the plan into a practical timeline, balancing permits, demolition, structural work, and finishes.
Start with a clear baseline for disruption: dust containment, noise limits, and access routes. Then map milestones to trades’ lead times, inspections, and client decisions, so you don’t stall at handover.
Realistic buffers matter: allow for delays in deliveries, building-control, and snag checks. You’ll track progress against defined deliverables, ensuring you stay aligned on finish quality and budget.
Furniture placement and color schemes should finalise toward the end, once structure and services are set.
- Permits, surveys, and structural steps with contingency buffers
- Trade coordination, lead times, inspections, and fittings
- Final finishes, mood, and layout validation before handover
Design Details That Unite Open Spaces
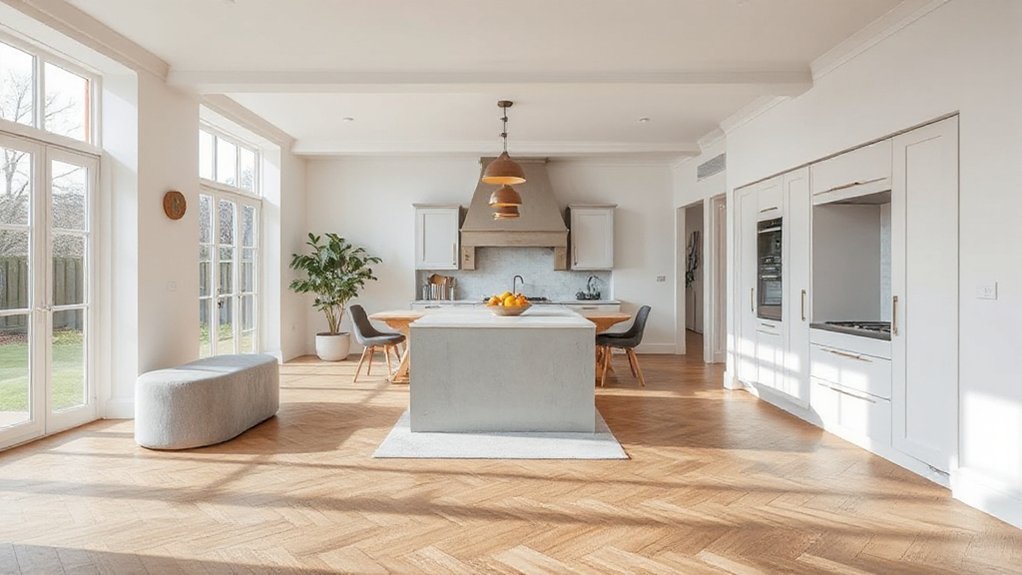
Open spaces thrive when design details create visual and functional cohesion across zones, so you’ll deliberately weave materials, lighting, and acoustics into a unified narrative.
You’ll align sightlines and edge definitions to reduce clutter while preserving flow, using consistent textures and tones to anchor each area.
Furniture arrangement should emphasize clear diffusion of use without interrupting circulation, with islands or benches that cue progressions rather than walls.
Lighting layers—ambient, task, and accent—frame zones while keeping the space legible from every angle.
Acoustics must balance openness with privacy, employing soft finishes and strategic screens where needed.
Privacy concerns are mitigated by focal points and adjustable visual barriers that maintain openness yet respect retreat after chore time.
Avoiding Common Knock-Through Pitfalls
Knock-throughs can undermine the clarity you built in open-plan layouts, so you’ll anticipate and mitigate common pitfalls before walls go up. You map flows between rooms, ensuring sightlines, acoustics, and lighting align with your interior decor goals while preserving garden privacy.
Acknowledge beam placement, services routing, and structural requirements early to avoid costly rework. Plan door positions to minimize piecing walls and maintain logical zones for cooking, dining, and lounge areas.
Consider future furniture scales to keep circulation clear and functional. Verify damp, insulation, and ventilation implications to prevent cold drafts or echoes that erode spatial perception.
- Align beam and doorway locations with seating areas and garden-facing windows
- Pre-plan service routes to reduce wall clutter and noise transfer
- Prioritize privacy where garden views meet living zones
DIY vs Professional Help: What You Should Do Yourself
If you’re handy and the project stays within straightforward boundaries, you can tackle several DIY tasks yourself, but you should know where to draw the line. You’ll handle planning, measuring, and light demolition with proper safety, PPE, and local permit checks where required.
Reserve structural changes, electrical moves, or plumbing shifts for a licensed professional. Documented steps, accurate load paths, and compliance with building codes protect you from costly rewrites.
For those tasks you do DIY, focus on non-structural finishes, dust containment, and site protection. Consider furniture arrangement and color schemes early to guide layout decisions and avoid rework later.
When in doubt, schedule a consult to verify assumptions, ensuring your open plan maintains safety, acoustics, and flow without compromising functionality.
Case Studies: Before-and-After UK Homes
Case studies of before-and-after UK homes reveal how open-plan transformations balance daylight, flow, and structure. You’ll see walls removed to unify kitchen, dining, and living zones, then structural checks confirm load paths and insulation, ensuring energy targets stay intact.
In one scenario, daylight travels deeper via larger openings and a datum line that preserves furniture layouts. While in another, a bumped-out dining niche adds breathing space without compromising heat loss calculations.
You’ll track material choices, from timber lintels to steel beams, and notice how DIY decor touches—painted alcoves, cable-guided lighting, and garden fencing-inspired screens—signal intent without clutter.
The case studies illustrate risk management, contractor coordination, and small but impactful garden progressions that anchor the open plan to outdoor routines.
- Garden fencing-inspired screens create visual cohesion within open spaces
- DIY decor accents personalize zones while meeting performance specs
- Load-awareness tests guide safe, elegant wall removals
Frequently Asked Questions
How Long Does a Typical Knock-Through Project Take?
A typical knock-through takes several weeks, depending on scope and approvals. You’ll experience interior redesign considerations, and structural considerations drive sequencing, with surveys, temporary supports, and finishing. You’ll coordinate trades, manage risks, and track progress through clear milestones.
What Are the Hidden Costs Beyond Quotes?
Hidden costs include cost escalation from delays, reworks, and changes, plus structural engineering fees for design assurance and compliance. You’ll face inspections, temporary works, and unexpected access or mitigation measures that push budgets beyond initial quotes.
Will Knocking Through Affect Home Resale Value?
Knocking through can affect resale value, you’ll want solid interior design context plus structural engineering assurances. You’ll boost appeal with clear light, flow, and finishes, while maintaining safety, compliance, and professional documentation to support value in your home’s sale.
Do I Need Party Wall or Neighbor Consent?
Yes, you typically need party wall agreements and neighbor permissions. If you ignore them, you’ll face delays and penalties. You should consult a surveyor, file a party wall notice, and negotiate terms before you start any work.
Can I DIY Safe Knock-Through Without a Pro?
You can’t safely DIY a knock-through without a pro. You’ll need structural assessments and professional guidance, plus decorating ideas to finish. Rely on experts for load-bearing checks, and plan permits and party-wall steps before any work begins.
Conclusion
You’ll feel the space breathe as walls come down and light pours in. With careful planning, you regain flow without sacrificing structure or safety. Imagine a compact kitchen stretching into a sunlit dining area, a wall removed to reveal sightlines that connect every moment. In a real case, a small Victorian terrace opened to a bright, open plan living room, transforming daily life and value. Your home can evolve—precisely, confidently, and warmly.
About the Author