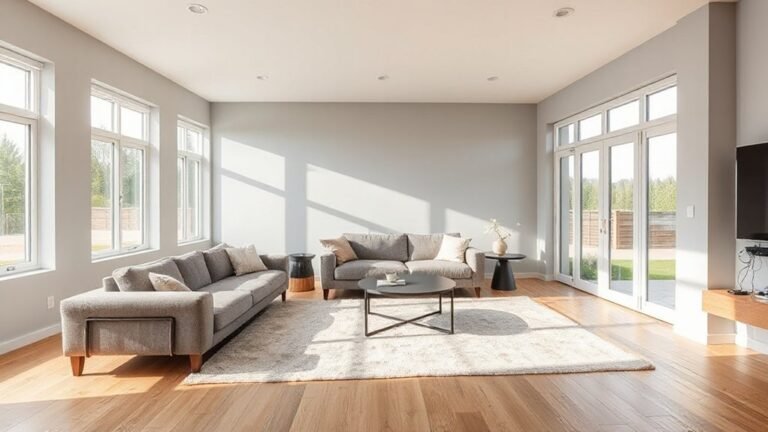
Transform your bathroom fast and affordably with a focused plan: set a budget, outline goals, and track costs in one sheet. Choose durable, light-reflective surfaces, swap hardware for luxe finishes, and add smart storage to maximize space. Use bold accents sparingly and layer lighting with dimmable LEDs for depth. Paint ceilings white to brighten the room, and mirror placement to expand it. Expect practical, budget-friendly tricks that deliver big impact—explore more tips that elevate your space on a budget.
Define Your Budget and Goals for a Fast Bathroom Makeover
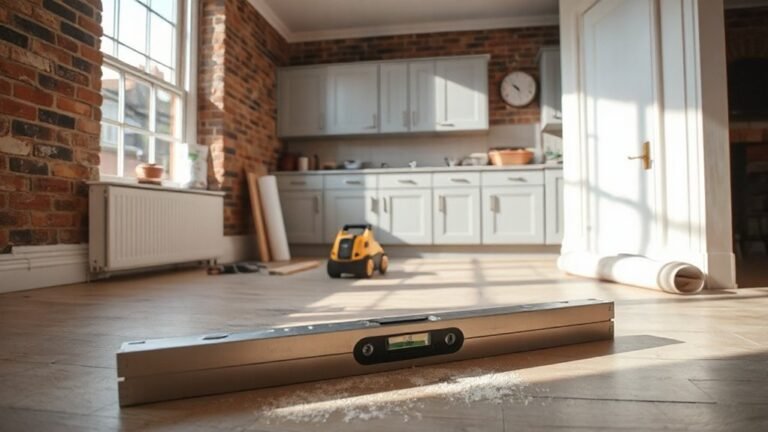
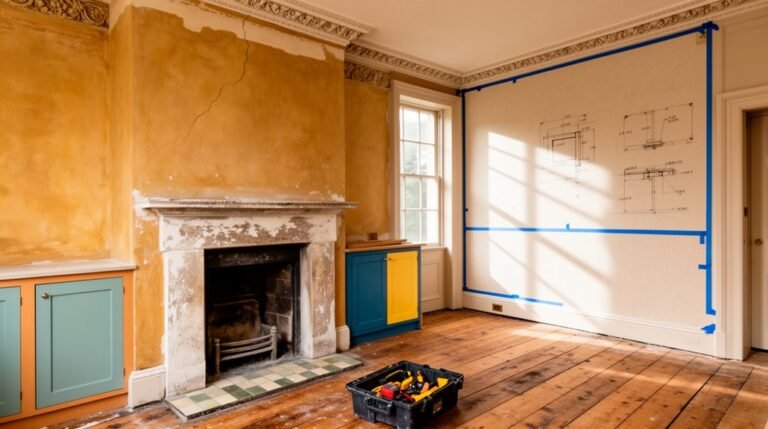
Setting a clear budget and goals upfront keeps a fast bathroom makeover on track. You’ll define a practical ceiling for total spend and allocate it by priority tasks, not whimsy.
Begin with a simple scope: essential updates that yield the most impact, like a refreshed cabinet or new fixtures.
Map out a realistic timeline, aligning it with available resources and contractor windows.
Consider a tight plan around bathroom layout to maximize space and usability, then identify where plumbing upgrades are non-negotiable and where you can save.
Track costs in a single sheet, including permits, materials, and labor.
Avoid scope creep by approving one change at a time. Your documented priorities keep decisions swift and outcomes predictable.
Paint Tricks That Transform the Room in Hours
You can transform the space fast with quick wall color tricks that instantly redefine mood and light. Try budget-friendly accent shifts to highlight architectural features or refresh dull corners without breaking the bank.
Layered finish techniques add depth and polish, giving your bathroom a high-end look in hours.
Quick Wall Color Tricks
When you want a bathroom makeover in hours, quick wall color tricks can yield dramatic results without a full refresh. Start with a high-contrast accent wall to frame fixtures, then crisp white ceilings to boost brightness. Use semi-gloss or satin finishes to resist moisture and reflect light, making small spaces feel larger.
If you’re unsure about full repaint, try peel-and-stick color panels for a rapid update. Create depth by pairing cool neutrals with a warm trim; this balances temperature and perception.
Integrate wall art and strategically placed mirrors to amplify the effect. For tile patterns, select a complementary wall tone that harmonizes rather than competes. Finish with precise edging and three-day cure downtime before reoccupying the space.
Budget-Friendly Accent Shifts
Even with a tight budget, you can redefine a bathroom in hours by shifting just a few accent elements. You’ll see impact fast by swapping small, visible details instead of overhauling everything.
Start with color anchors: a bold tub-side paint stripe or a contrasting vanity drawer front creates focus without major cost. Introduce vintage fixtures where possible; polished taps, a retro mirror, or brass accents elevate character instantly.
If space allows, install an artistic murals feature wall or a simple stencil motif to inject personality without heavy labor. Layer texture with affordable textiles—towels, a rug, or a shower curtain in a cohesive palette.
Finally, swap lighting to highlight the new accents, then curate accessories to reinforce the refreshed mood.
Layered Finish Techniques
- Soft, variegated walls with light and shadow
- Subtle marble-like veining via a delicate sponge
- Rag-rolled bases for warmth and depth
- Faux stonelike panels around the tub
- Chalky, matte finishes to diffuse glare
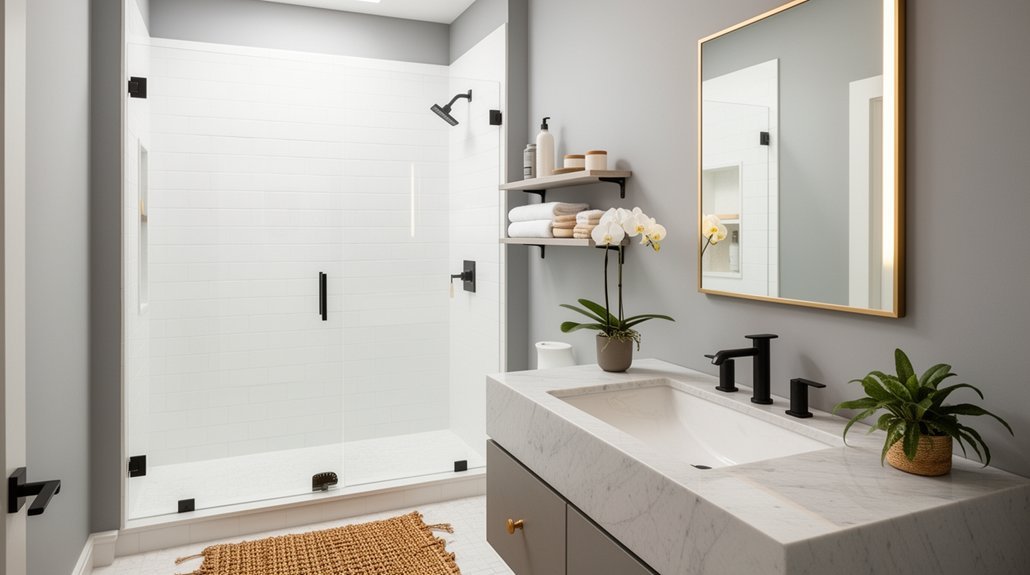
Hardware Swaps That Look High-End on a Budget
Want a high-end look without a high-end price? Swap in strategic hardware updates. Start with faucet finishes that pair well with your existing fixtures—matte black, brushed nickel, or polished chrome offer distinct vibes without breaking the bank.
Choose calm, cohesive tones across faucet, pulls, and knobs to create a seamless, luxe feel. When selecting cabinet hardware, aim for uniform spacing and scale: smaller drawers get petite pulls, larger doors get longer handles.
Swap in soft-close hinges if possible to elevate the experience. Pay attention to finish consistency on all metalwork for a curated look.
Keep profiles slim and simple—avoid overly decorative shapes that scream budget. Finally, install with precise alignment to prevent a DIY-looking misstep.
Smart Storage Solutions for Small Bathrooms
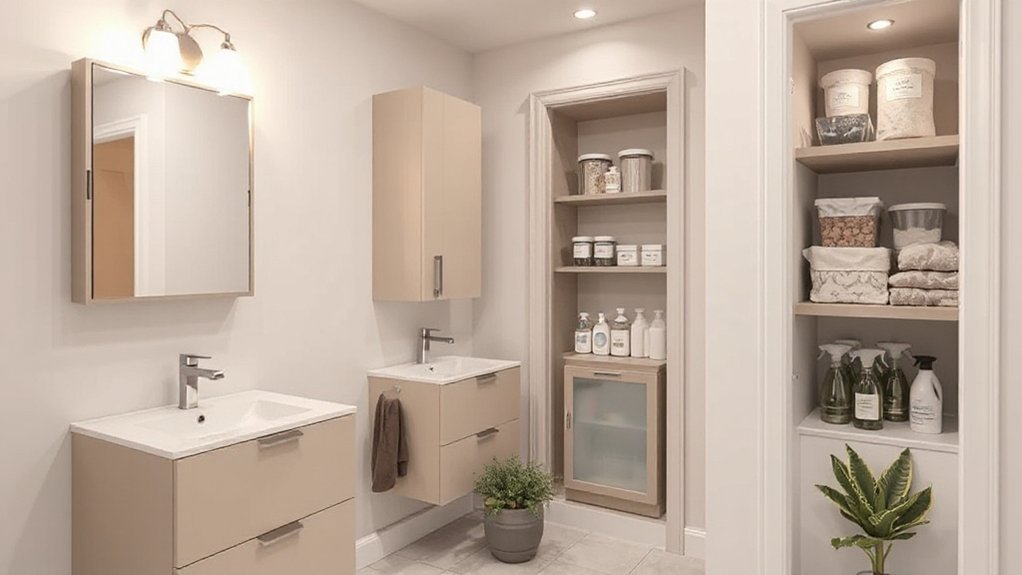
Small bathrooms demand smart, space-maximizing storage that looks intentional, not crowded. You’ll curate solutions that vanish clutter while proving function and style, using proven layouts and compact fixtures. Think vertical shelves, recessed niches, and wall-mounted cabinets to free floor space for daily rituals.
Prioritize smart storage and space optimization by grouping items, labeling containers, and choosing versatile pieces that serve multiple roles. With intentional placement, you’ll gain roominess without sacrificing accessibility or aesthetics.
Practice restraint with decorative items; let efficiency drive the design.
- High wall shelves that extend upward, not outward
- Recessed shower niches for toiletries and cleansers
- Corner caddies or rails to use idle angles
- Over-toilet cabinets delivering hidden storage
- Fold-down or magnetized organizers for daily essentials
Lighting Upgrades That Elevate Your Space on a Budget
You can upgrade on a budget with budget-friendly fixture changes that instantly brighten the space. Use layered lighting to balance task, ambient, and accent needs without overspending.
Tweak color temperature to feel warmer or cooler as rooms shift. Start with a few strategic choices—upgrade key fixtures, layer light sources, and adjust temperatures—to see a noticeable lift without a big investment.
Budget-Friendly Fixture Upgrades
If you’re upgrading your bathroom on a budget, start by swapping in energy-efficient LED fixtures and simple accents that deliver big impact without breaking the bank. You’ll notice instant clarity, safer operation, and lower bills, while keeping a cohesive look with minimal effort.
Focus on core plumbing fixtures and ventilation components to improve function and air quality without a full remodel. Choose brushed nickel or matte black finishes for durability and style.
Plan for easy-to-clean surfaces and hidden wiring where possible to maintain a tidy aesthetic.
- Energy-efficient LED ceiling lights with dimmer
- Sleek vanity fixtures in a unified finish
- Modern exhaust fan with humidity sensor
- Compact mirror with built-in LED edge lighting
- Minimalist faucet upgrades that complement hardware
Note: Bathroom ventilation, Plumbing fixtures.
Layered Lighting Techniques
Layered lighting makes a small bathroom feel bigger and more functional, and it won’t break the bank. You’ll achieve this by combining ambient glow, task lighting, and accent cues that don’t clash with existing decor.
Start with a dimmable ceiling fixture to set a soft baseline, then add a wall sconce or vertical strip to improve horizontal clarity without harsh shadows. Incorporate task layering near mirrors for shaving or makeup, using focused fixtures that cut glare.
Use recessed LEDs under cabinets to illuminate countertops subtly and cheaply. Balance warm and neutral tones to avoid sterile results, and choose simple, energy-efficient bulbs for longevity.
Finally, test sightlines from multiple angles to make certain of even illumination, avoiding hotspots while preserving a welcoming atmosphere.
Color Temperature Adjustments
Color temperature tweaks are a quick, budget-friendly way to sharpen the bathroom’s mood and function after layering lighting. You’ll balance color psychology with practical choices, choosing warm tones for cozy zones and cooler tones for task areas.
Start with bulbs labeled 2700–3000K for relaxation, then switch to 4000K for shaving, grooming, or makeup. Consider dimmable fixtures to shift ambience on demand, preserving intent across tasks.
Avoid mismatched temps that disrupt coherence; aim for a unified ambient lighting feel that anchors the space. Use daylight-mimicking bulbs near mirrors to reduce shadows and improve accuracy.
Preserve contrast with cooler accents in towels or accessories.
- Warm, inviting baseline lighting (2700–3000K)
- Cool task lighting (4000K) near mirrors
- Dimmable controls for mood shifts
- Consistent color temperature across fixtures
- Daylight-mimicking bulbs for accuracy
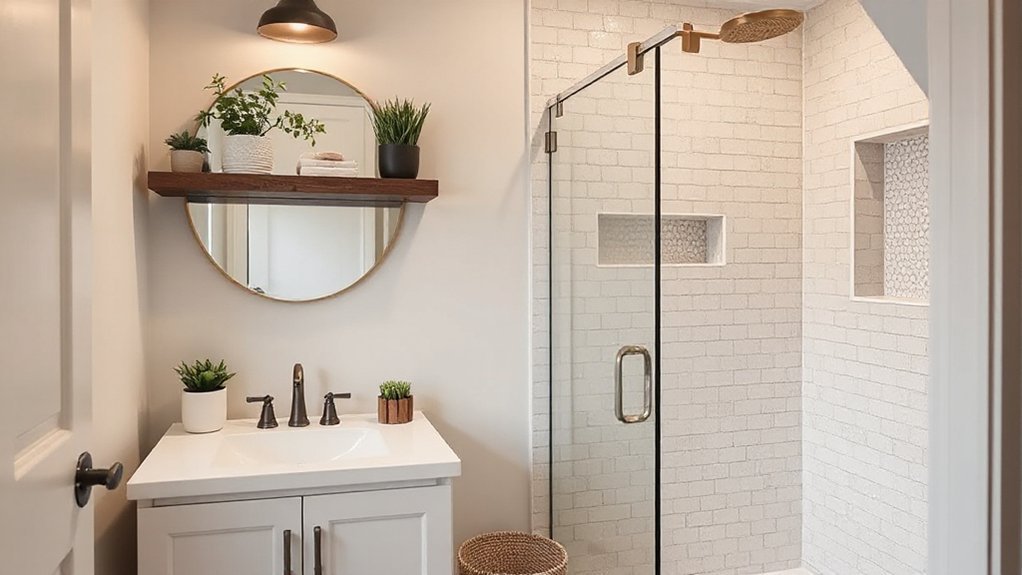
Luxe-Looking Decor on a Budget: Mirrors, Textiles, and Greens
You can achieve a luxe look on a budget by focusing on three power moves: mirrors, textiles, and greens.
Start with mirror placement to visually expand the space and catch light. Hang a large, frameless mirror opposite a window or light source for brightness without crowding walls.
Choose textiles with rich textures—woven towels, plush towels, and a matte soap linen that reads high-end without the price tag.
Layer in greens with a small potted plant or a trailing vine to soften edges and add life. Use green accents sparingly yet intentionally: a towel stripe, a plant pot, or a glass vase.
Keep colors cohesive, leaning toward neutrals with a single bold accent, and avoid busy patterns that undermine the luxe vibe.
DIY Finishes and Textures for a Polished Bathroom
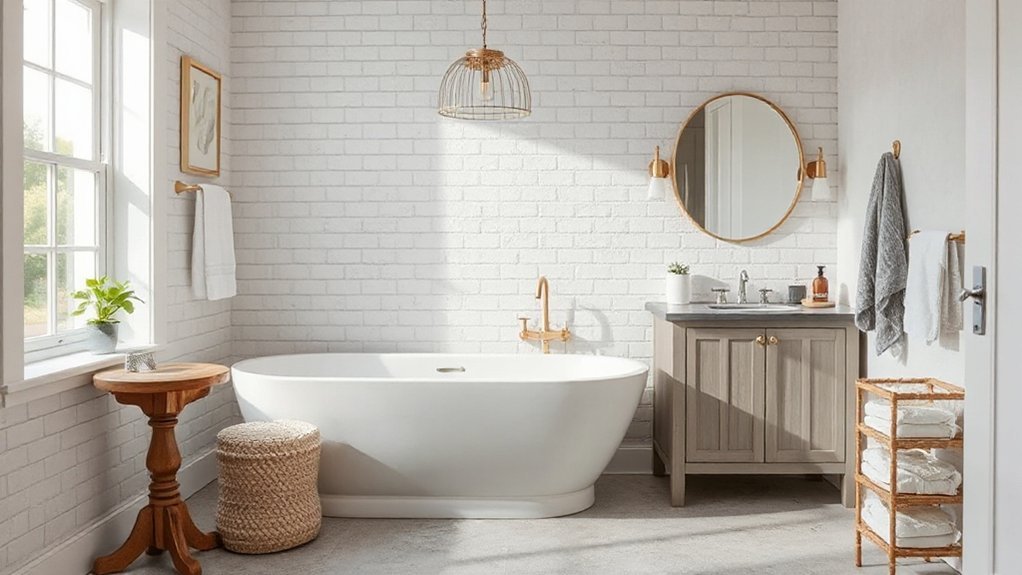
To polish a bathroom with DIY finishes, focus on textures that read high-end without costly materials. You’ll create depth with a few well-chosen surfaces, letting light play across edges and reflections.
Combine vintage fixtures with modern textures to balance old charm and contemporary polish. Prioritize durable, easy-to-clean options and add subtle contrast through matte and gloss pairings.
- Reclaimed wood vanity with a clear top to echo vintage fixtures
- Matte ceramic subway walls paired with a glossy trim for modern textures
- Brushed metal hardware that catches light without overwhelming the palette
- Textured plaster or faux stucco on one accent wall for tactile interest
- Polished concrete or resin floors for a cohesive, durable foundation
Frequently Asked Questions
How Long Does a Budget Bathroom Makeover Typically Take Start-To-Finish?
A budget bathroom makeover typically takes one to two weeks start-to-finish. You’ll prioritize quick updates like bathroom lighting, choose durable tile alternatives, and install fixtures efficiently while coordinating plumbing, paint, and cabinets for a cohesive transformation.
Can I Apply Paint Over Existing Tiles Without Prep Work?
No, you shouldn’t skip surface prep; tile painting requires cleaning, priming, and a bonded topcoat for lasting results. Tile painting works best with proper surface prep, not just applying paint over existing tiles.
What Are the Cheapest High-End Looking Hardware Options?
Yes—opt for quartz, matte black, and brushed brass. You’ll get luxury fixtures and designer hardware that read high-end without the price. Choose solid builds, reputable brands, and simple installing tones for a polished, budget-friendly upgrade.
How Often Should I Replace Bathroom Textiles for Freshness?
A striking 60% of households neglect textiles soonest, so replace bathroom textiles every 6–12 months for freshness. You should prioritize bathroom ventilation and mold prevention, using breathable fabrics and dehumidifiers to protect your space.
Are There Safety Tips for DIY Bathroom Projects?
Yes—always use safety gear and practice hazard awareness. Wear goggles, gloves, and a mask when needed; keep a clear workspace, unplug power when wiring, secure ladders, and ventilate. Plan, assess risks, and stop if unsure.
Conclusion
You’ve got the plan, the budget, and the path to a transformed bath. Stick to your goals, tackle painted walls, swap hardware, and optimize storage for instant impact. Choose lighting and textures that elevate without exploding costs, then layer mirrors, textiles, and greens for polish. Stay practical: DIY finishes, quick upgrades, measurable gains. With smart choices, your small bathroom feels expansive, luxe, and magazine-worthy—without the price tag you’d expect. Your dream bathroom is closer than you think. It’s brilliance, realized.